Martin M-36 Neck Reset & Horror Story
This Martin M-36 was brought to us with a horror story behind it. It had been bought at Salvation Army for $50 and was brought to another shop, where they performed a neck reset that the owner found unsatisfactory. Upon bringing it back, the shop kept the guitar for 9 months and completed a second sub-par neck reset. It was then brought to us to try and make things right.
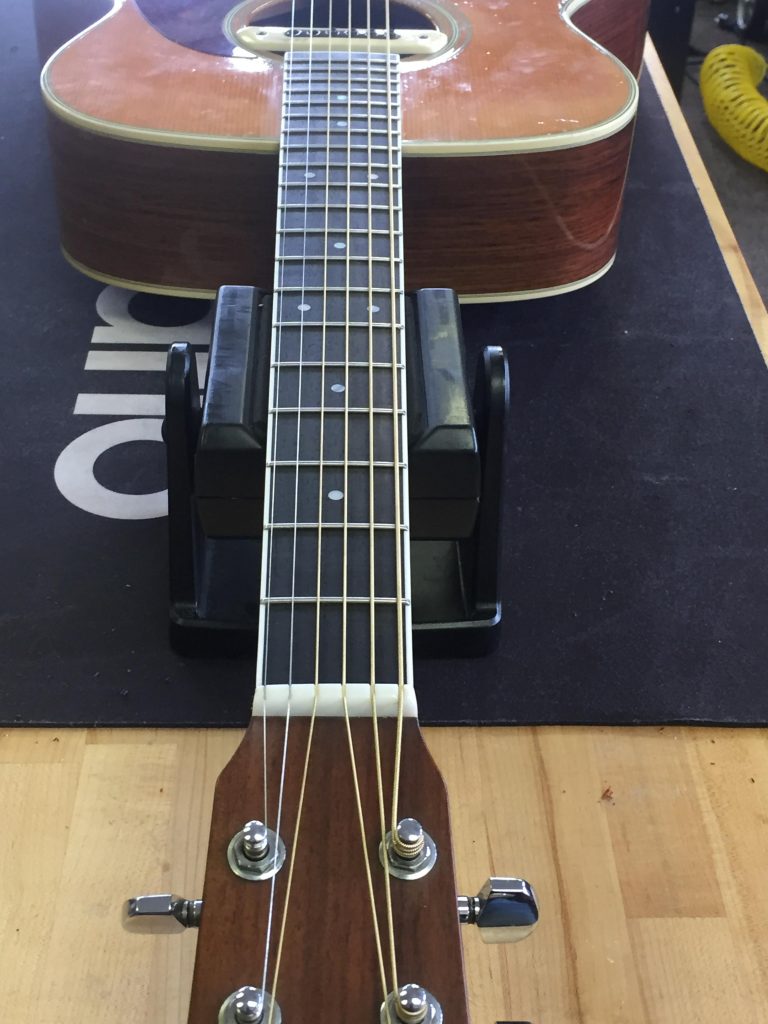
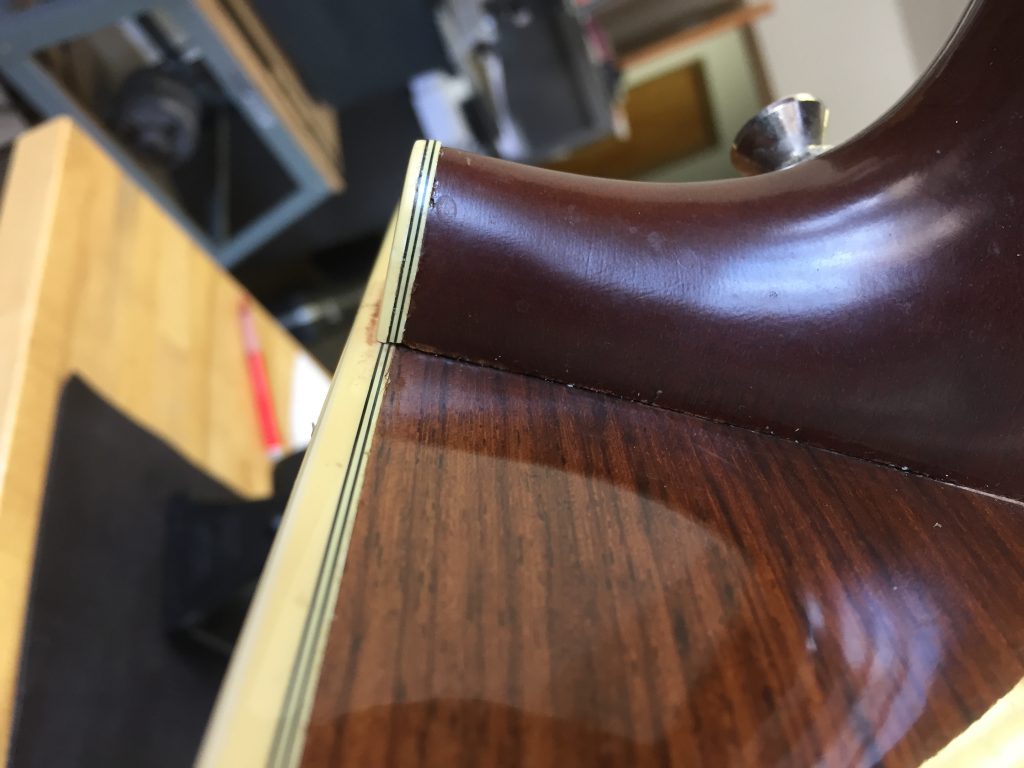
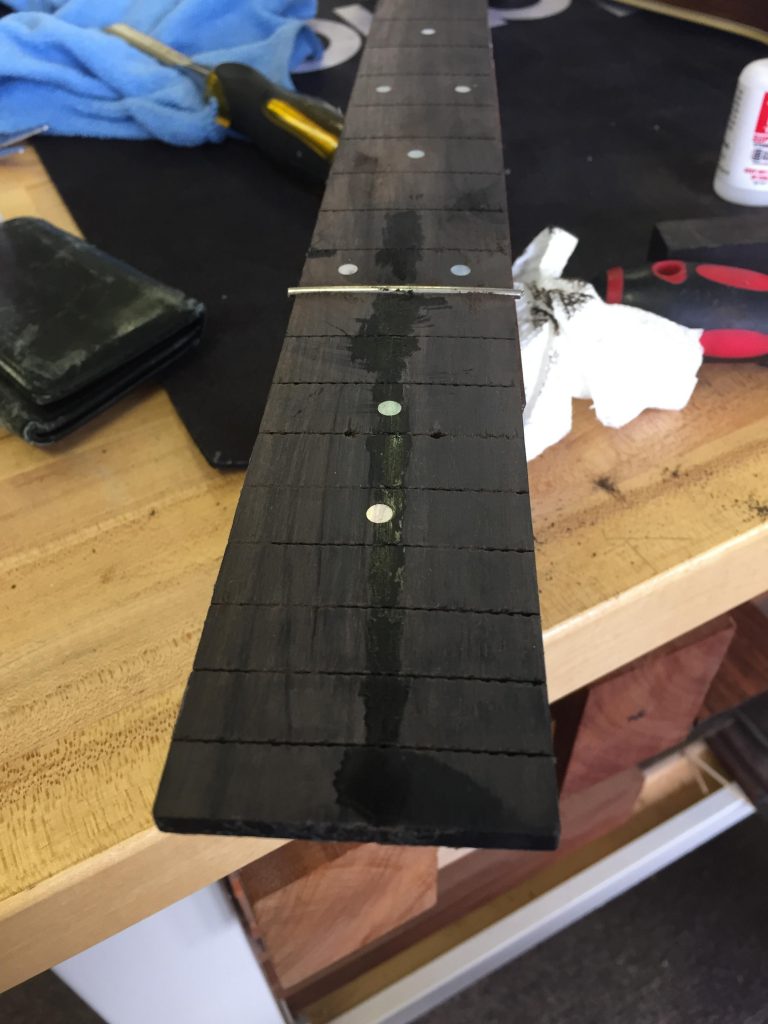
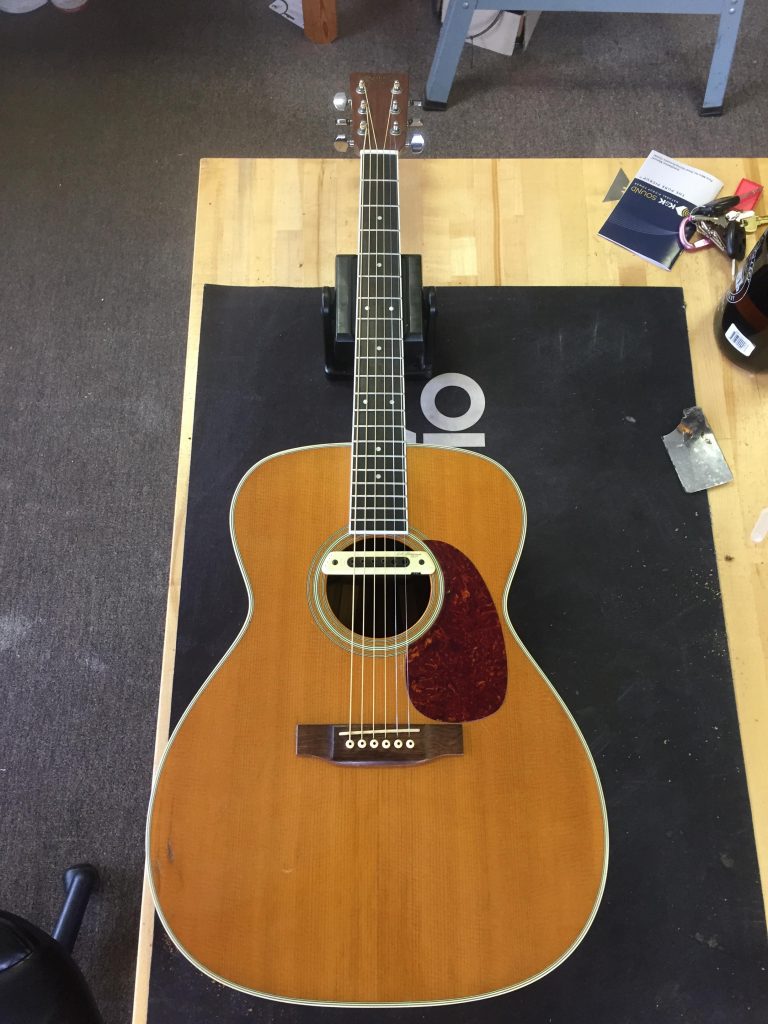
In this image, you can see that the fret board seems to bend where it meets the body (this is clearer when the image is enlarged). This is something that happens when a neck is attached and a gap is left between the fret board and body. Rather than placing a shim in the gap to properly support this portion, the previous shop simply forced the tongue onto the body and glued it in place.
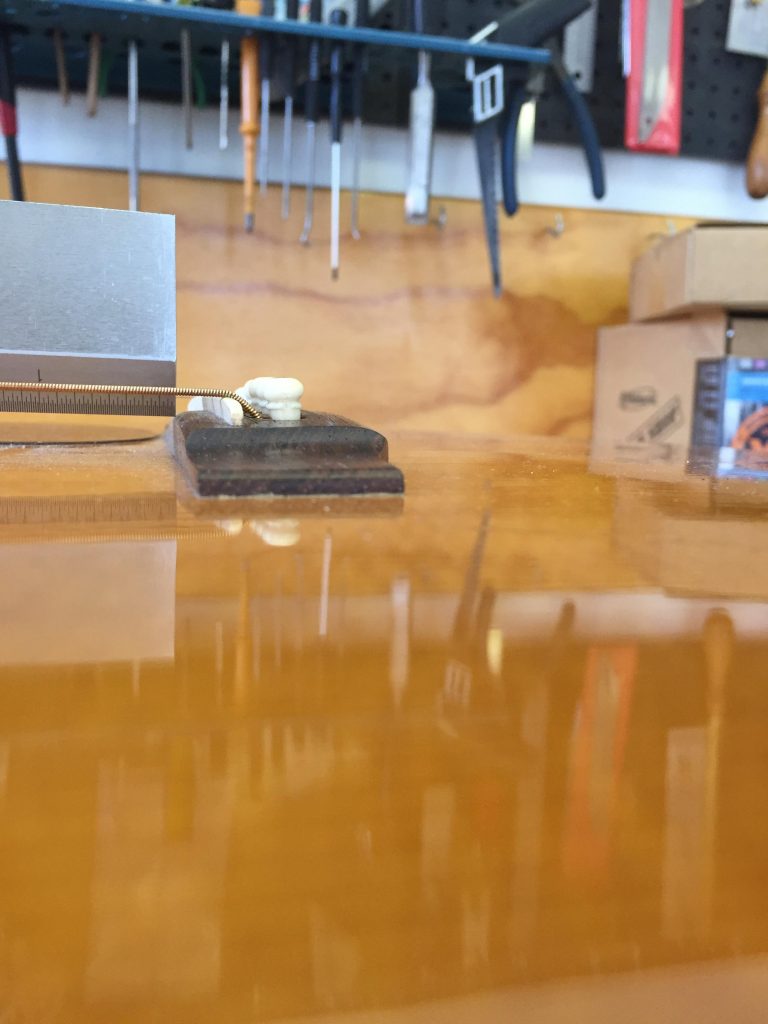
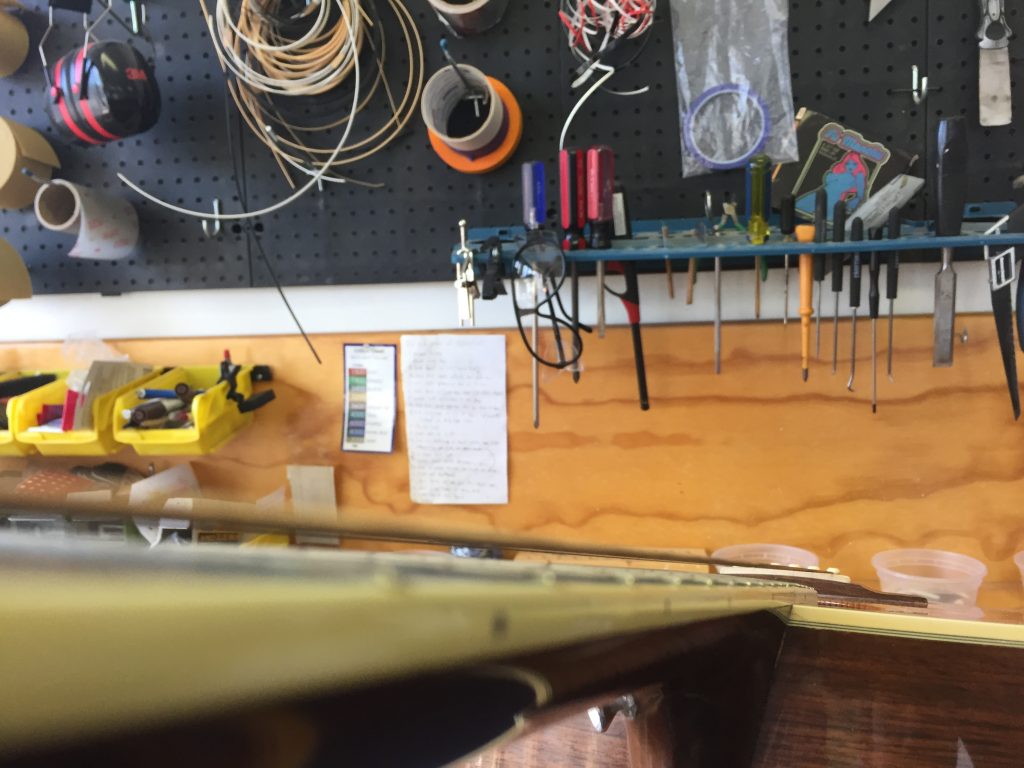
Here, we place a straight edge on the frets. On an acoustic guitar that is properly set up, the straight edge should sit just above the bridge but, you can see that it is hitting the front of the bridge instead.
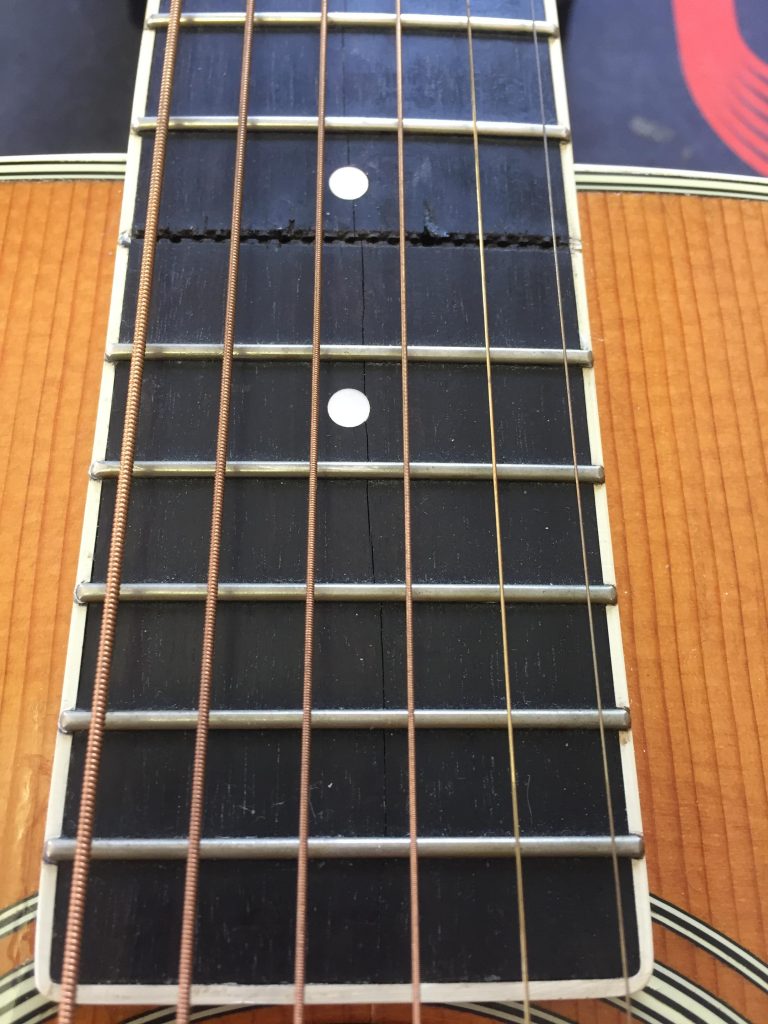
There was also a large crack in the upper register of the fret board that we would be addressing. This had been left unrepaired by the previous shop. Also, in testing the frets on this guitar, we were able to pull out the 14th fret with just our fingers!
You can see the gap that is left between the neck and body here as well. This happens when the neck joint is not mated properly to the body.
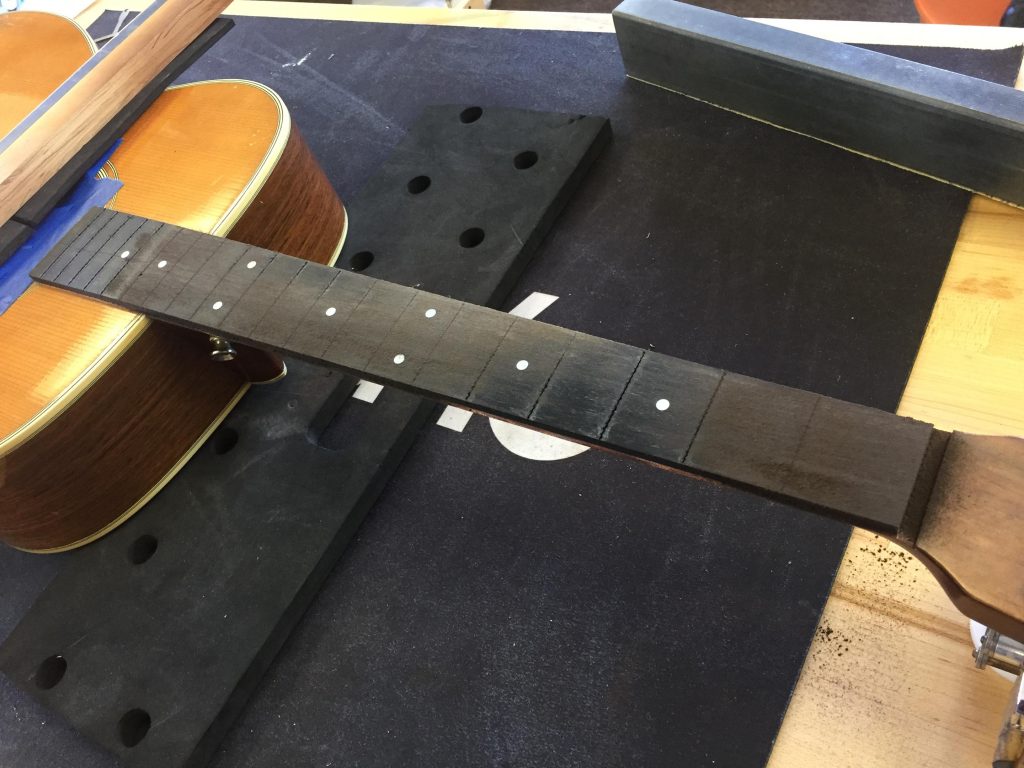
This guitar is getting a nickel refret, so we started by removing all of the old frets and sanding the playing surface. This allows us to get a better reading for the adjustment we need to make and provides a better starting point for the new frets. The binding had also been removed at some point and reattached. Binding shrinks which means after removal, it will never go back on properly, which on this guitar resulted in a bad fit and the fret markers not being centered on the correct frets.
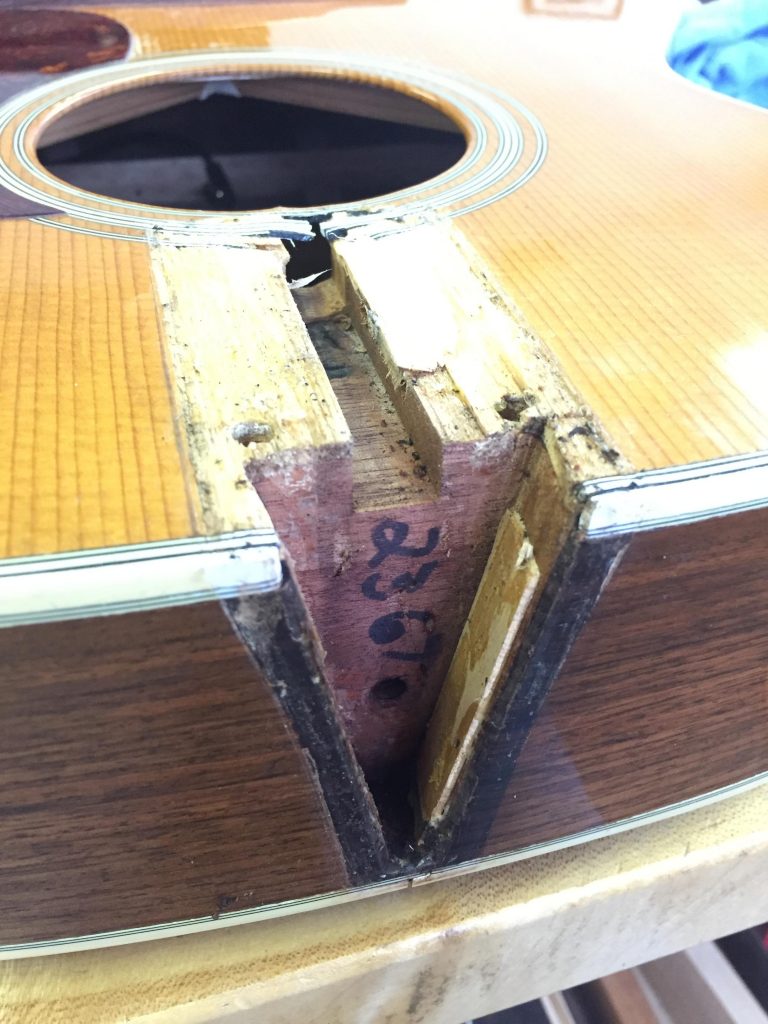
This picture was taken just after we removed the neck. You can see that only one shim was used in the previous repair. In this type of joint, using just one shim will simply push the neck off-center, whereas using two (one on either side) provides proper support while centering the neck. Also visible is the broken rosette at the bottom of the neck joint. We speculate that this was the result of an earlier truss rod adjustment with an improper tool. It was decided that we would leave this alone as there was no structural threat and the fret surface covers most of the damage.
We cleaned off any glue residue from the tongue, body and neck joint to ensure a proper fit when the guitar is reassembled. This also provides a better surface to glue our tongue support shim to. The tongue support shim is a small, tapered piece of wood that we custom-make to fill the aforementioned gap between the neck and body. Many shops skip this step due to the difficulty and time involved, resulting in the bending of the fret board seen in the second picture. However, we like to go the extra mile to provide a better finished product for our clients.
We also repaired the crack in the neck with super glue. While this crack was fairly long, it was quite narrow and the rest of the fret board was strong enough that it didn't need to be replaced
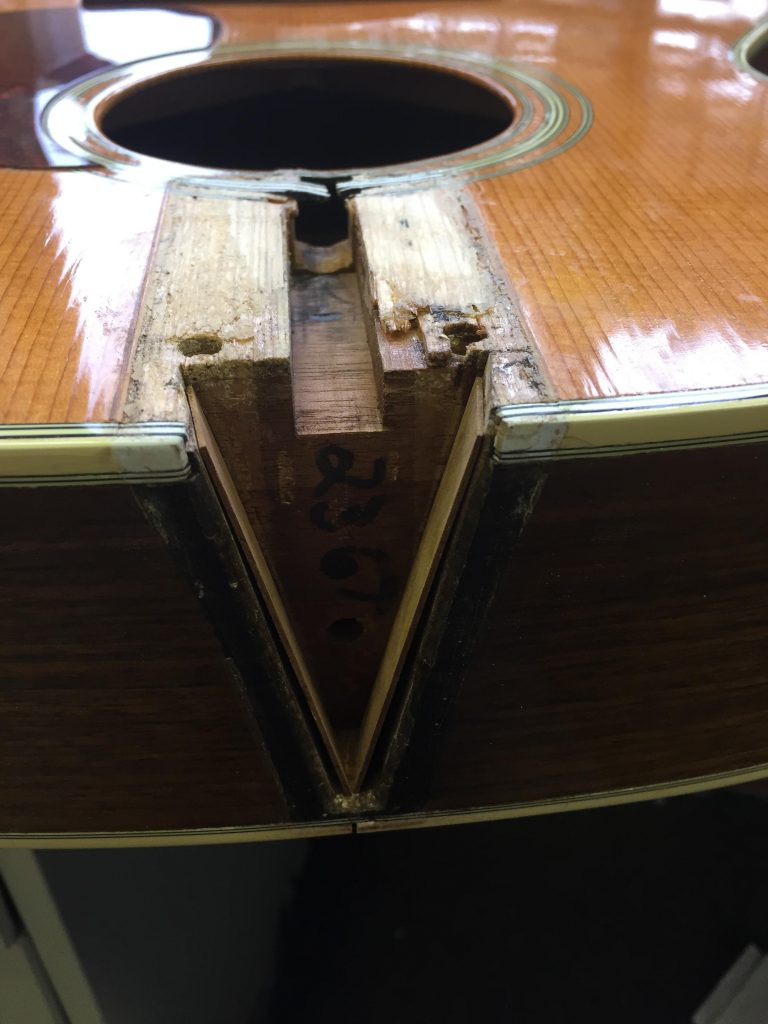
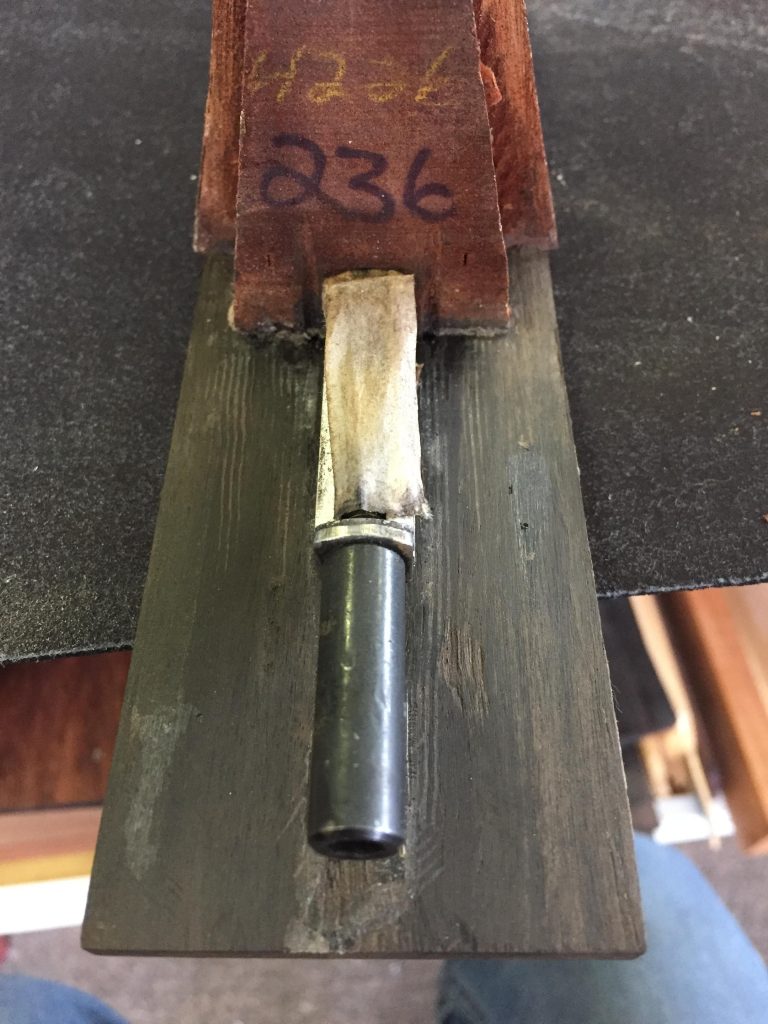
Here, we have cleaned the neck joint and placed in two shims. In many cases, shims are very thin - about the thickness of a piece of paper. In this instance we had to make them thicker (a little bit more than the thickness of a credit card) due to the amount of material that had been removed in the previous repairs.
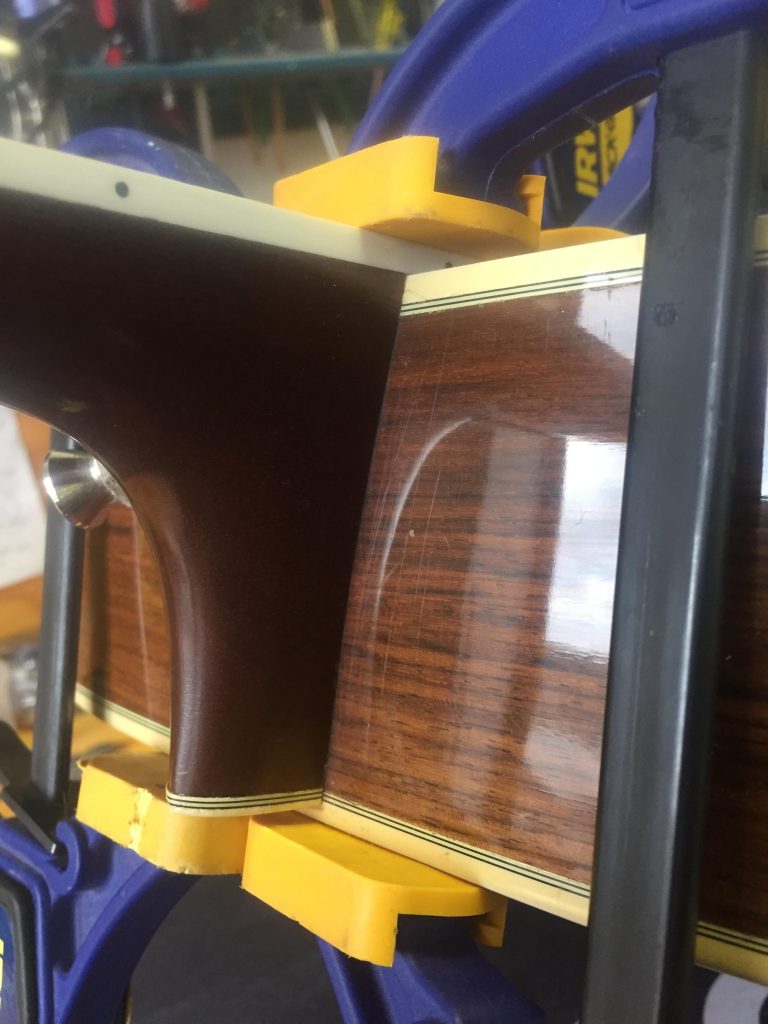
After applying glue and clamping the neck in place, you can see that the gaps between the neck and body are no longer there, the way that it is meant to be. The neck did have a few minor chips in the finish from being removed before, which was also left alone in this repair.
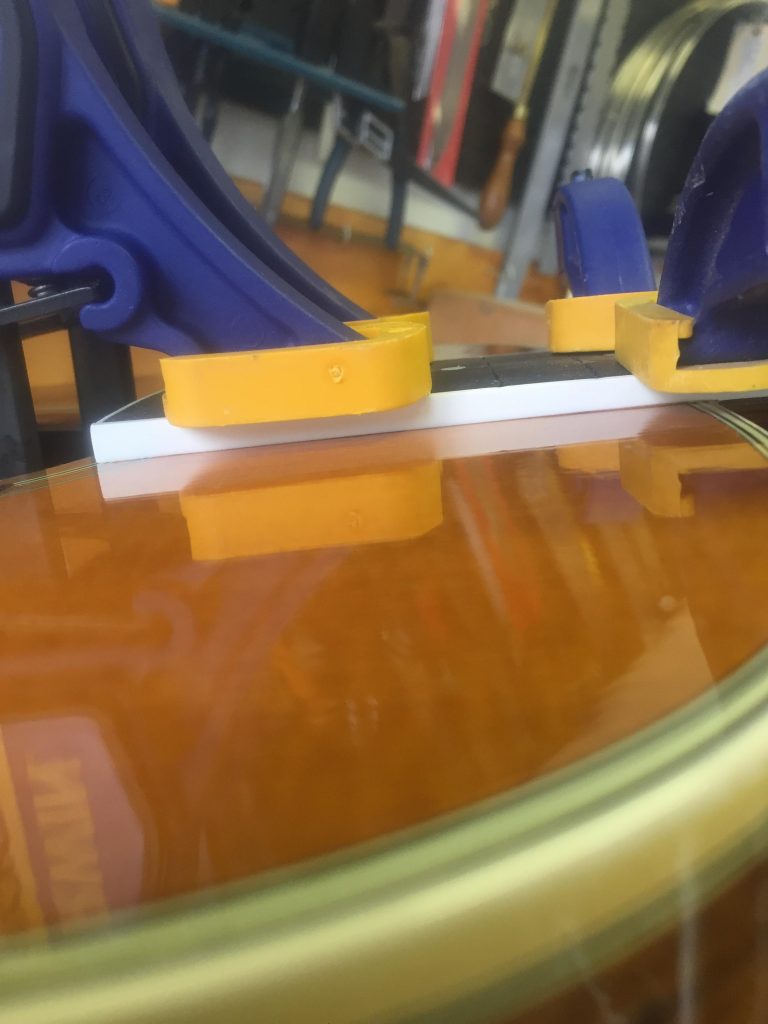
Here, we have the neck being clamped to the top of the body. As it approaches the sound hole, it gets thicker. This is evidence of the shim we attached to the fret board. After adding this, we added new binding to the neck. We ensured that it would match the pitch of the shim as well for a cleaner look. You will notice, it does not match the aged finish on the original binding as the owner decided that this would be too lengthy and costly of a process for a purely aesthetic feature.
After the refret, and setup of the guitar, everything is sounding and playing perfectly and we are happy to have put an end to the stress the owner had gone through. This M-36 was returned to the customer with the quality work they deserve
More posts in instrument restoration
-
Monday, May 15th, 2017
Gibson J-50 Bridge Replacement and Refret -
Thursday, June 22nd, 2017
Guild M-75 Binding Repair and Electronics Upgrade -
Saturday, June 24th, 2017
Martin D-35 Fretboard and Bridge Replacement -
Friday, November 3rd, 2017
1971 Martin D-18 Neck Reset -
Friday, December 15th, 2017
WWII-Era Banjolele Restoration -
Tuesday, April 3rd, 2018
Bringing Life Back to a Rickenbacker Tuxedo Bass -
Tuesday, December 11th, 2018
1965 Gibson Country Western Restoration -
Thursday, January 24th, 2019
1957 Gibson L-5 Restoration -
Tuesday, January 29th, 2019
Martin 00-25 Restoration -
Tuesday, June 18th, 2019
1960’s Gibson ES-330 Restoration