1957 Fender Esquire Refret
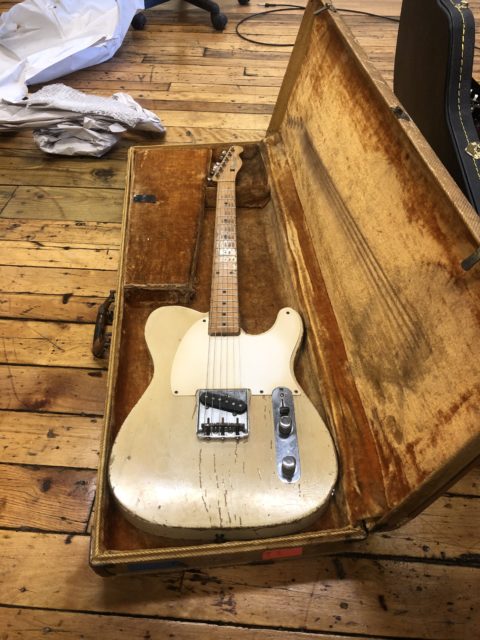
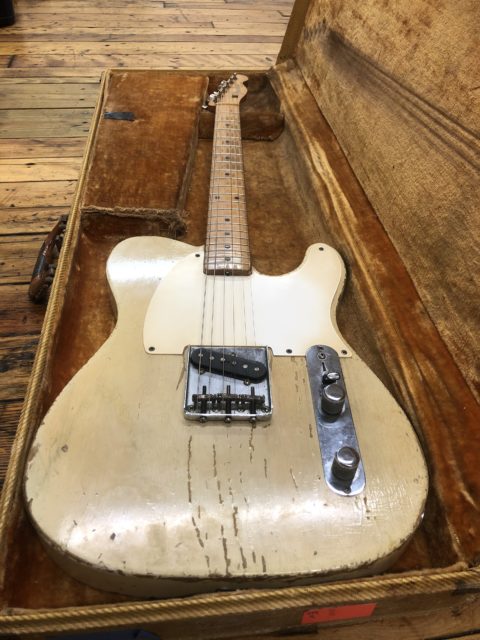
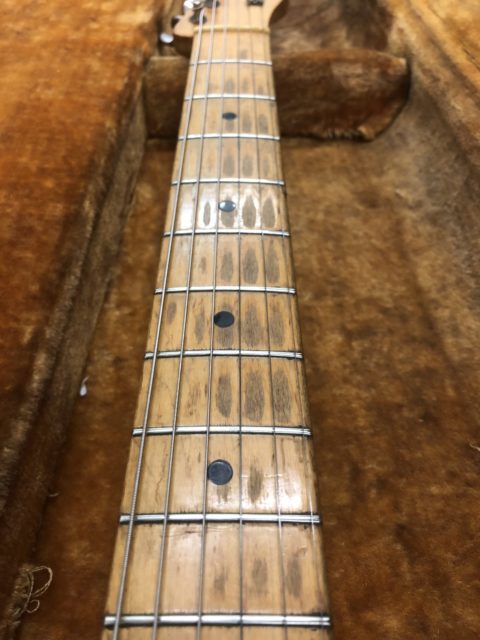
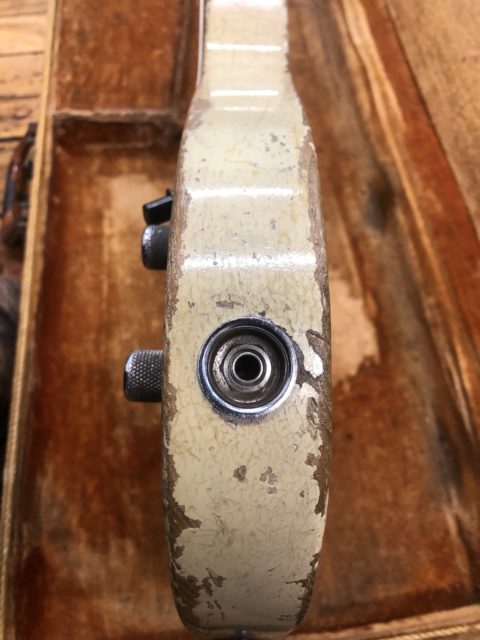
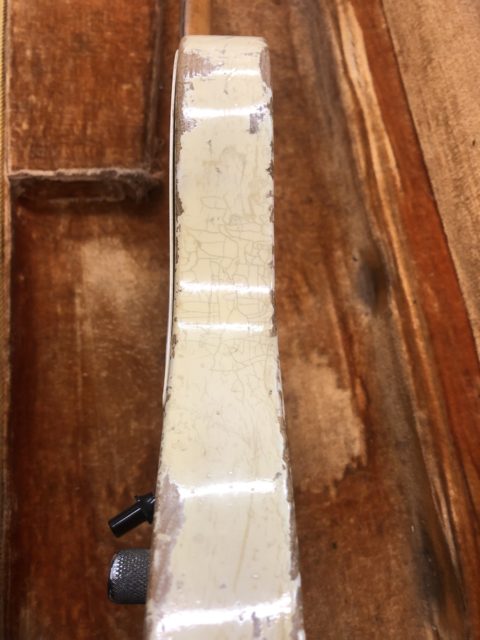
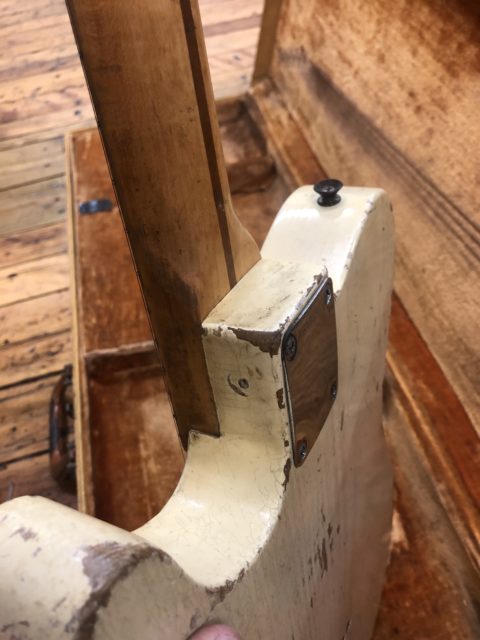
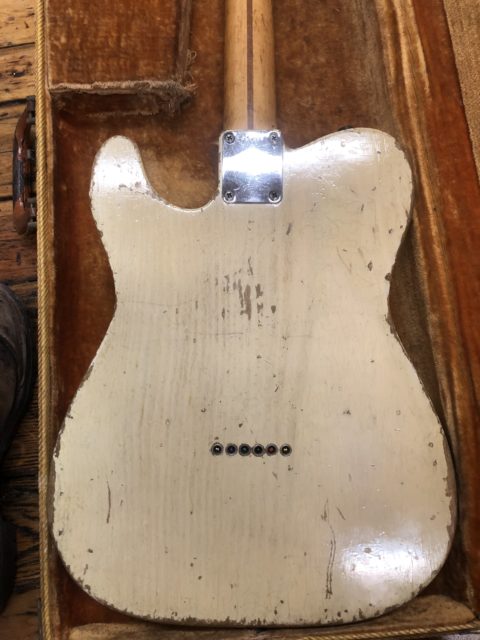
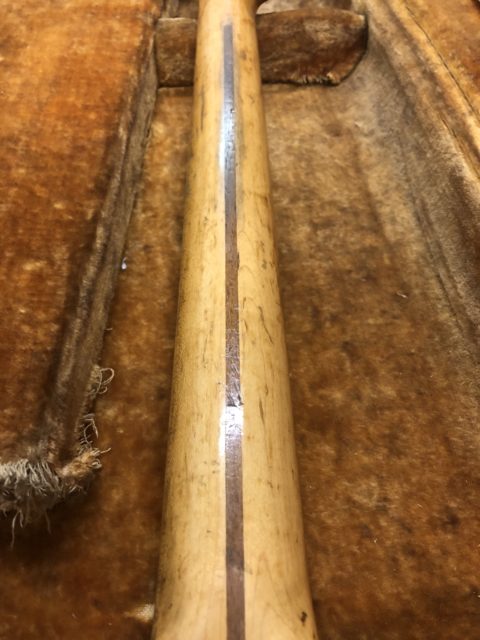
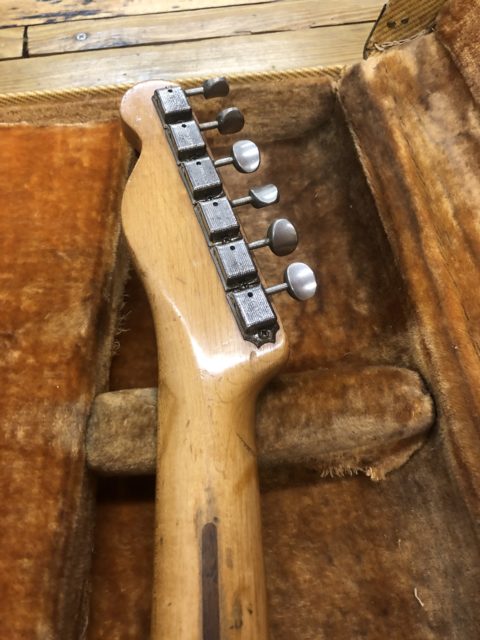
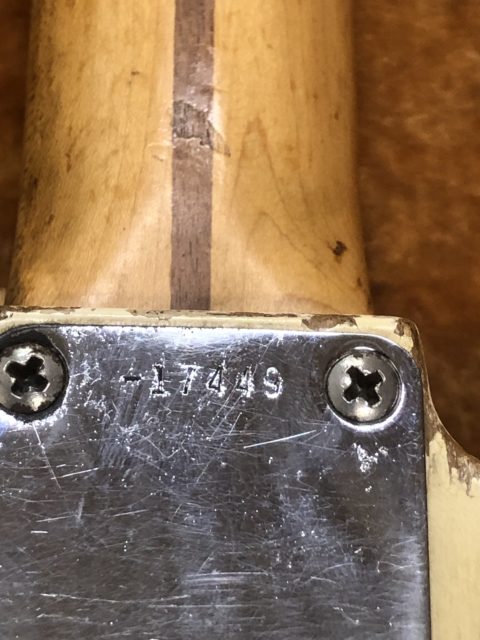
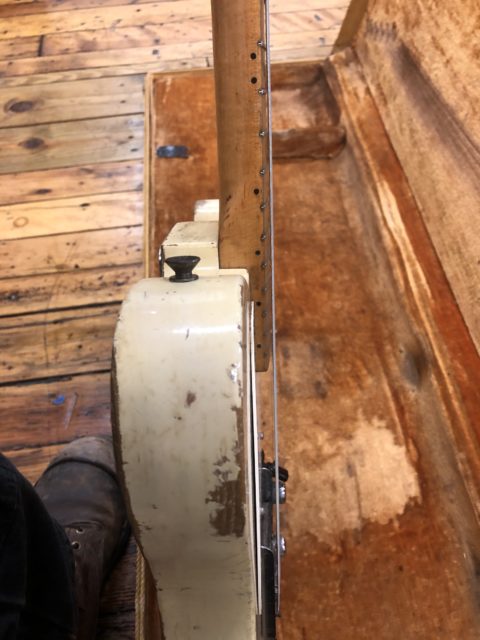
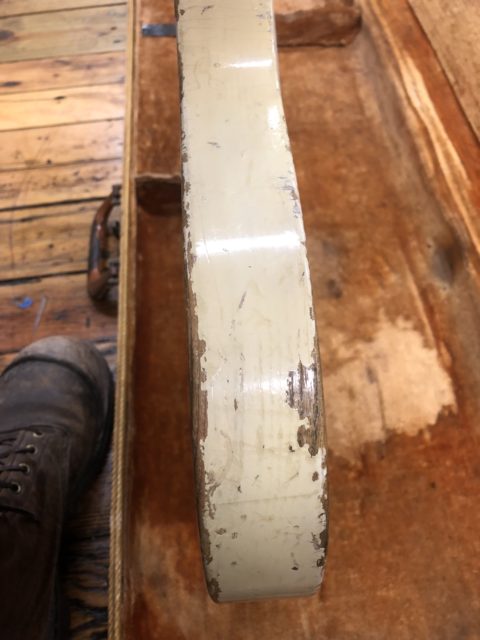
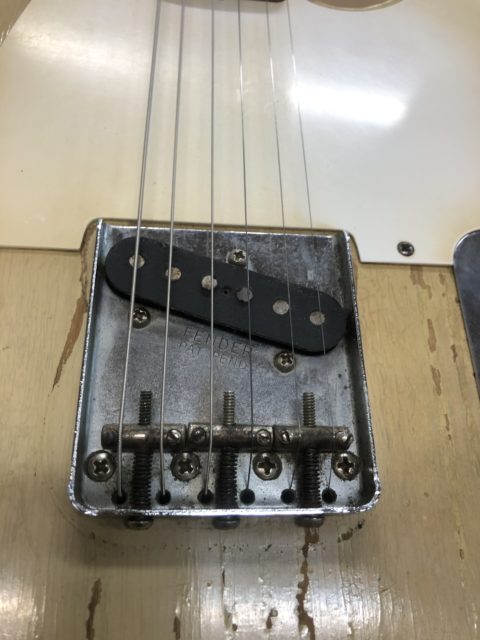
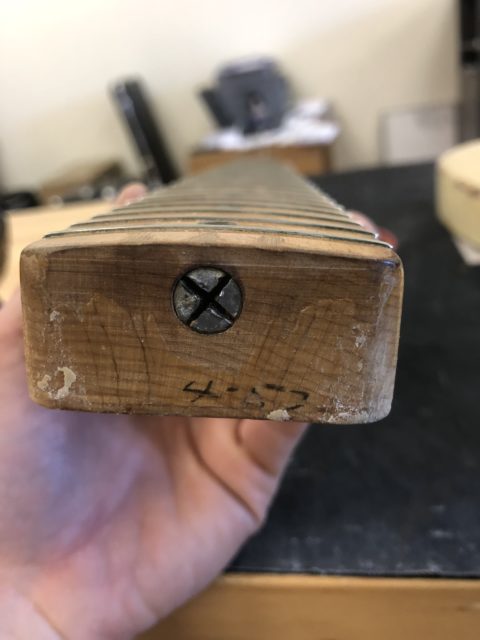
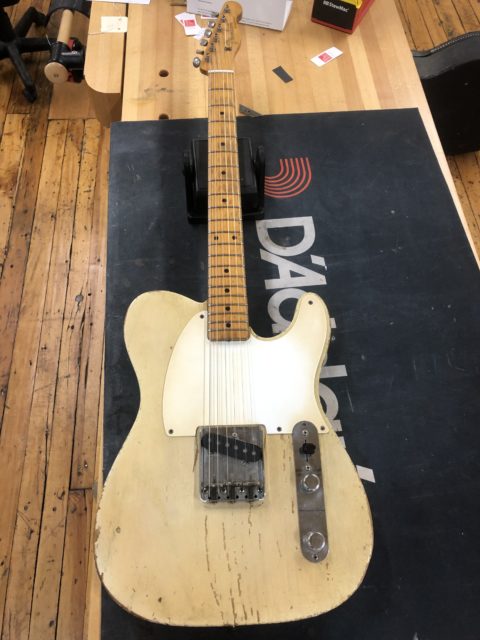
Our good friend Gabe Tonon recently brought us this beautiful 1957 Fender Esquire to have it refretted. We will cover the repair process below but, also included these first few pictures for everyone who can appreciate an instrument of this age and quality.
One of the first things to note about his guitar is that the neck was in great condition for playability. While certainly showing it's age, we do not need (or want) to touch any part of the neck other than the frets and nut. As covered in previous posts about maple fretboards, this can be challenging.
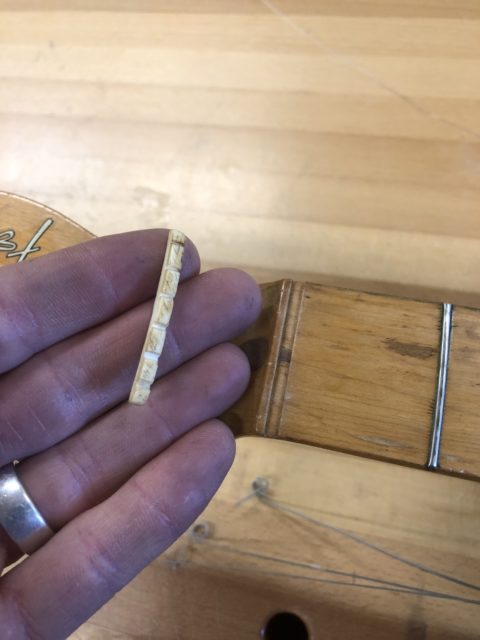
The first thing we did was remove the old nut. We will be replacing it with a new one made from bone.
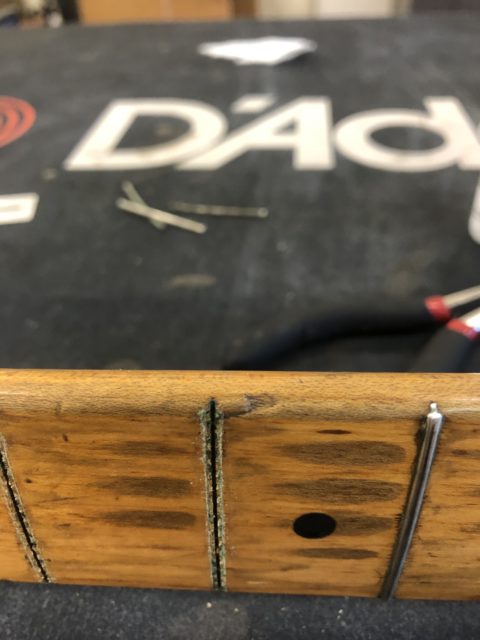
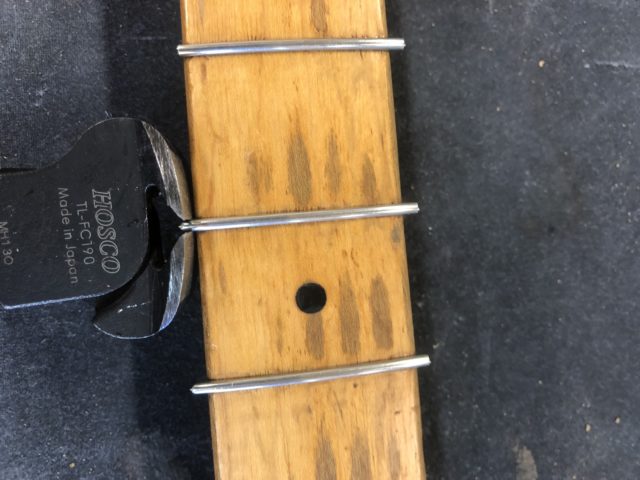
We then proceed to pull out the fold frets. When frets are removed, they leave behind these raised bits of wood and debris in the slot that need to be cleaned out before new ones can be installed.
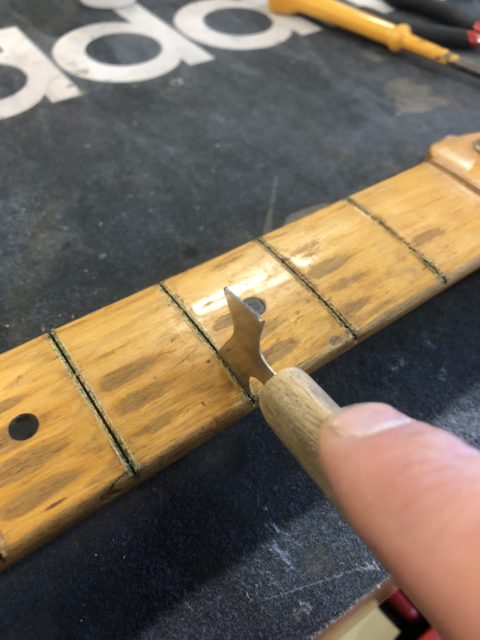
We use this small fret slot saw to break up and remove any unwanted material from within the slot itself.
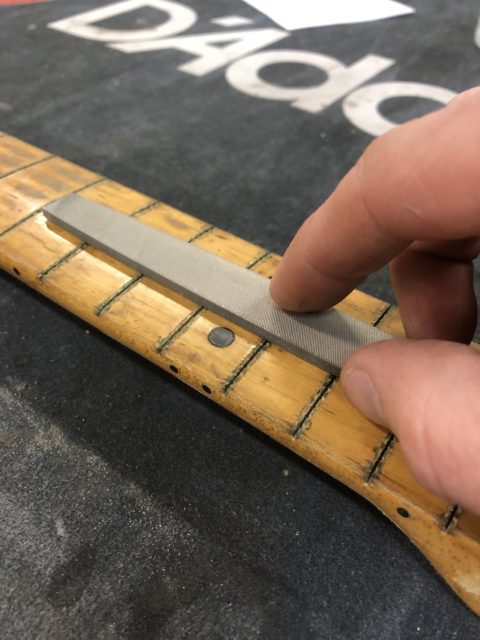
On a rosewood fretboard, we can then sand the entire playing surface to work out those wood burs and any imperfections but, we can't do that here. Instead, we used a very fine file that will ride along the tops of those bits of wood to remove them, without getting low enough to touch the fretboard.
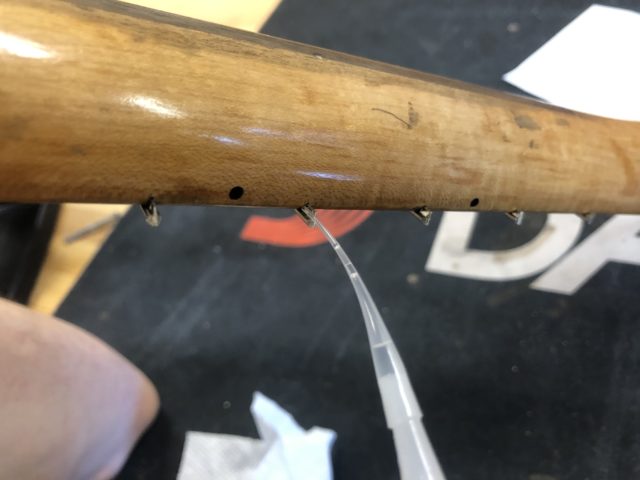
After that has been completed, we install the new nickel frets. Typically, we feed super glue or wood glue into the fret slots from the top of the fretboard to hold the frets in place. With this guitar, we can't due that because any water based adhesive can negatively effect the bare wood and there isn't a great way to remove any glue that seeps out without damaging the board. Instead, before clipping the frets, we flip the neck over and use the edge of the fret to help guide super glue into the slot from below. This worked out great!
Another challenge for this job was that the guitar has a 7-1/4" radius. As many of you know, this is fine for playing chords but can be challenging when doing any lead work. The customer wanted to have a flatter radius, particularly above the 12th fret.
To achieve this, we installed medium width frets but, ones that were taller than average (by about 0.010"). this allows us to remove more material from the frets to flatten out the actual playing surface without touching the fretboard itself.
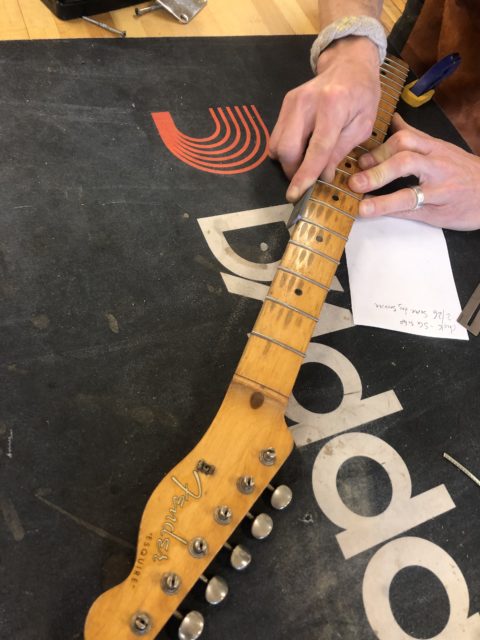
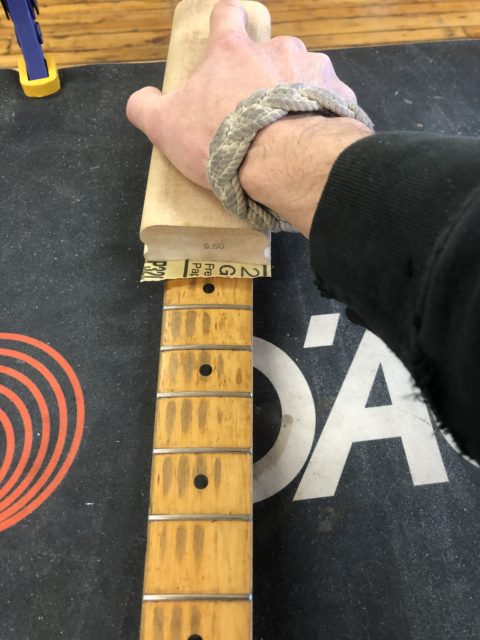
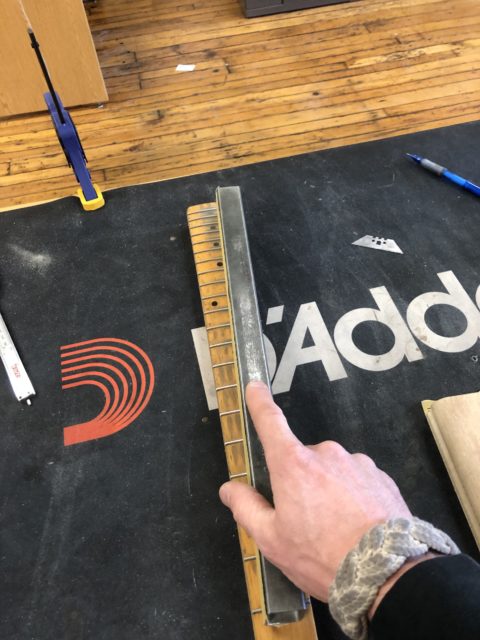
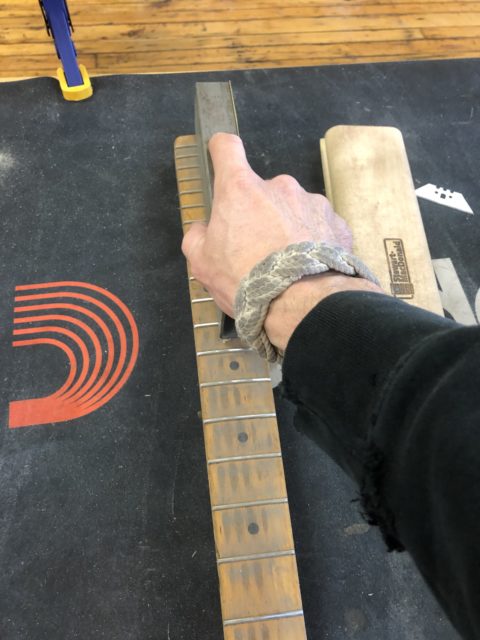
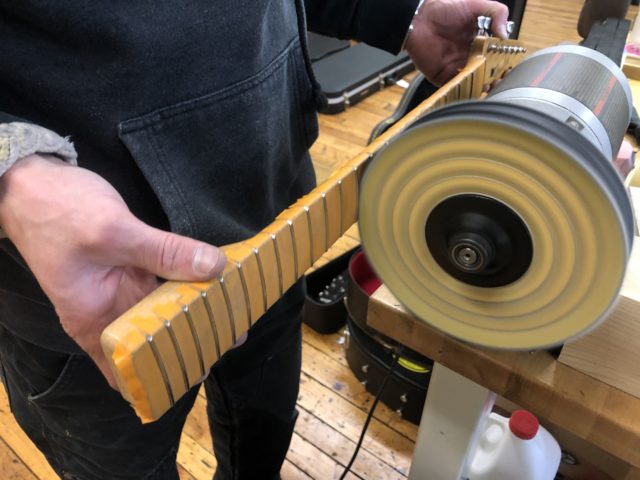
As seen here and in the past few pictures, we used sanding beams and radius sanders to get the flatter radius into the frets. Here, we are holding one end of the sanding beam in place towards the nut, while the other end is moved side-to-side. This will actually achieve a compound radius when we are done.
While not a huge change, this process will end up with a 7-1/4" radius at the nut and an 8" radius above the 12 fret. This subtle change will help a lot with lead work, and we didn't have to touch the fretboard!
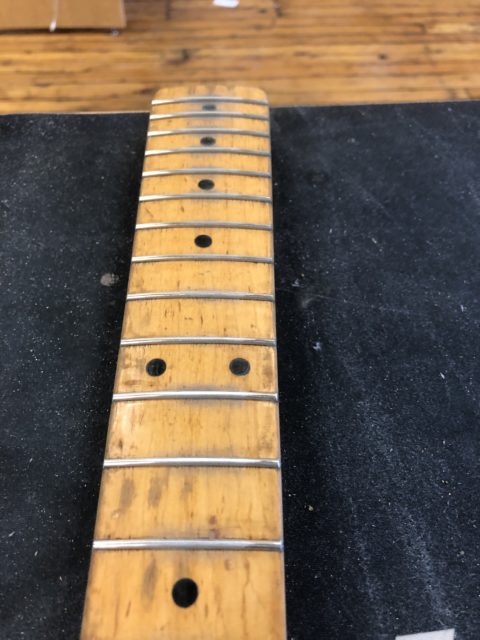
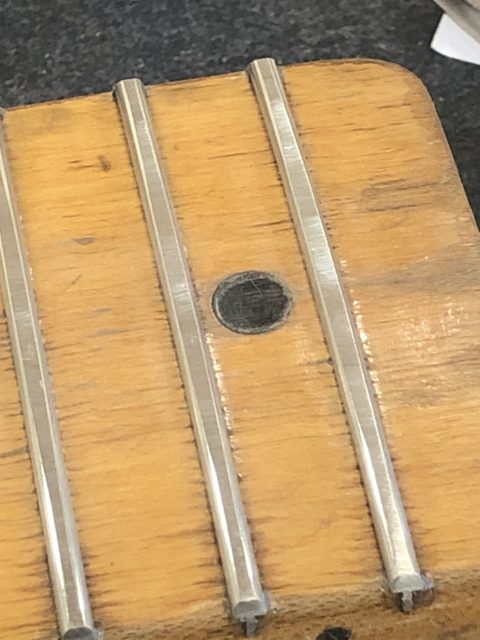
Here is a closeup of the sanded frets. you can see where more material has been removed in the middle then on the edges by that side-to-side motion.
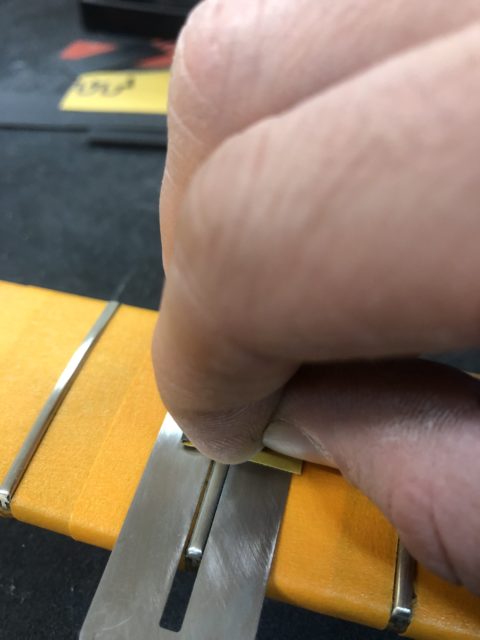
We then tape off the fretboard to prevent any damage while we crown and polish the frets. we use these metal fret guards for an extra layer of protection.
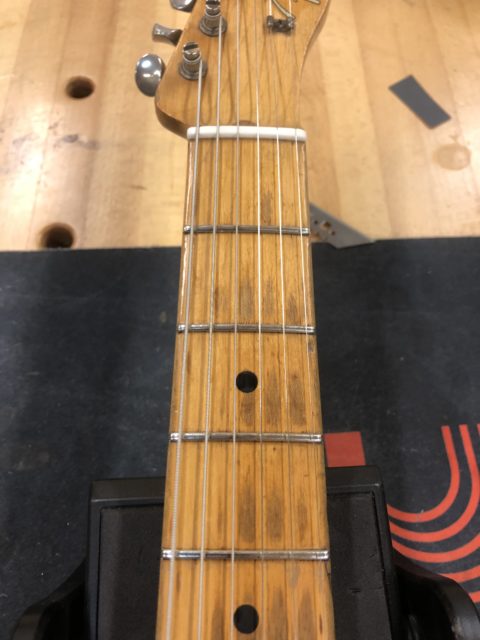
Here are the finished frets and that new bone nut, quite nice to see against that beautiful old fretboard.
