Andy Argondizza’s Gibson ES-335

A few weeks ago, local musician Andy Argondizza brought us his eye-catching Gibson ES-335 for a refret and new bone nut.
Here is a closeup of some of the fret wear on Andy's guitar. The lighting helps to highlight the divots and some of the spots that have worn flat after years of use.
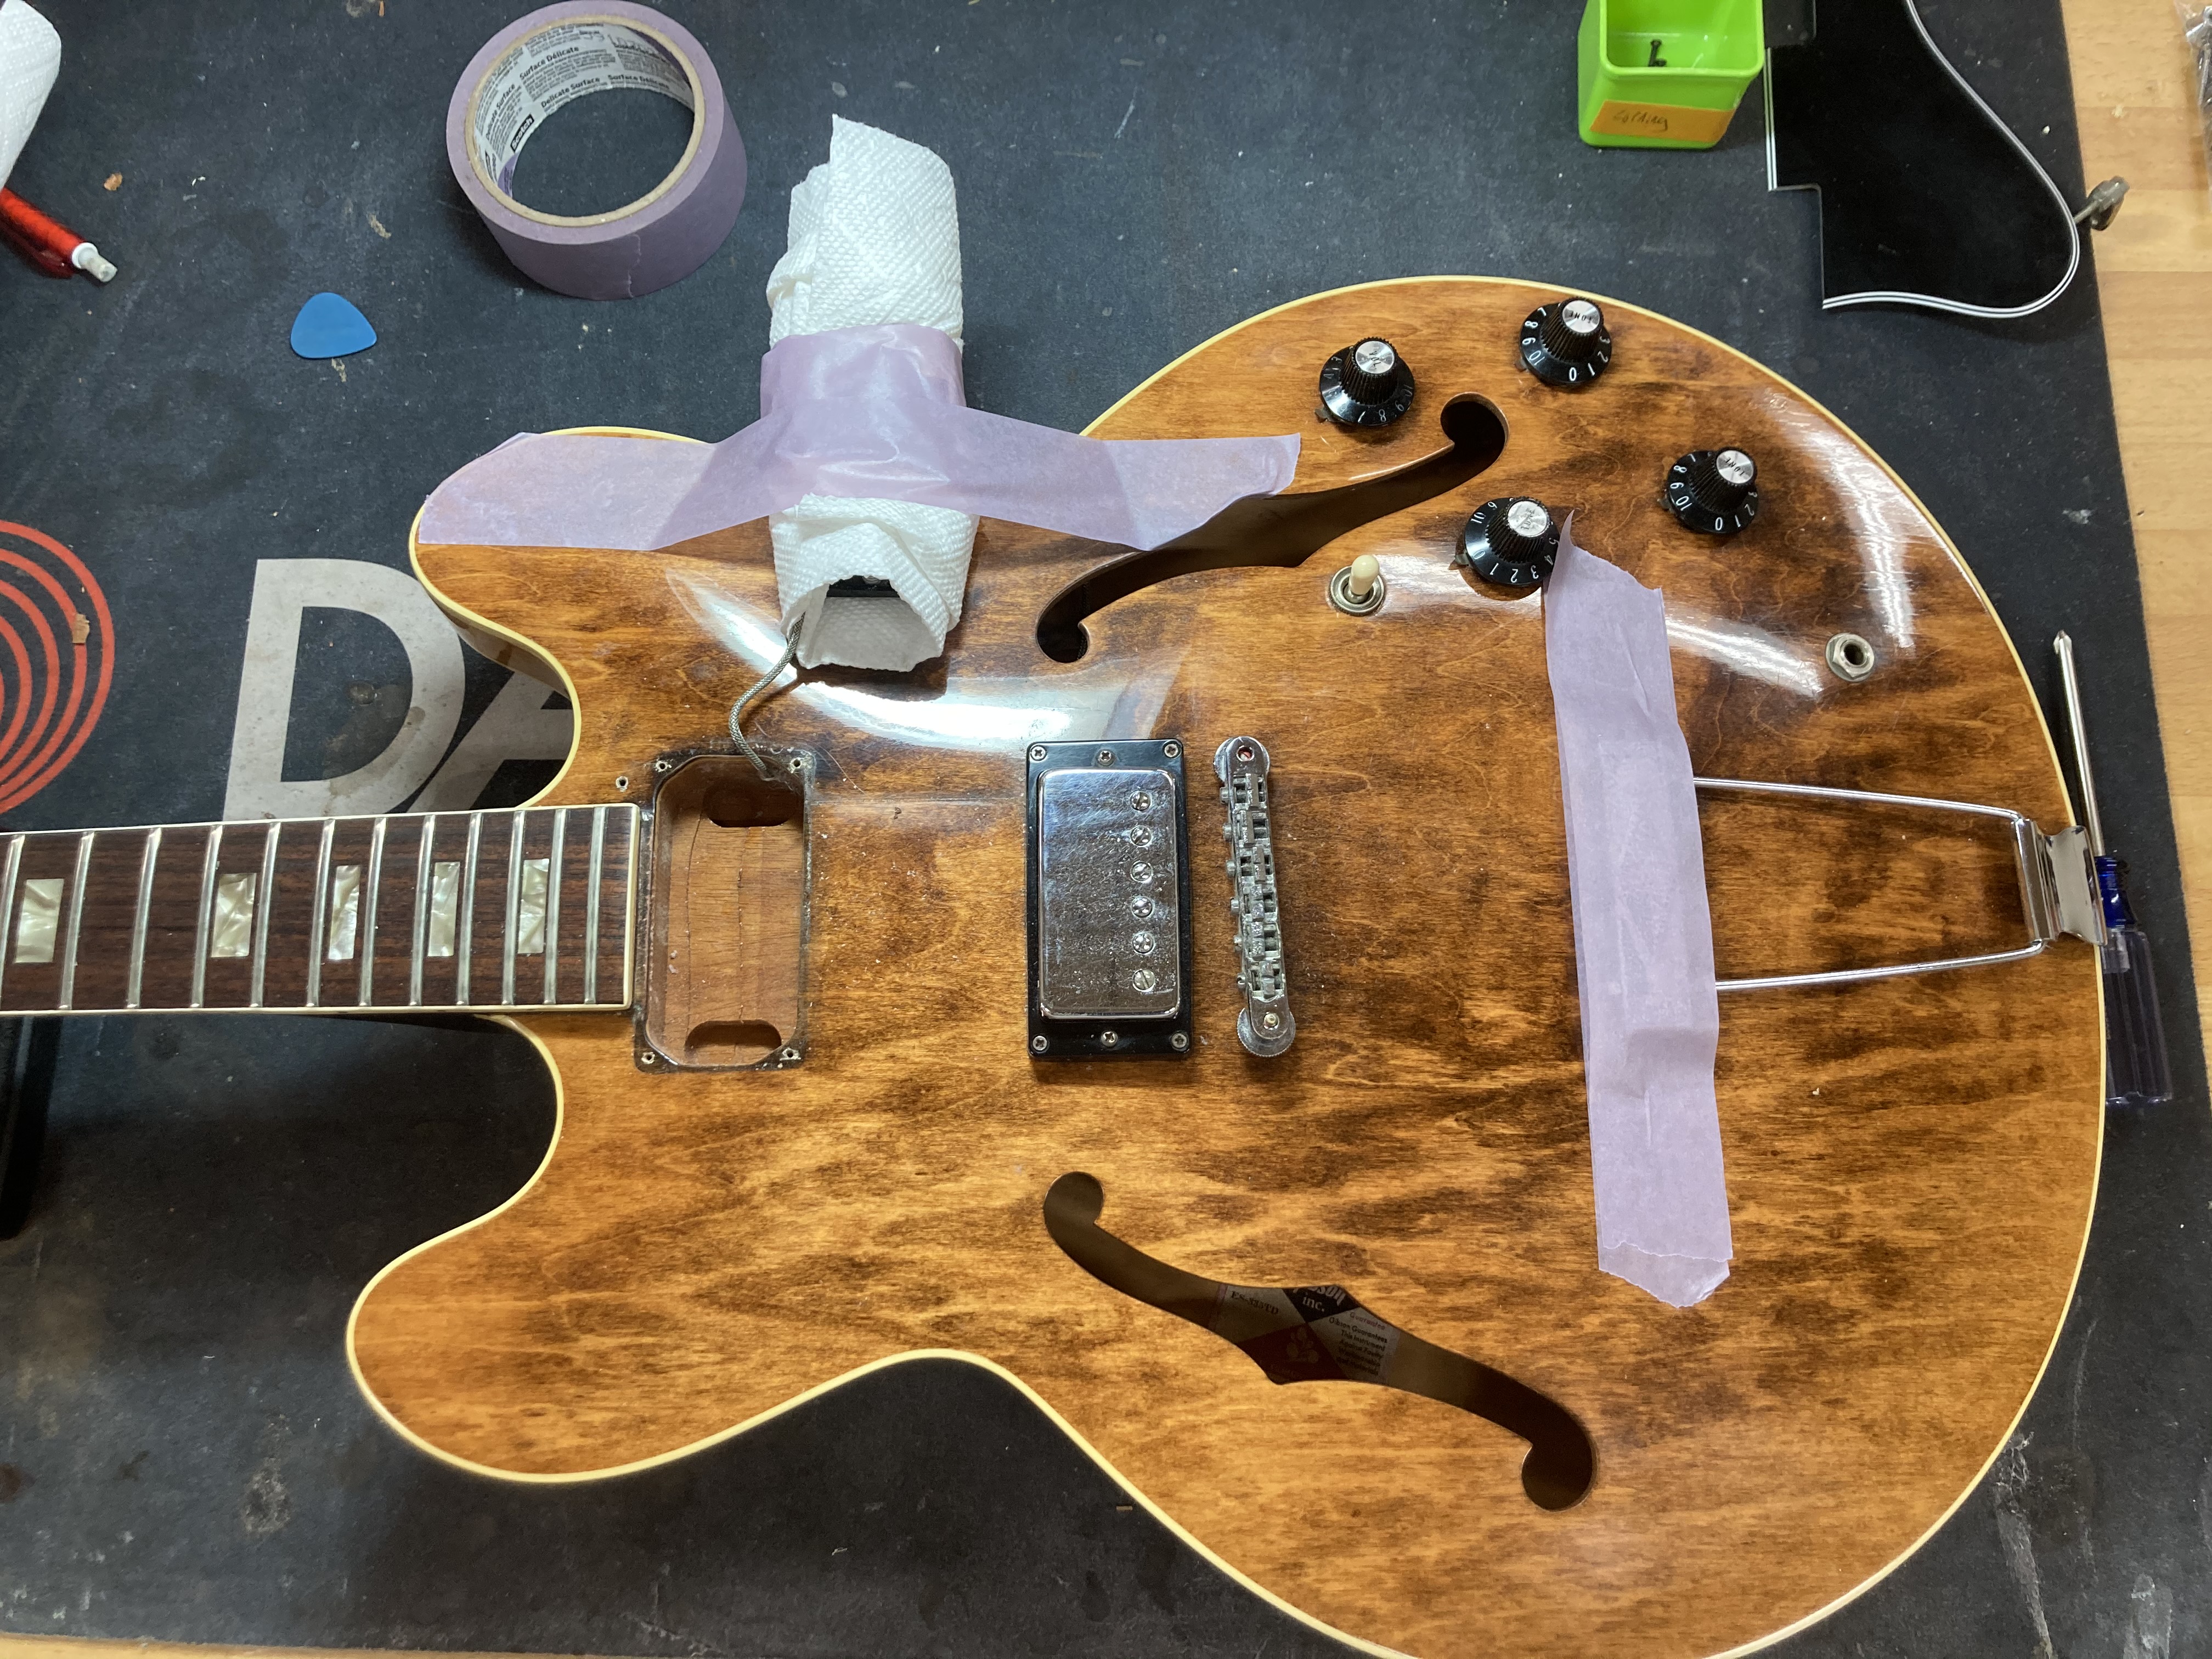
We want to make sure to protect the rest of the guitar during any refret so after removing the old nut, we also took the neck pickup out of the guitar and taped it off to the side of the guitar to ensure it wouldn't get hit during the sanding process.

After the frets have been pulled, we begin sanding the neck to a uniform radius. You can see we still have a bit to go here, evidenced by the darker, untouched spots of wood near the headstock and surrounding the 15th fret.
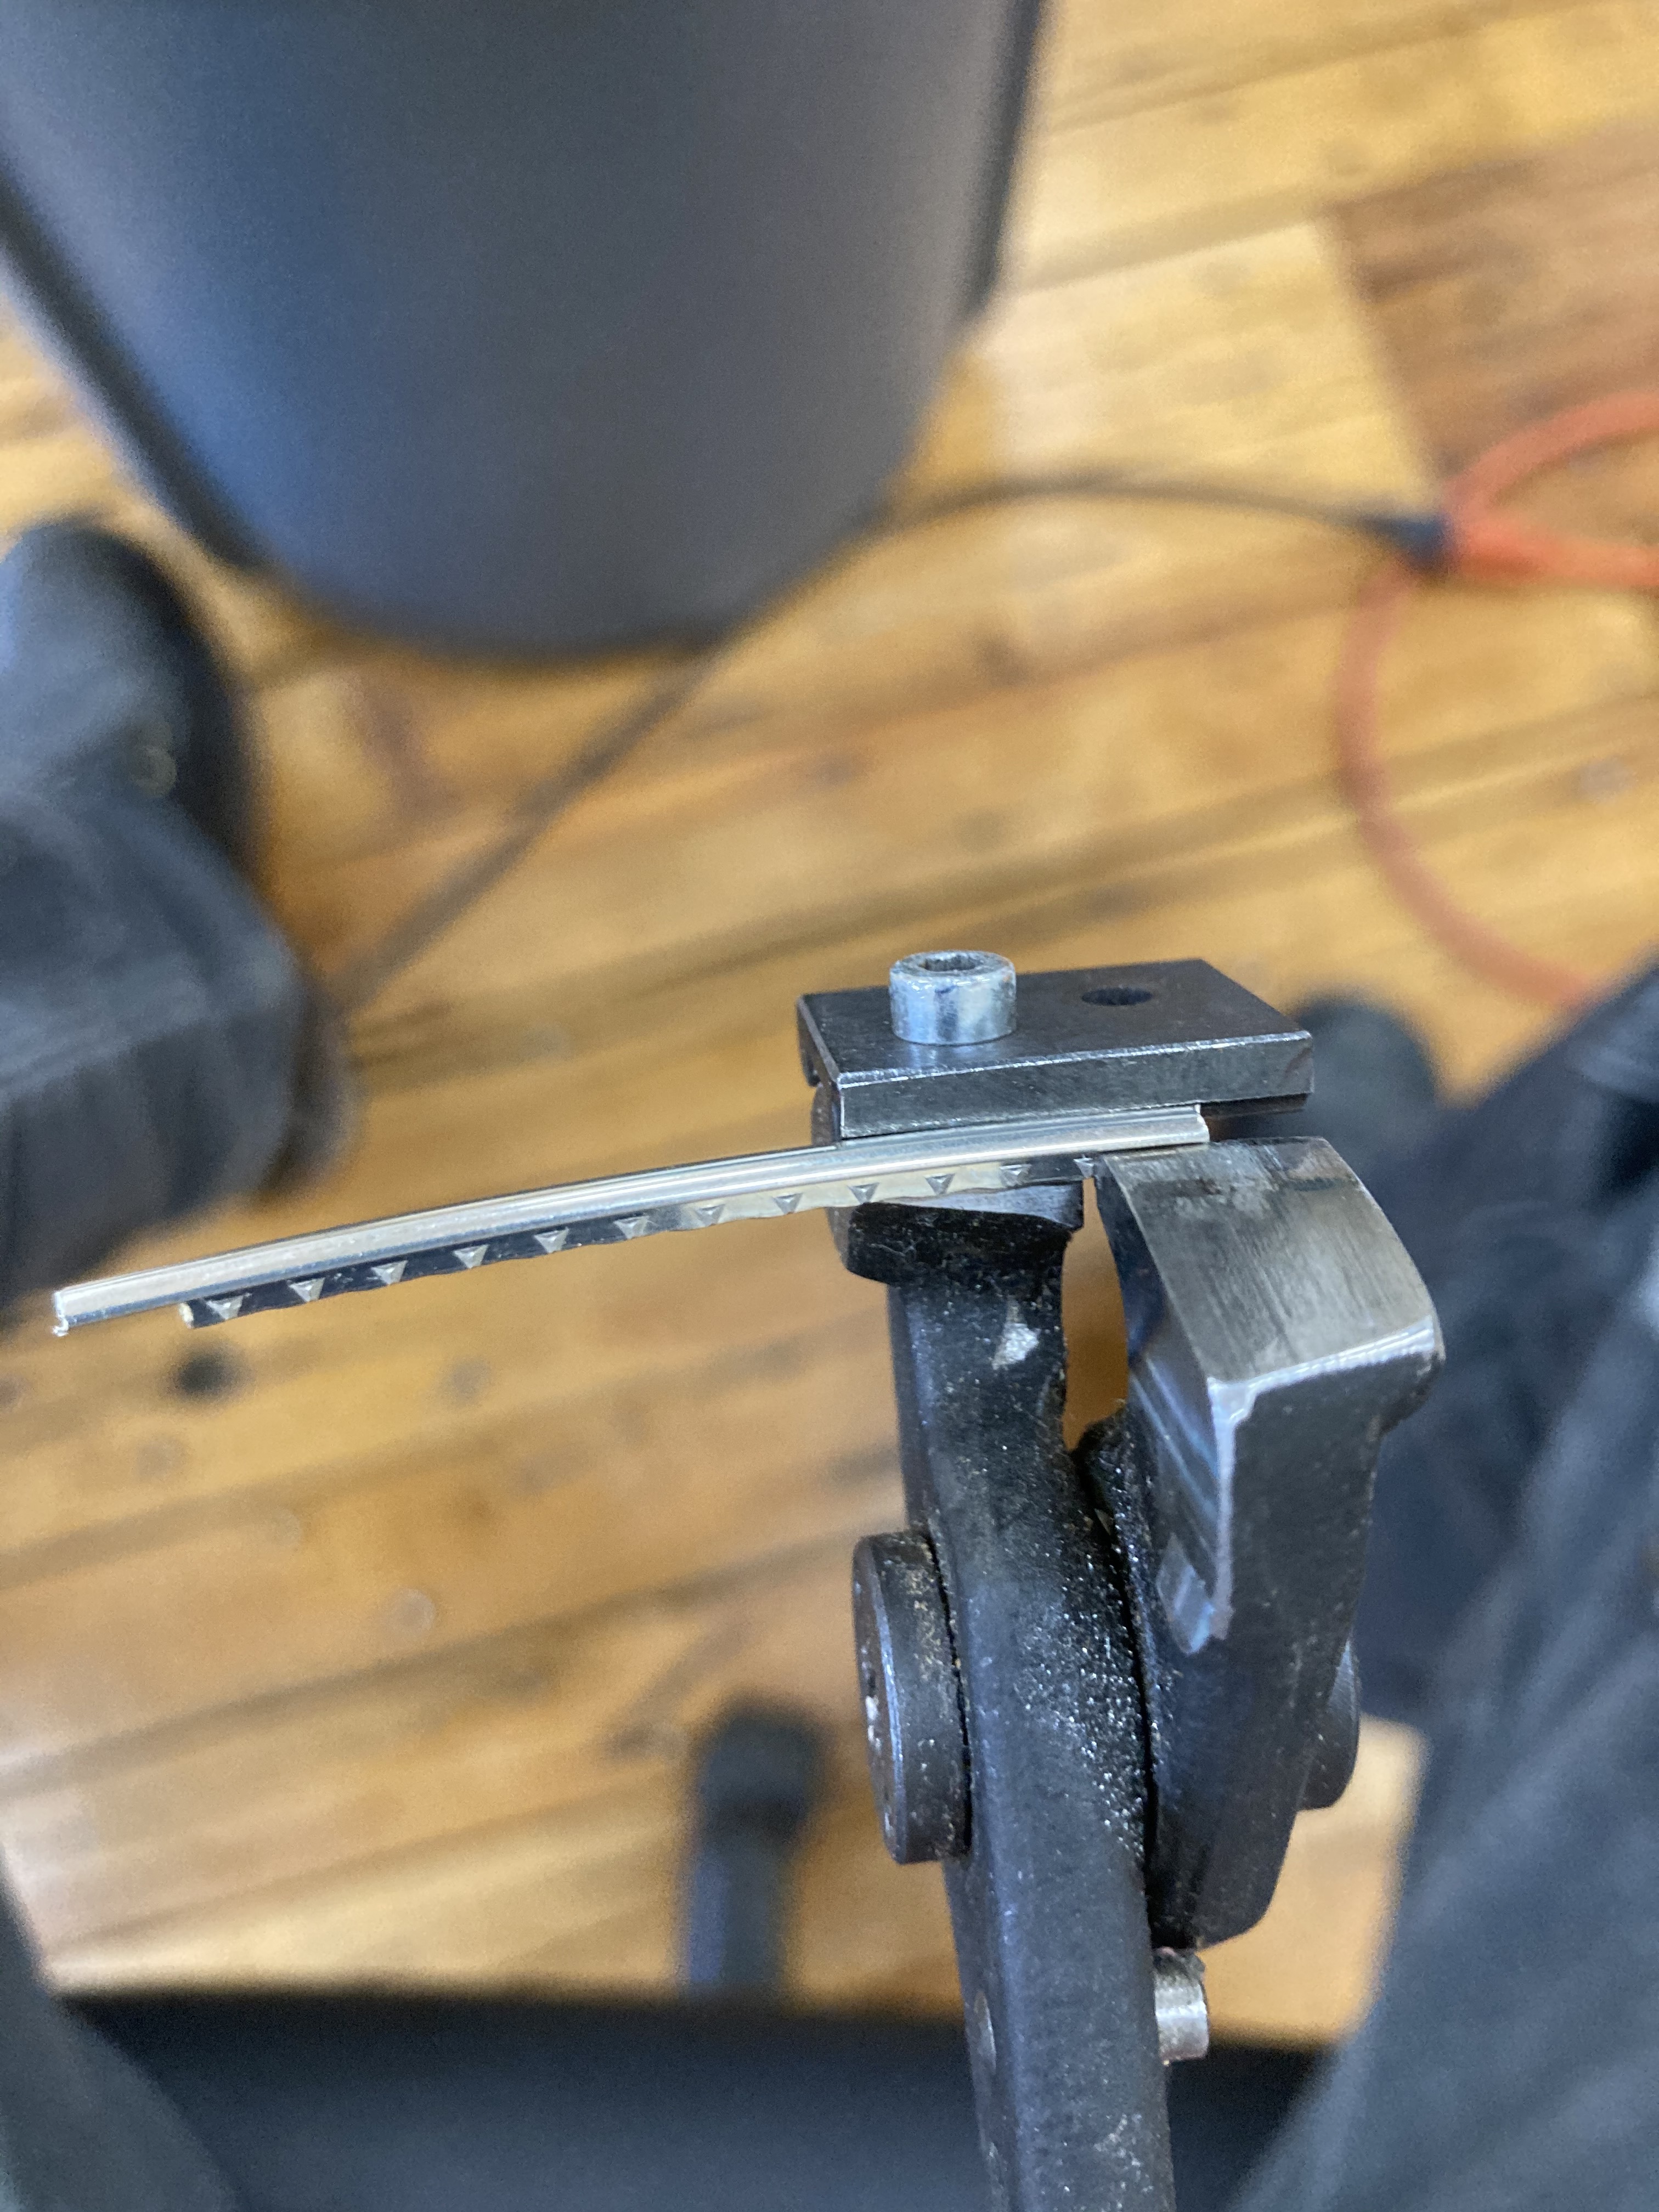
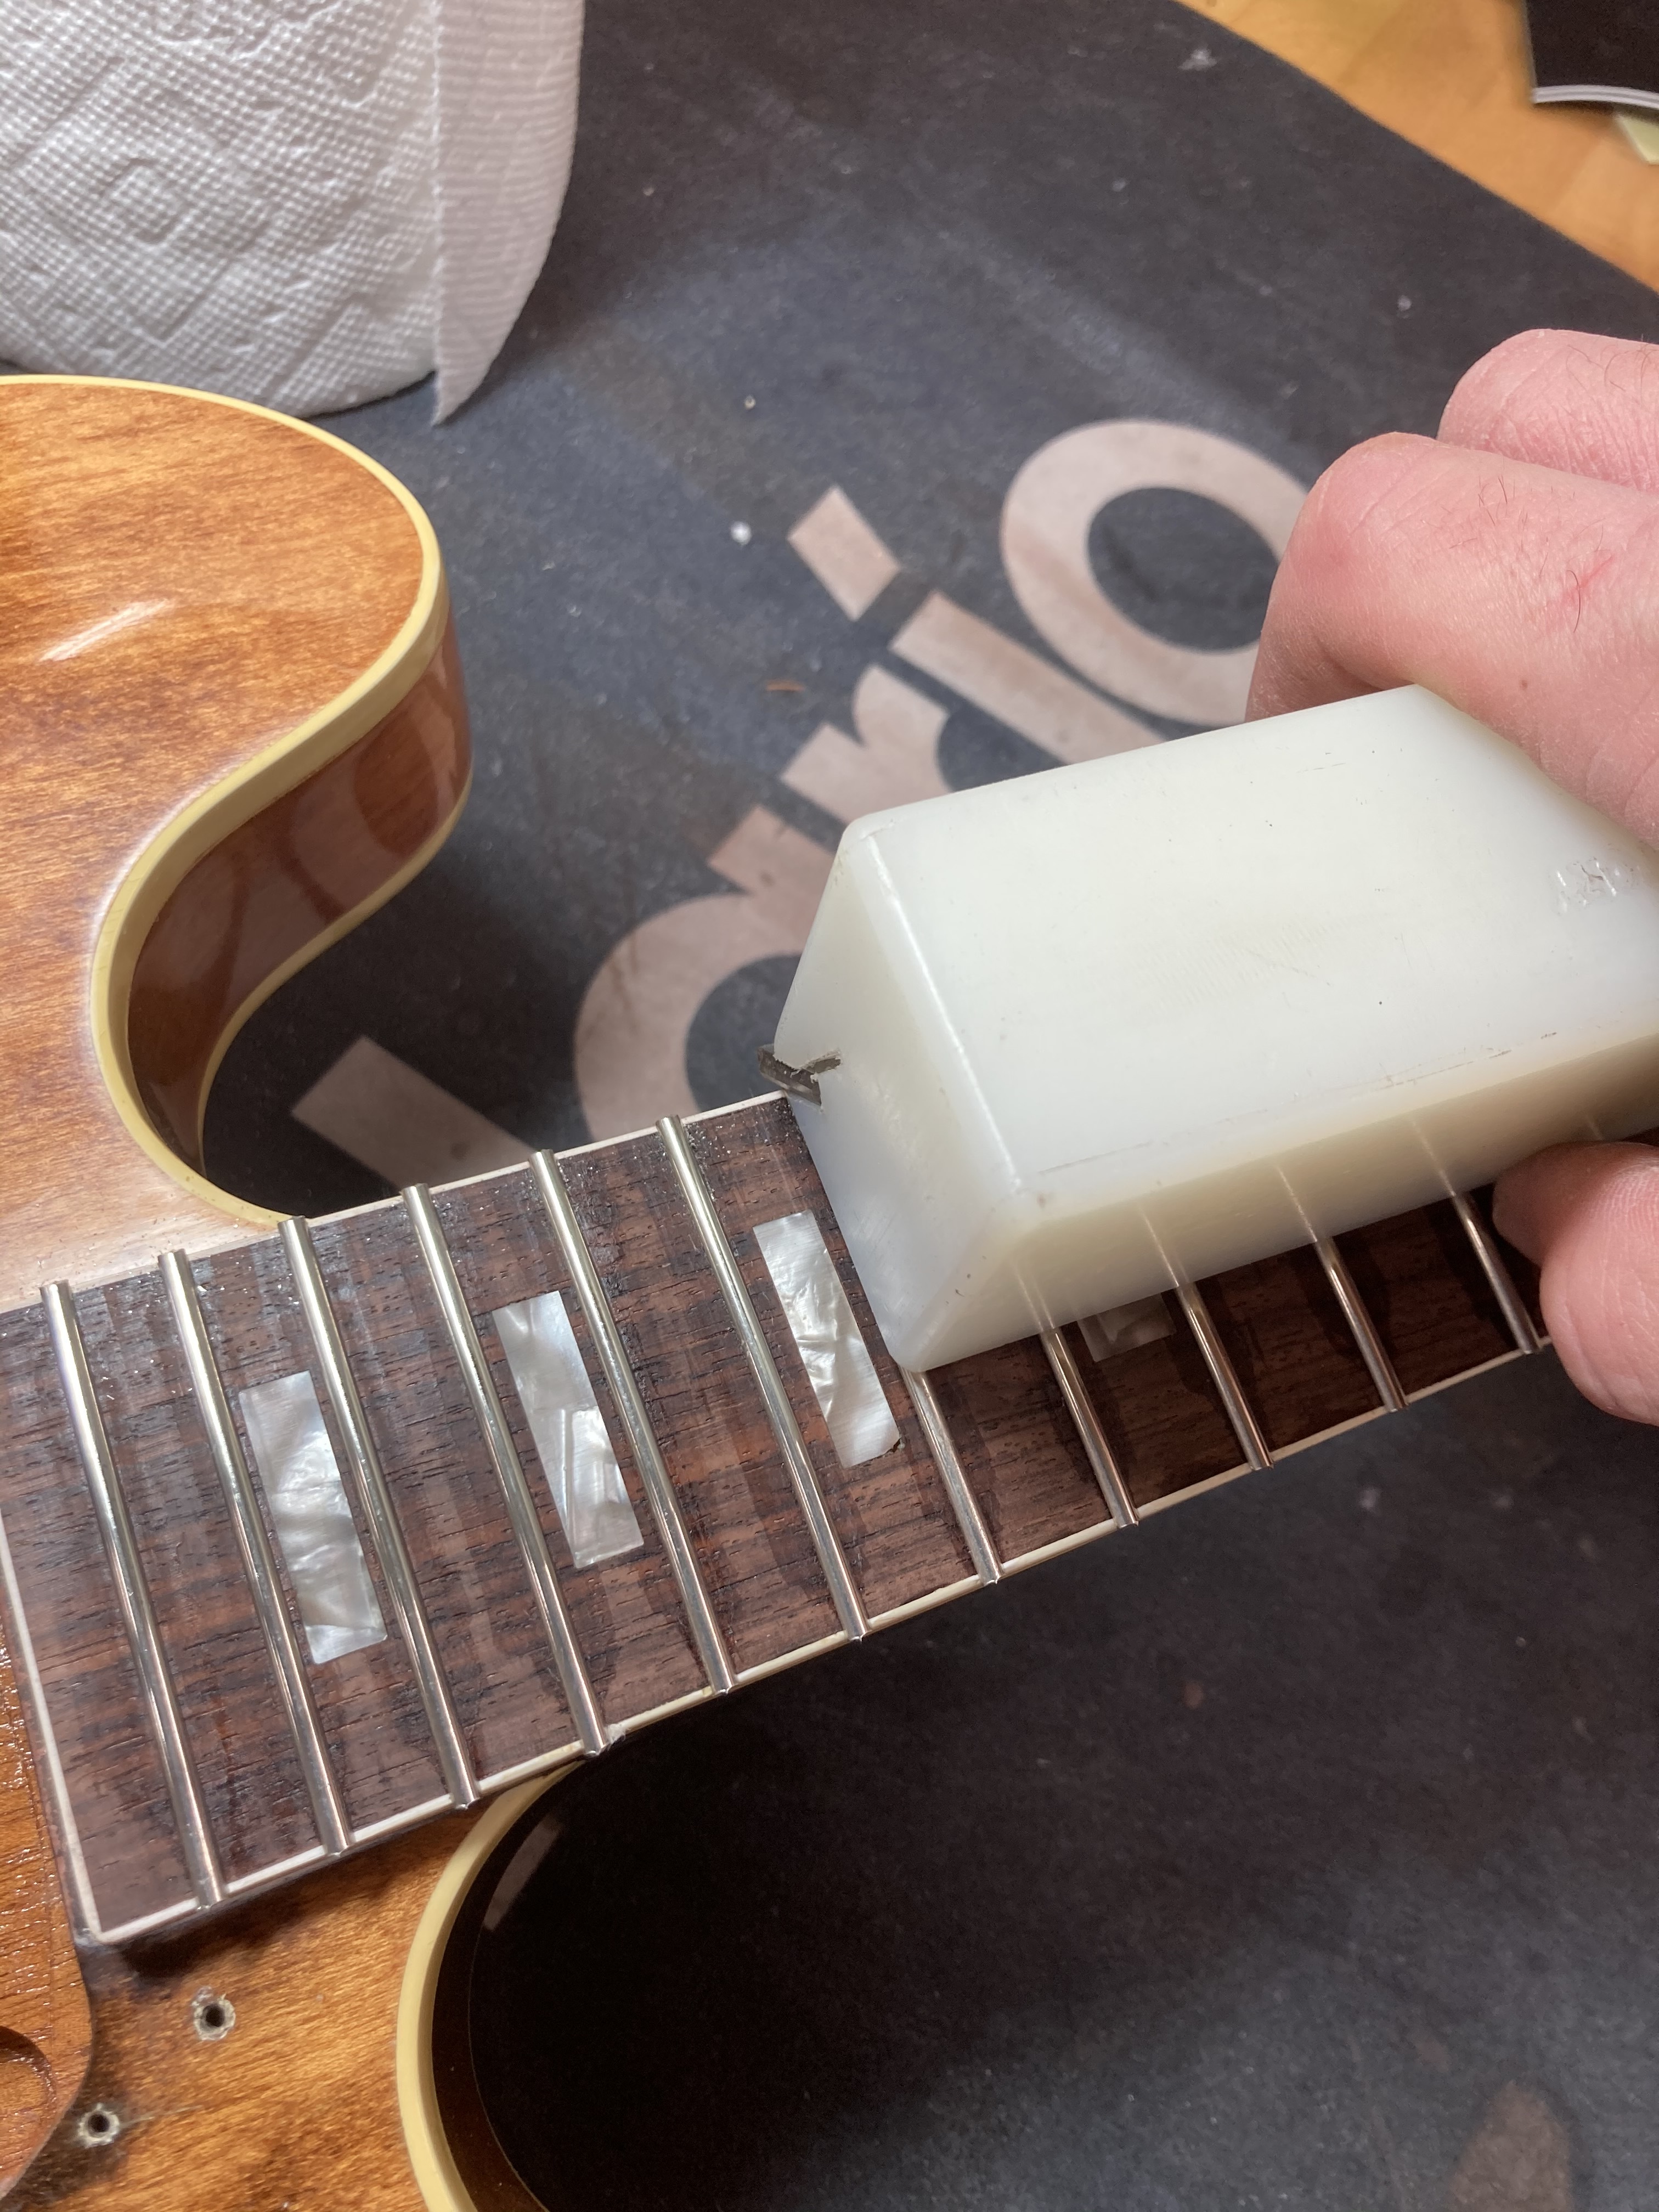
After the neck has been prepped and some new frets cut, we use these fret tang nippers to cut a bit of the tang off the ends of the frets. This is necessary because of the guitar's bound fretboard. Failing to trim the tang would cause it to crush or split the binding while the fret is being pressed in place.
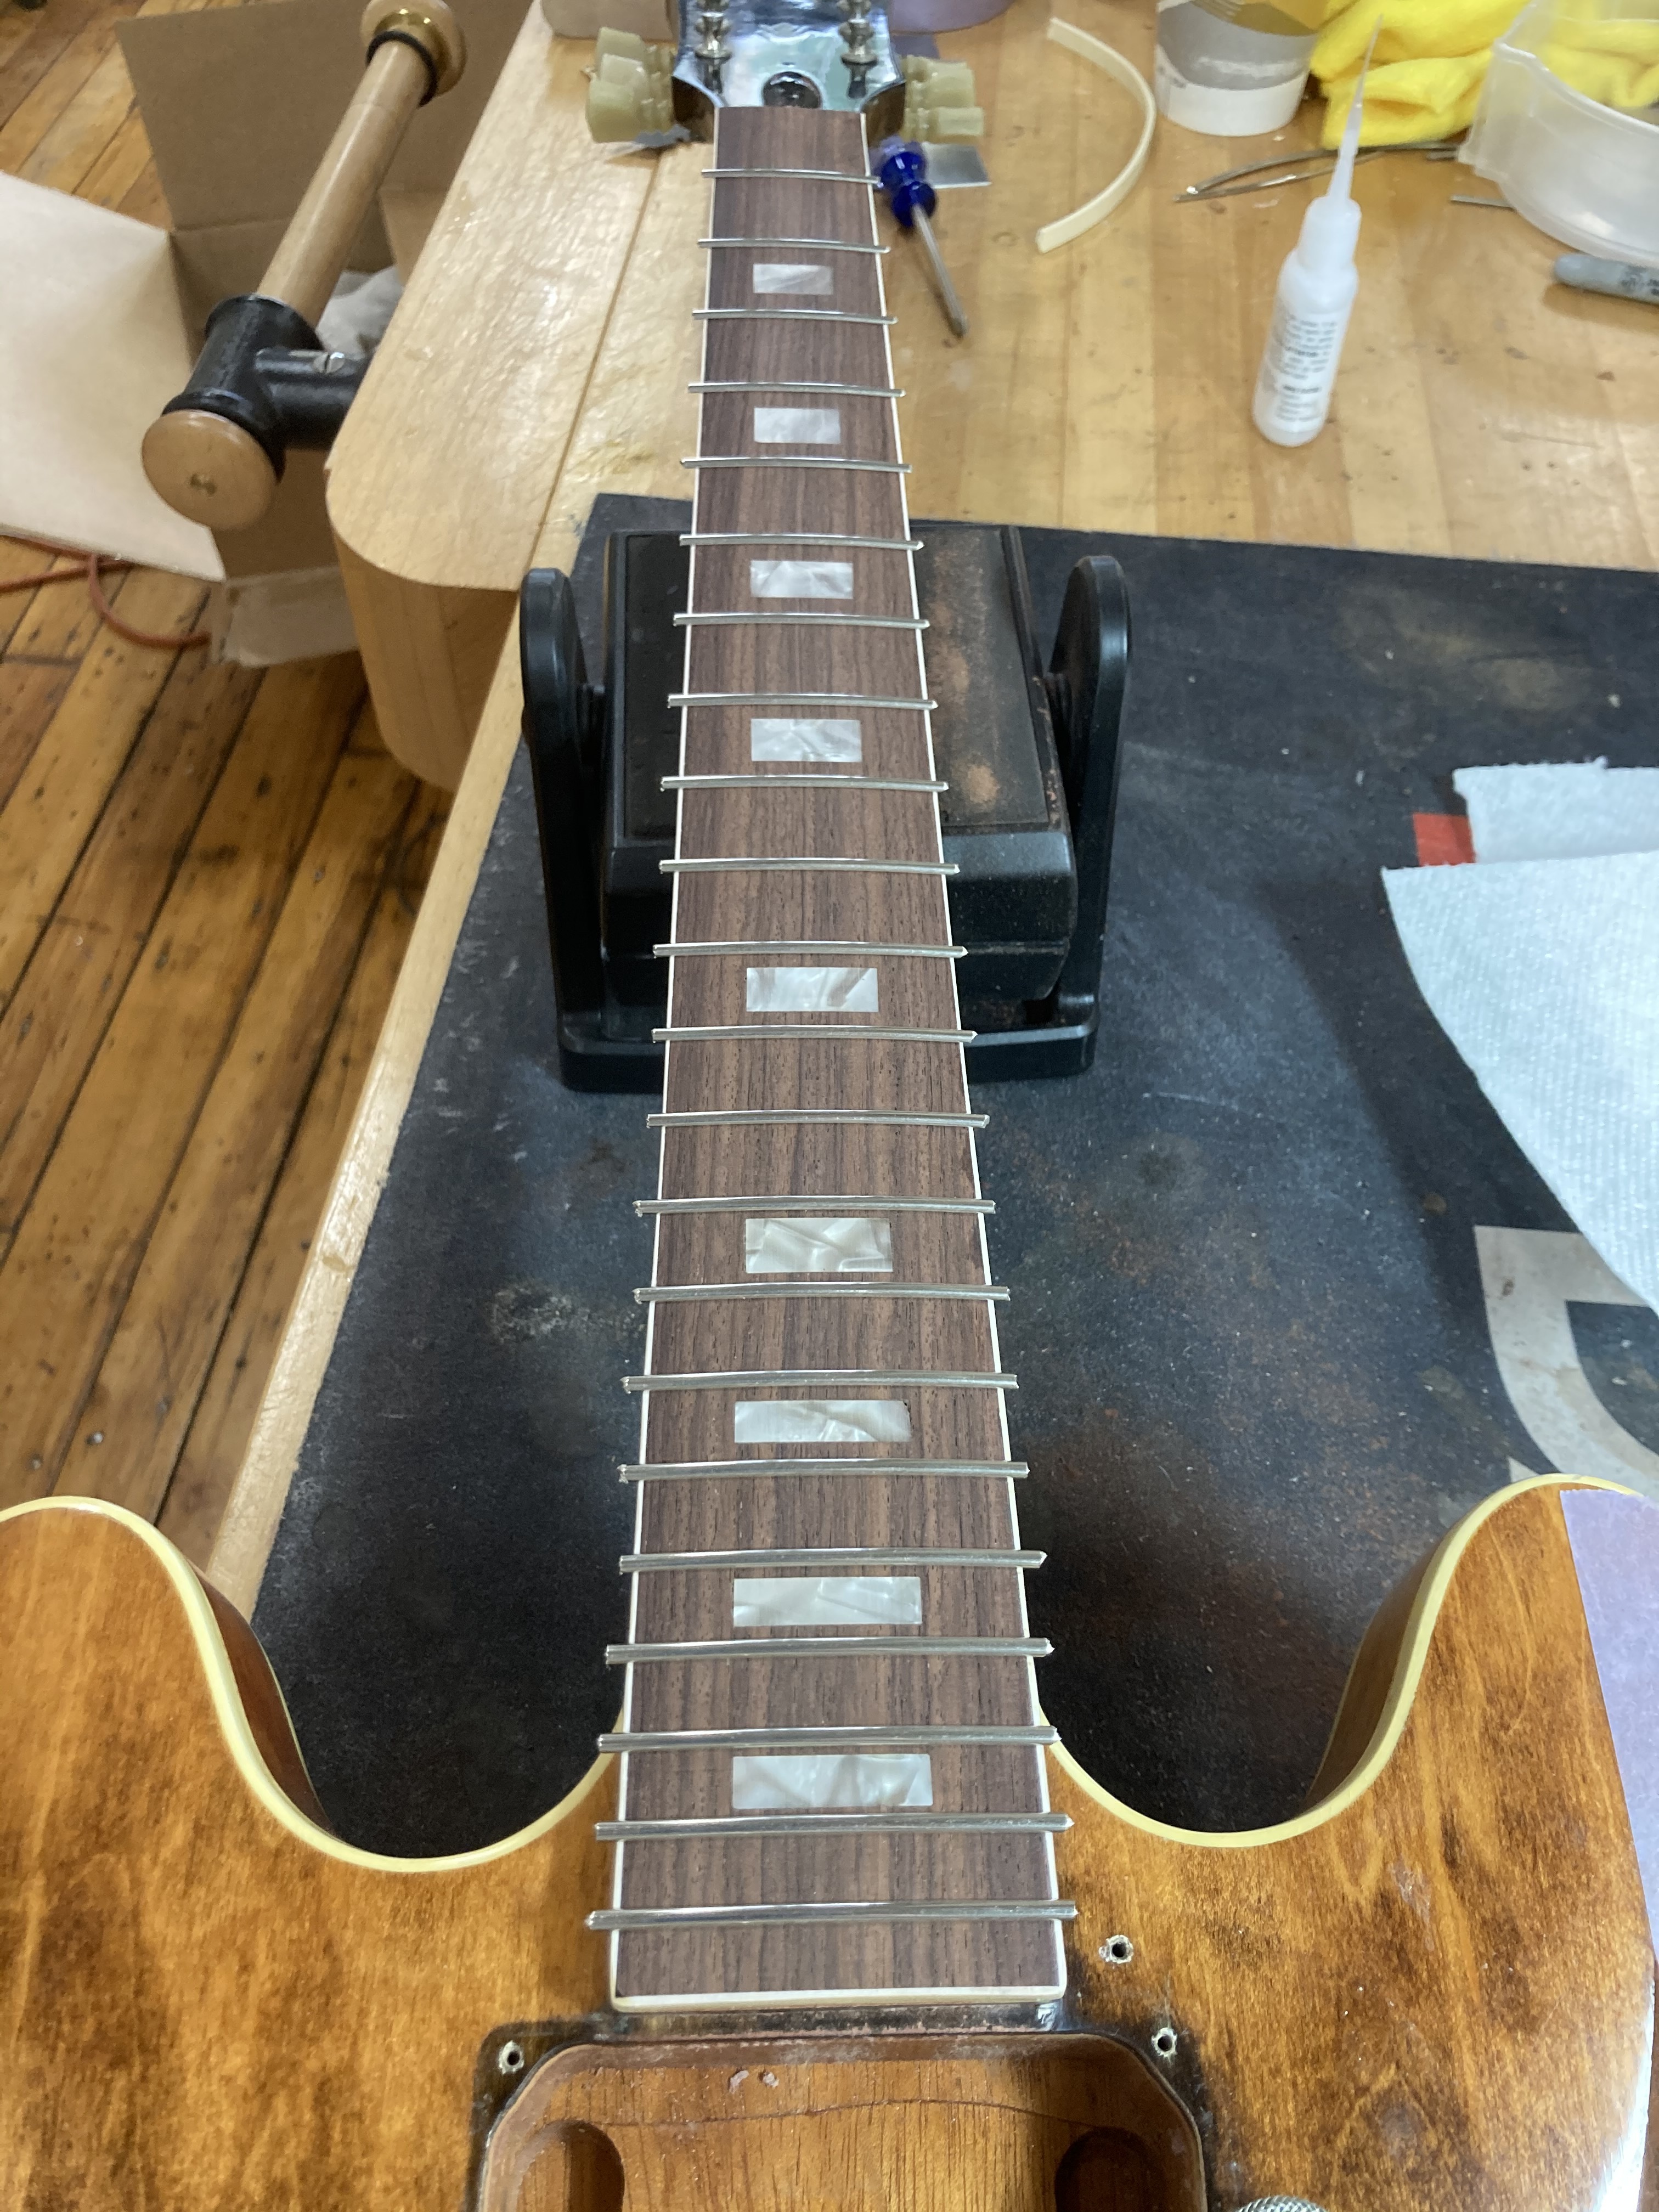
No we have all of the frets installed, with the trimmed ends hanging over the binding.

We then go through the entire fretboard, gluing each fret in place and cleaning off as much excess as possible.
The ends of the frets are then trimmed close to the edge of the fretboard and we use this beveling file to shape the trimmed ends.
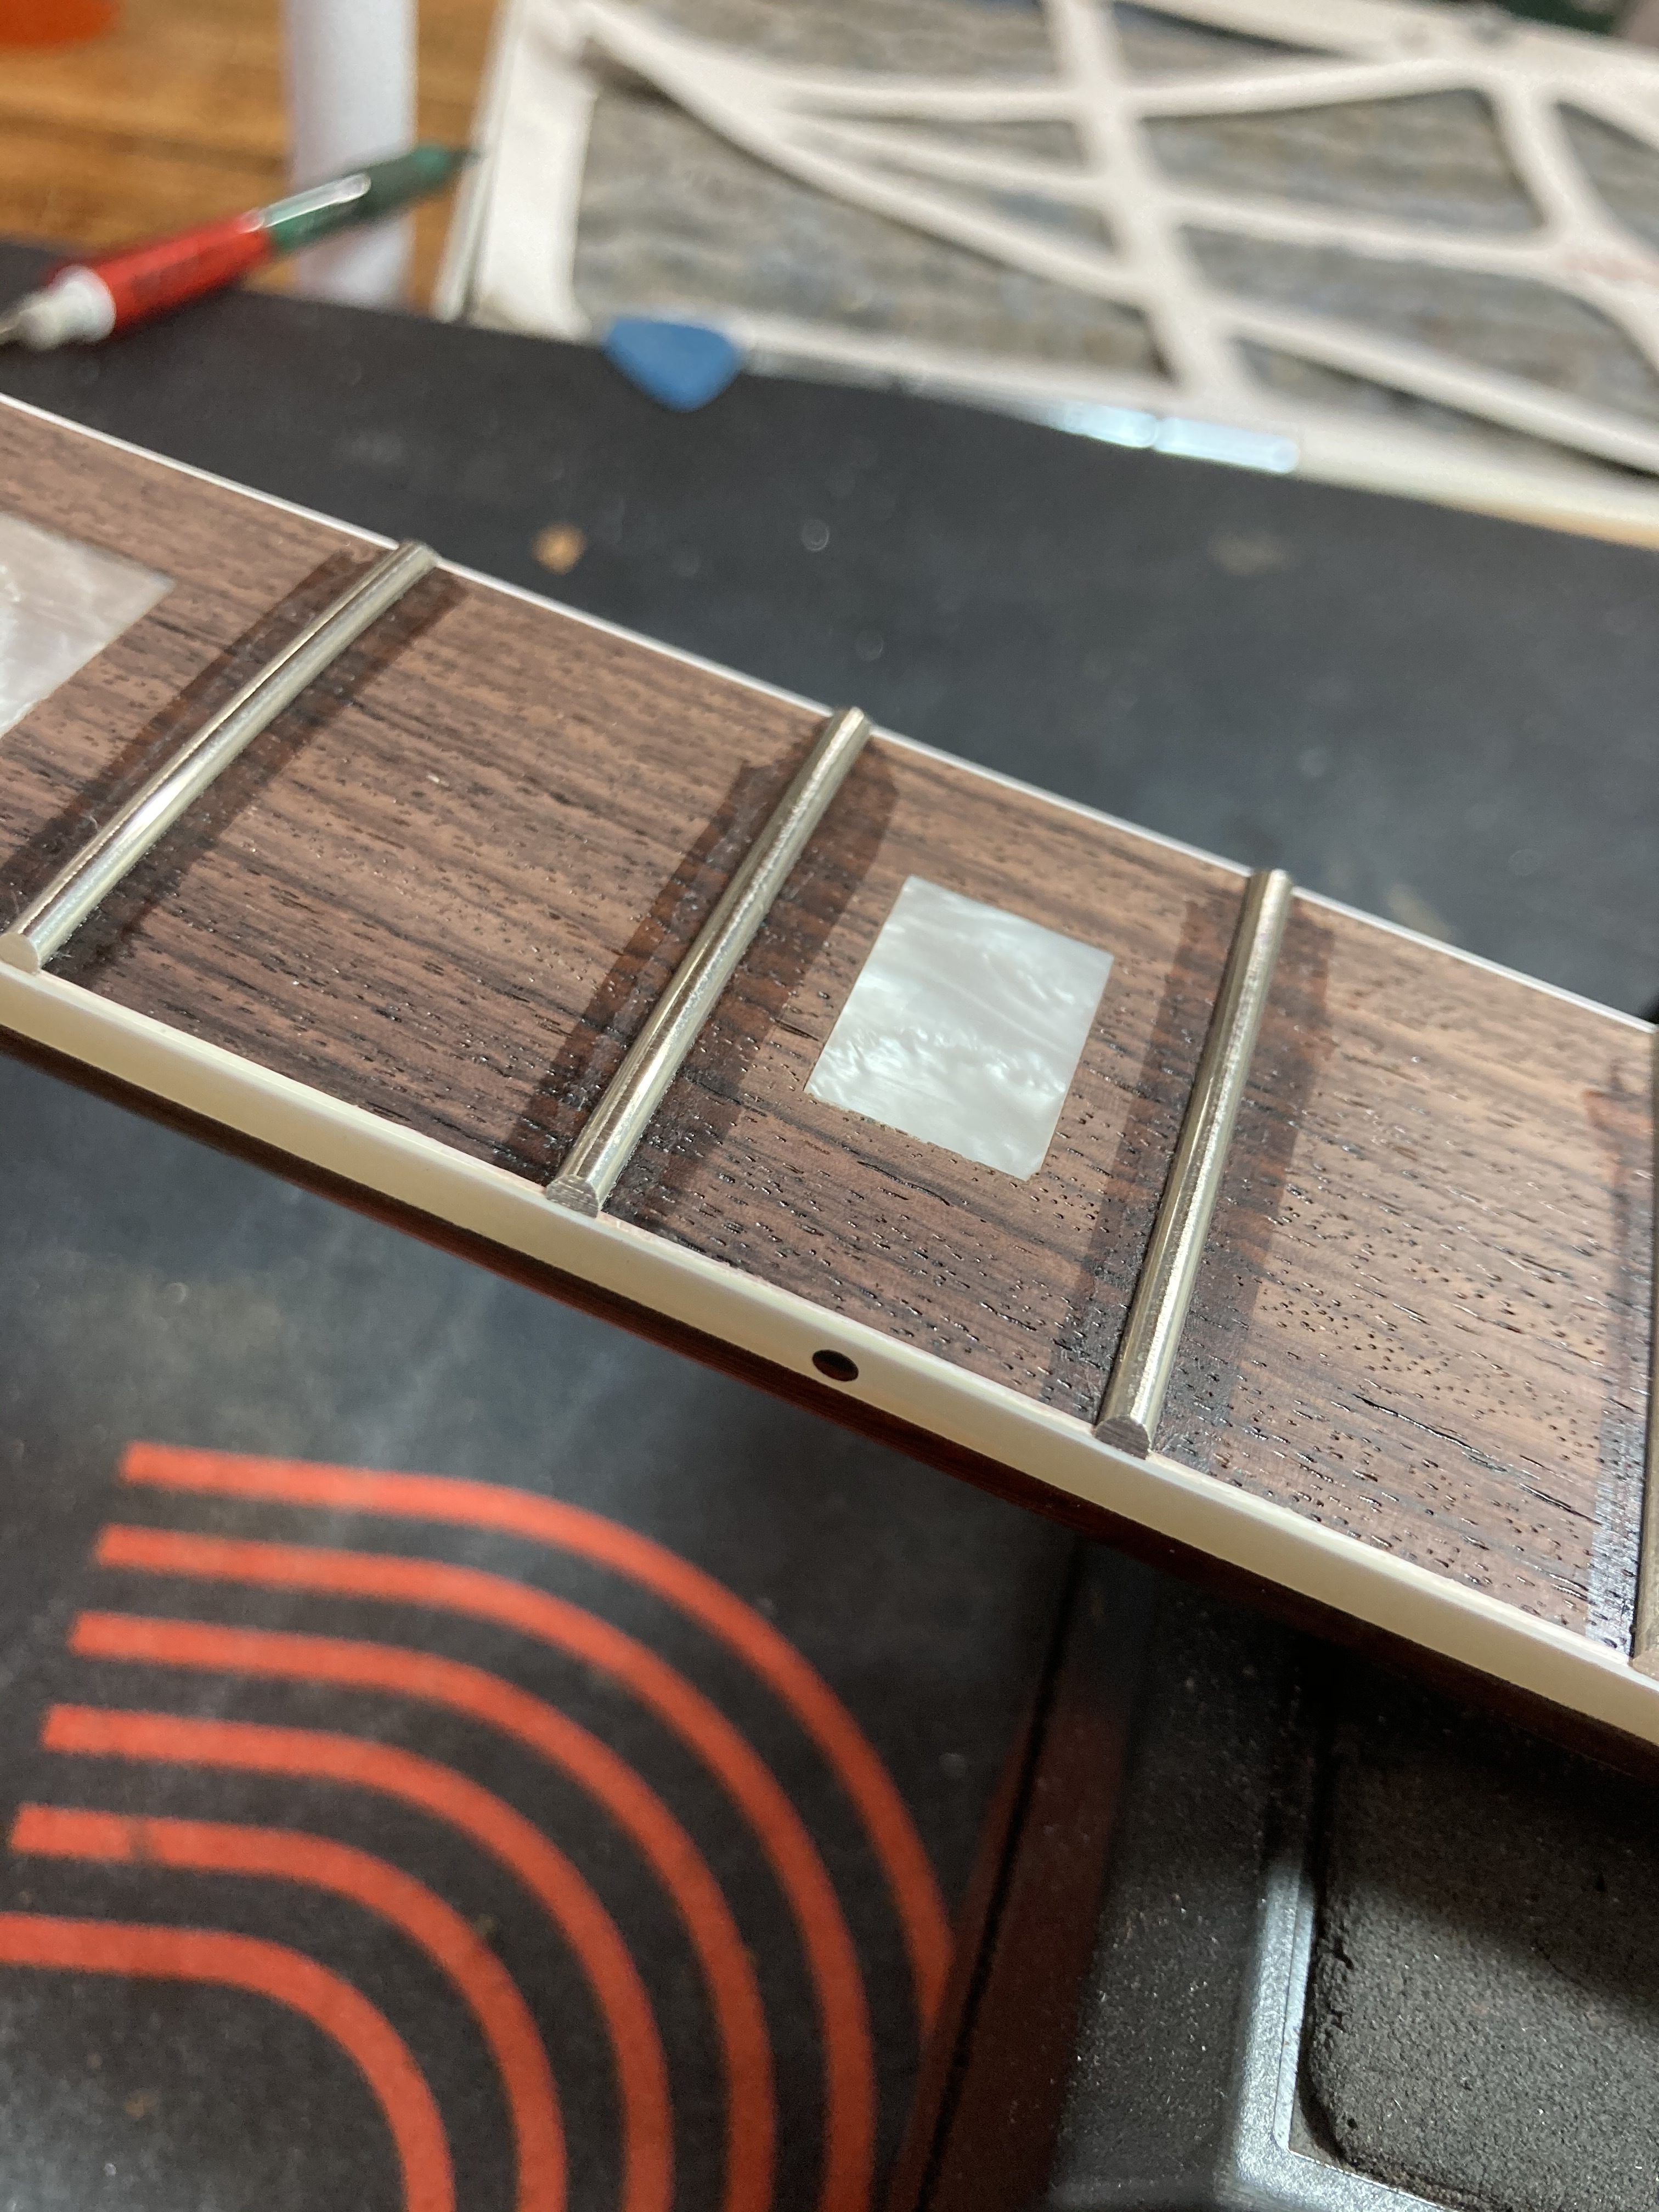
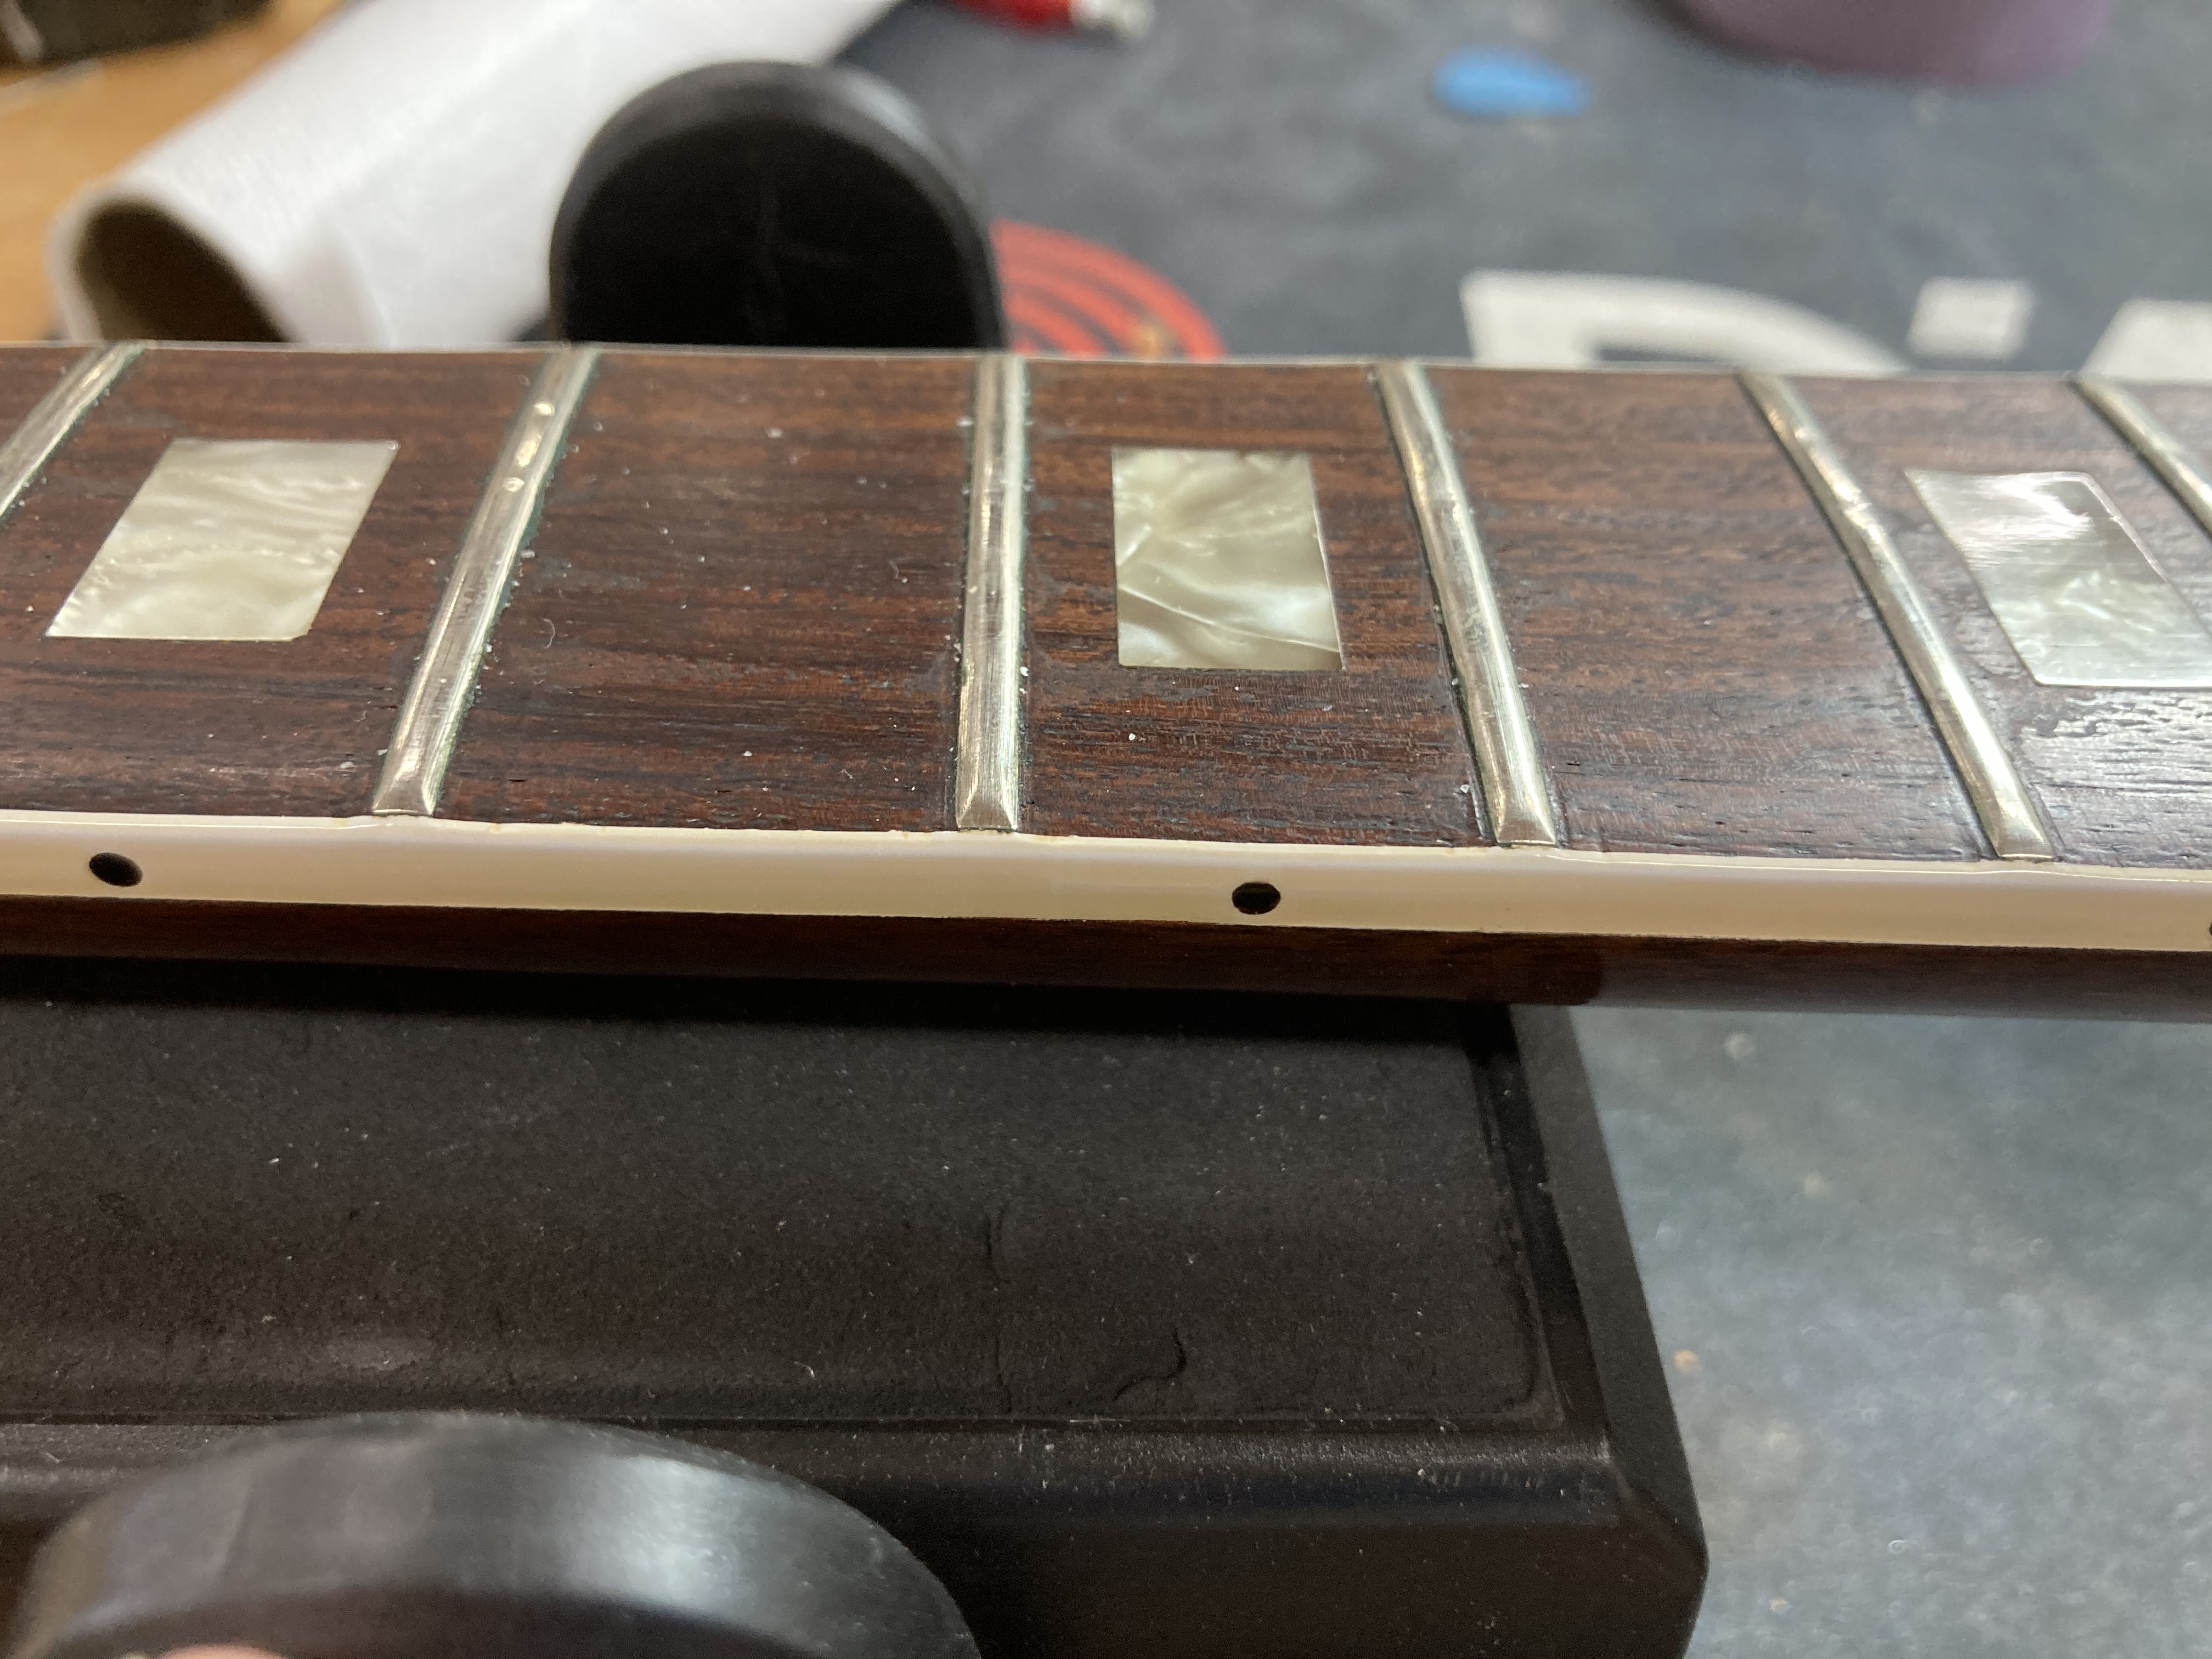
Here is a great closeup of some of the fret ends that have been trimmed and beveled.
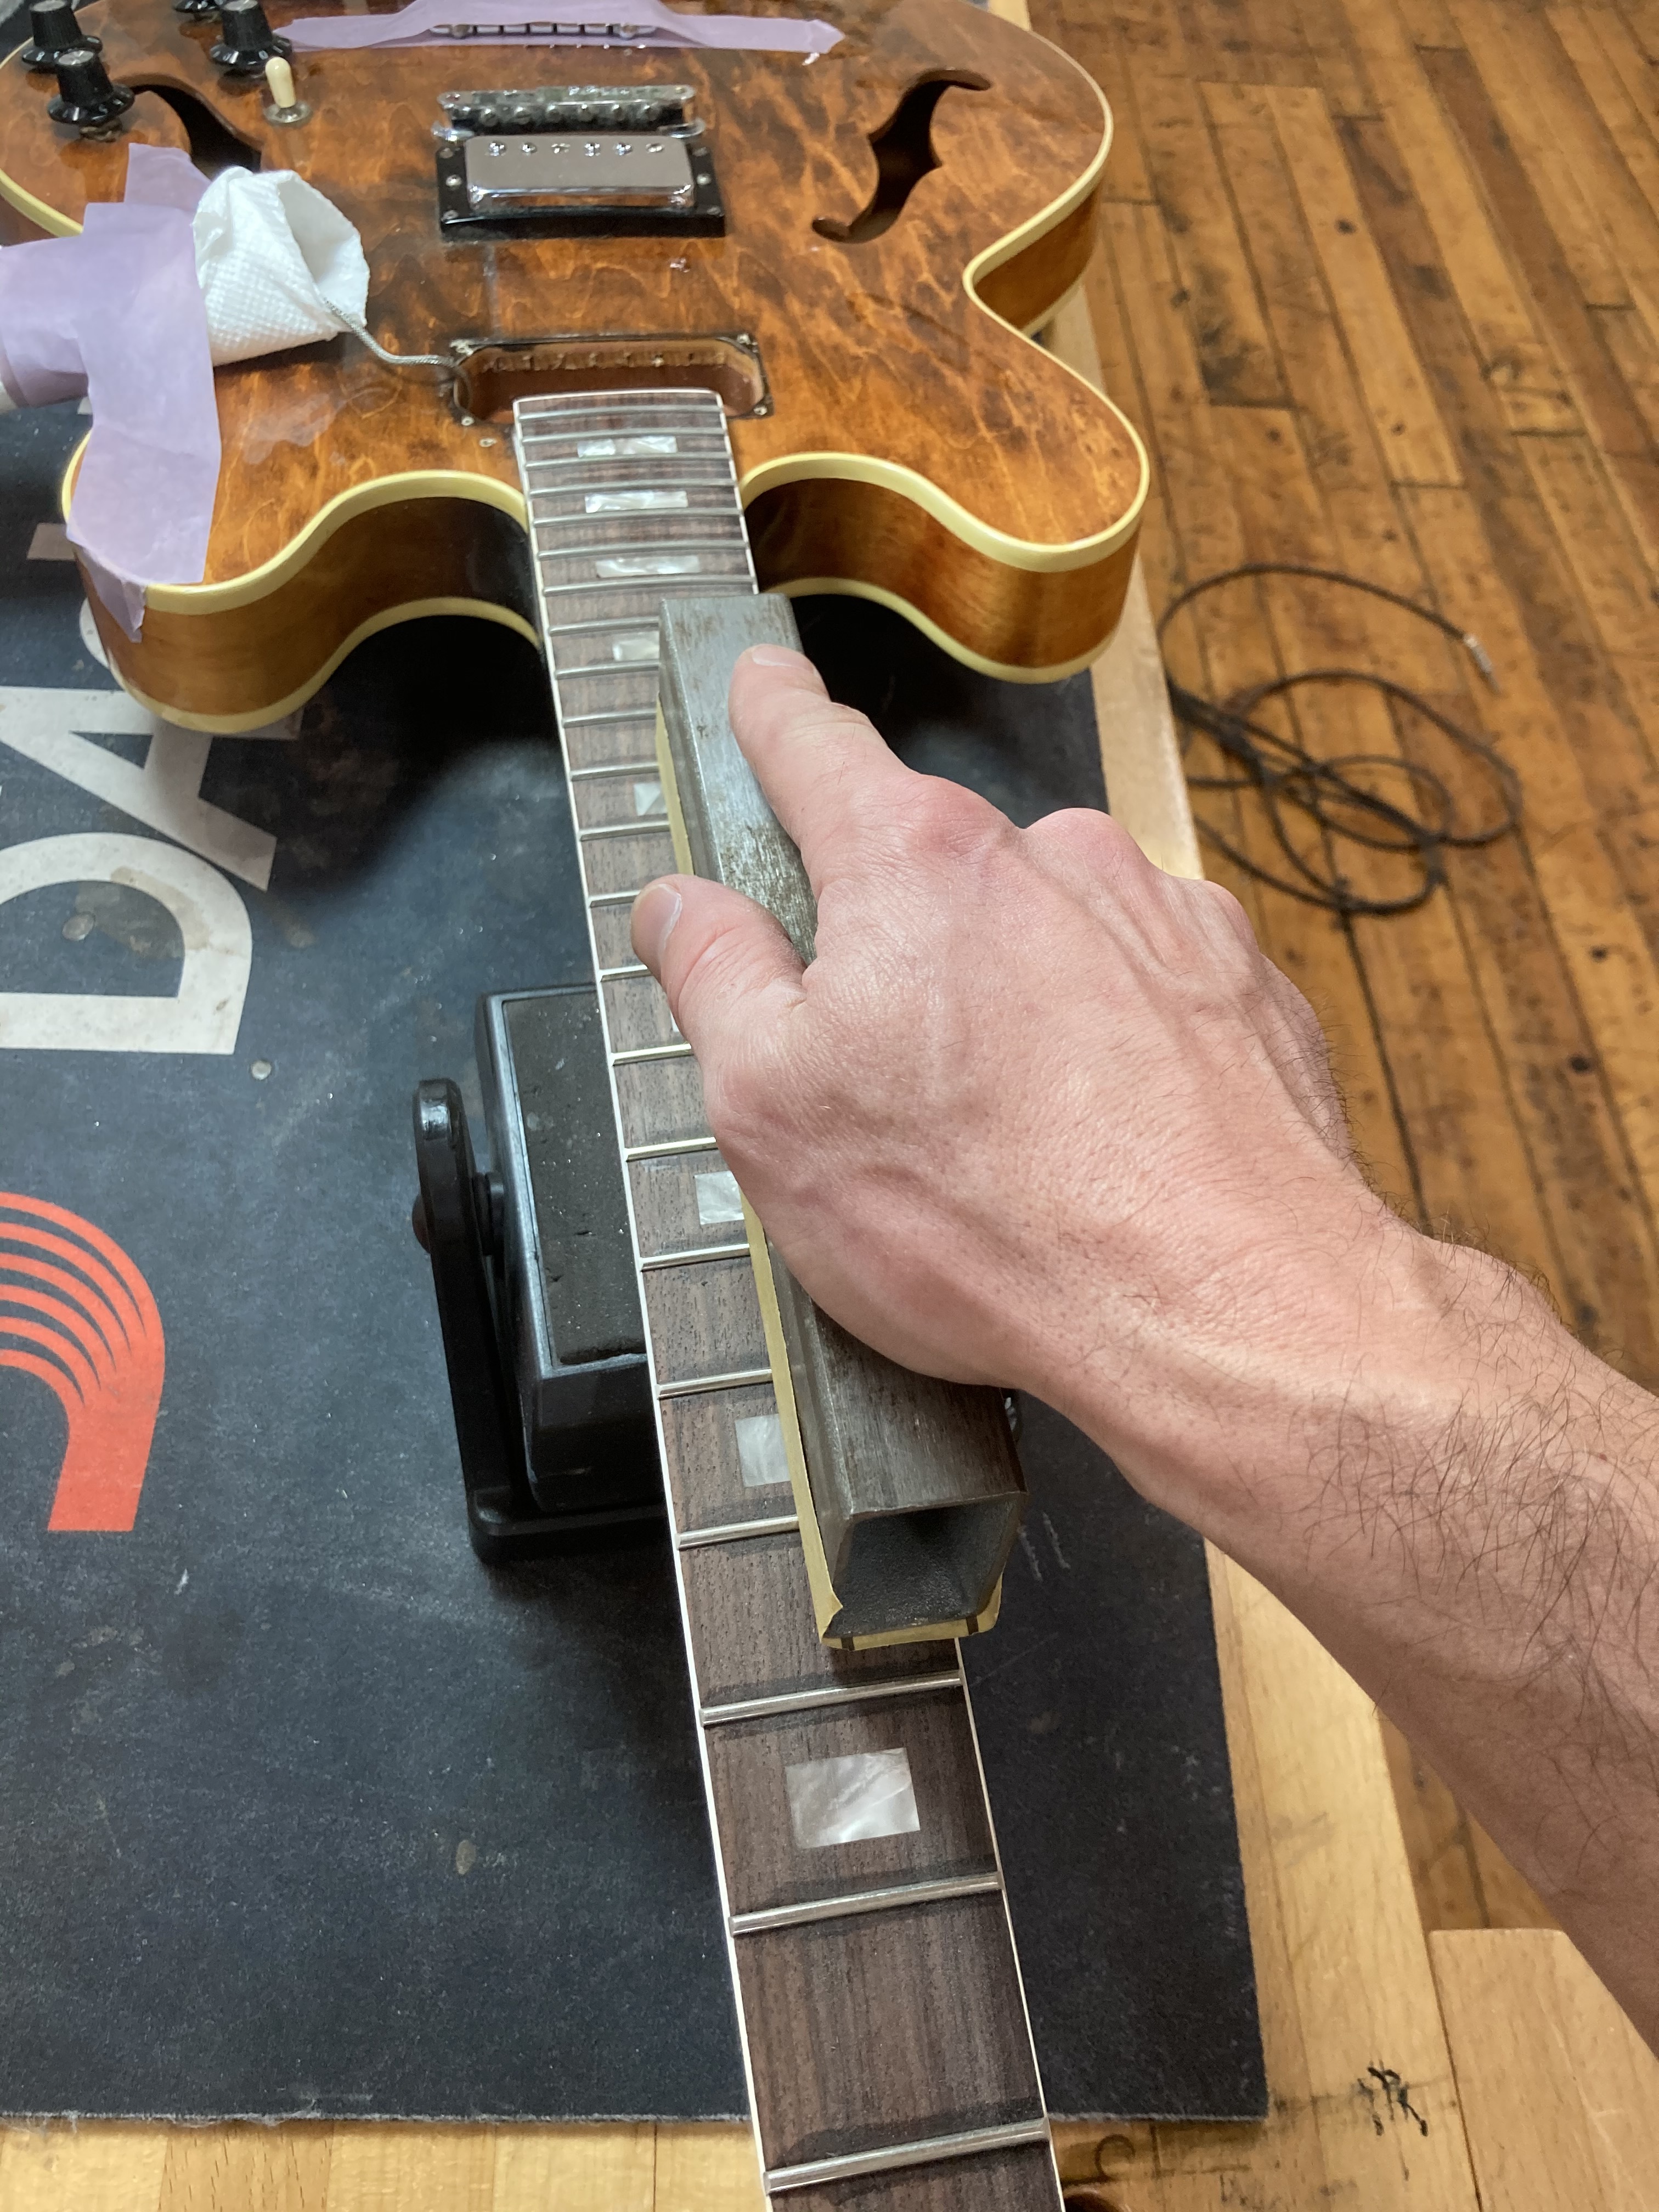
We then use a sanding beam to level the tops of the frets to each other and to ensure they match the radius of the fretboard evenly.
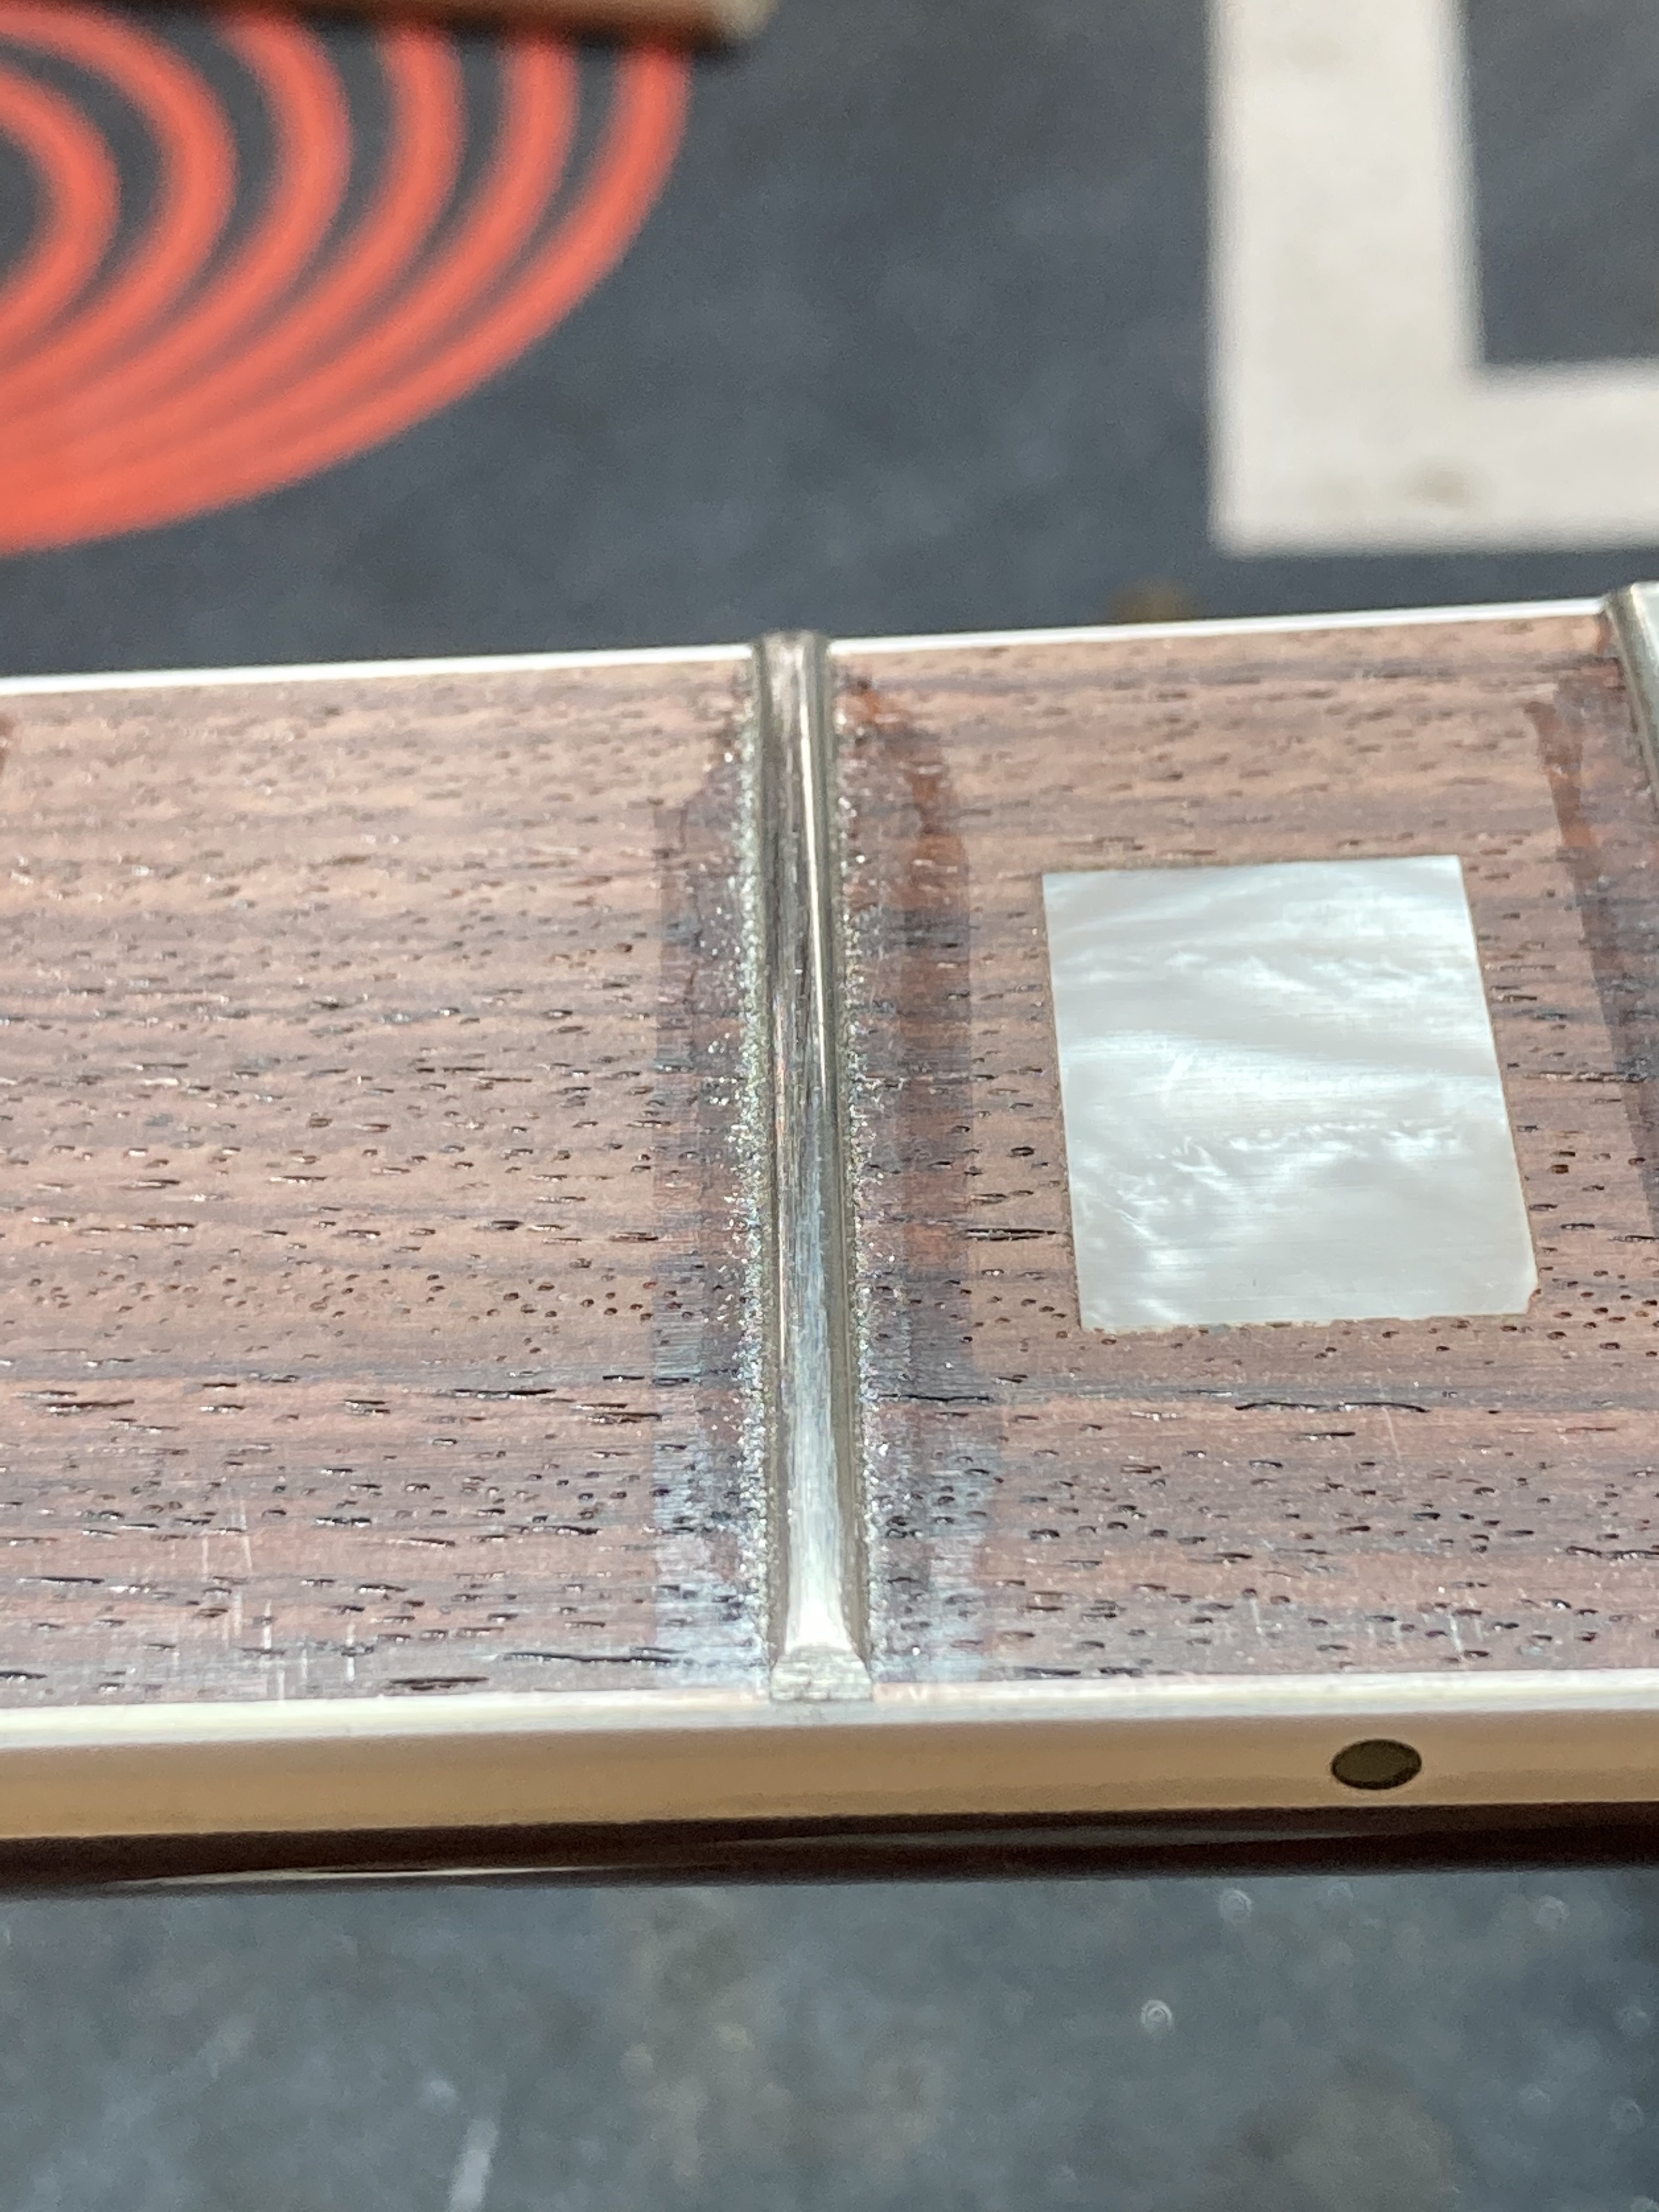
After this filing is done, we have the residue from the glue on the fretboard, along with some of these metal shavings that we need to remove.

We find it best to approach this task with a fresh razor blade, and gently scrape away the unwanted material.

The entire fretboard is then rubbed down with a scouring pad to buff out any scrape marks from the razor blade.

Each fret is then individually addressed to clean up and even out the tops.
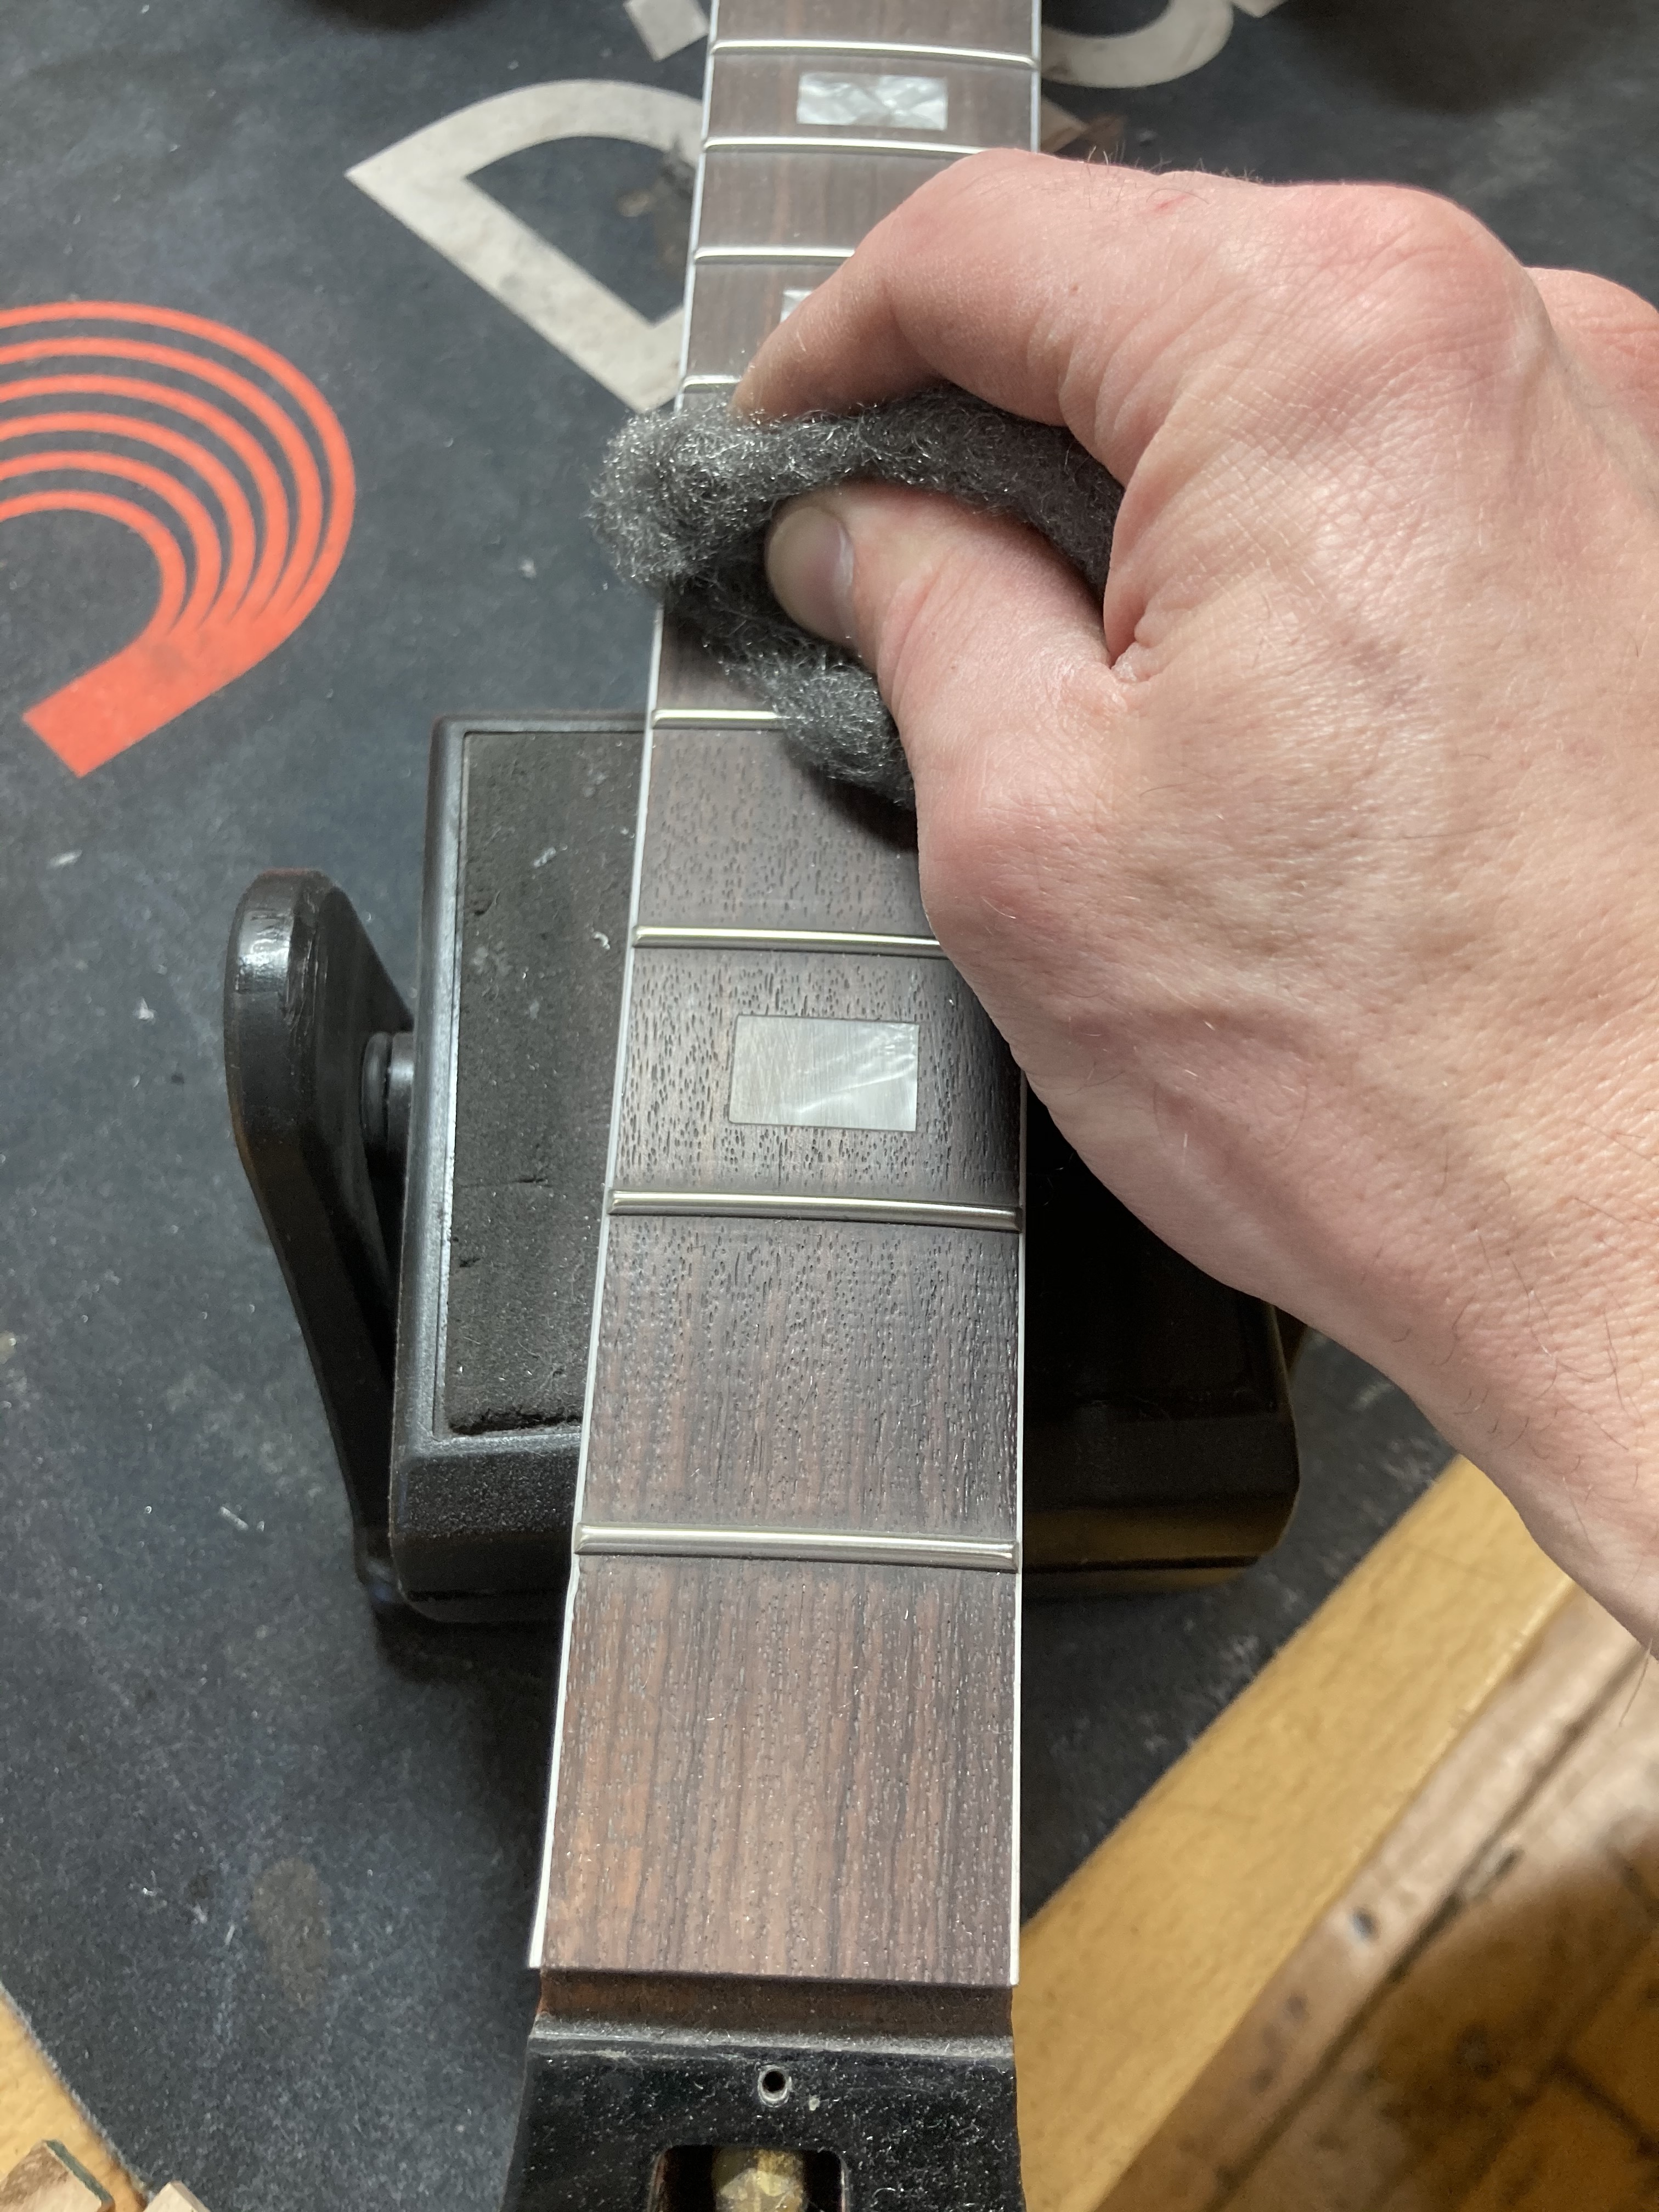
We then go over the entire fretboard again with some steel wool.
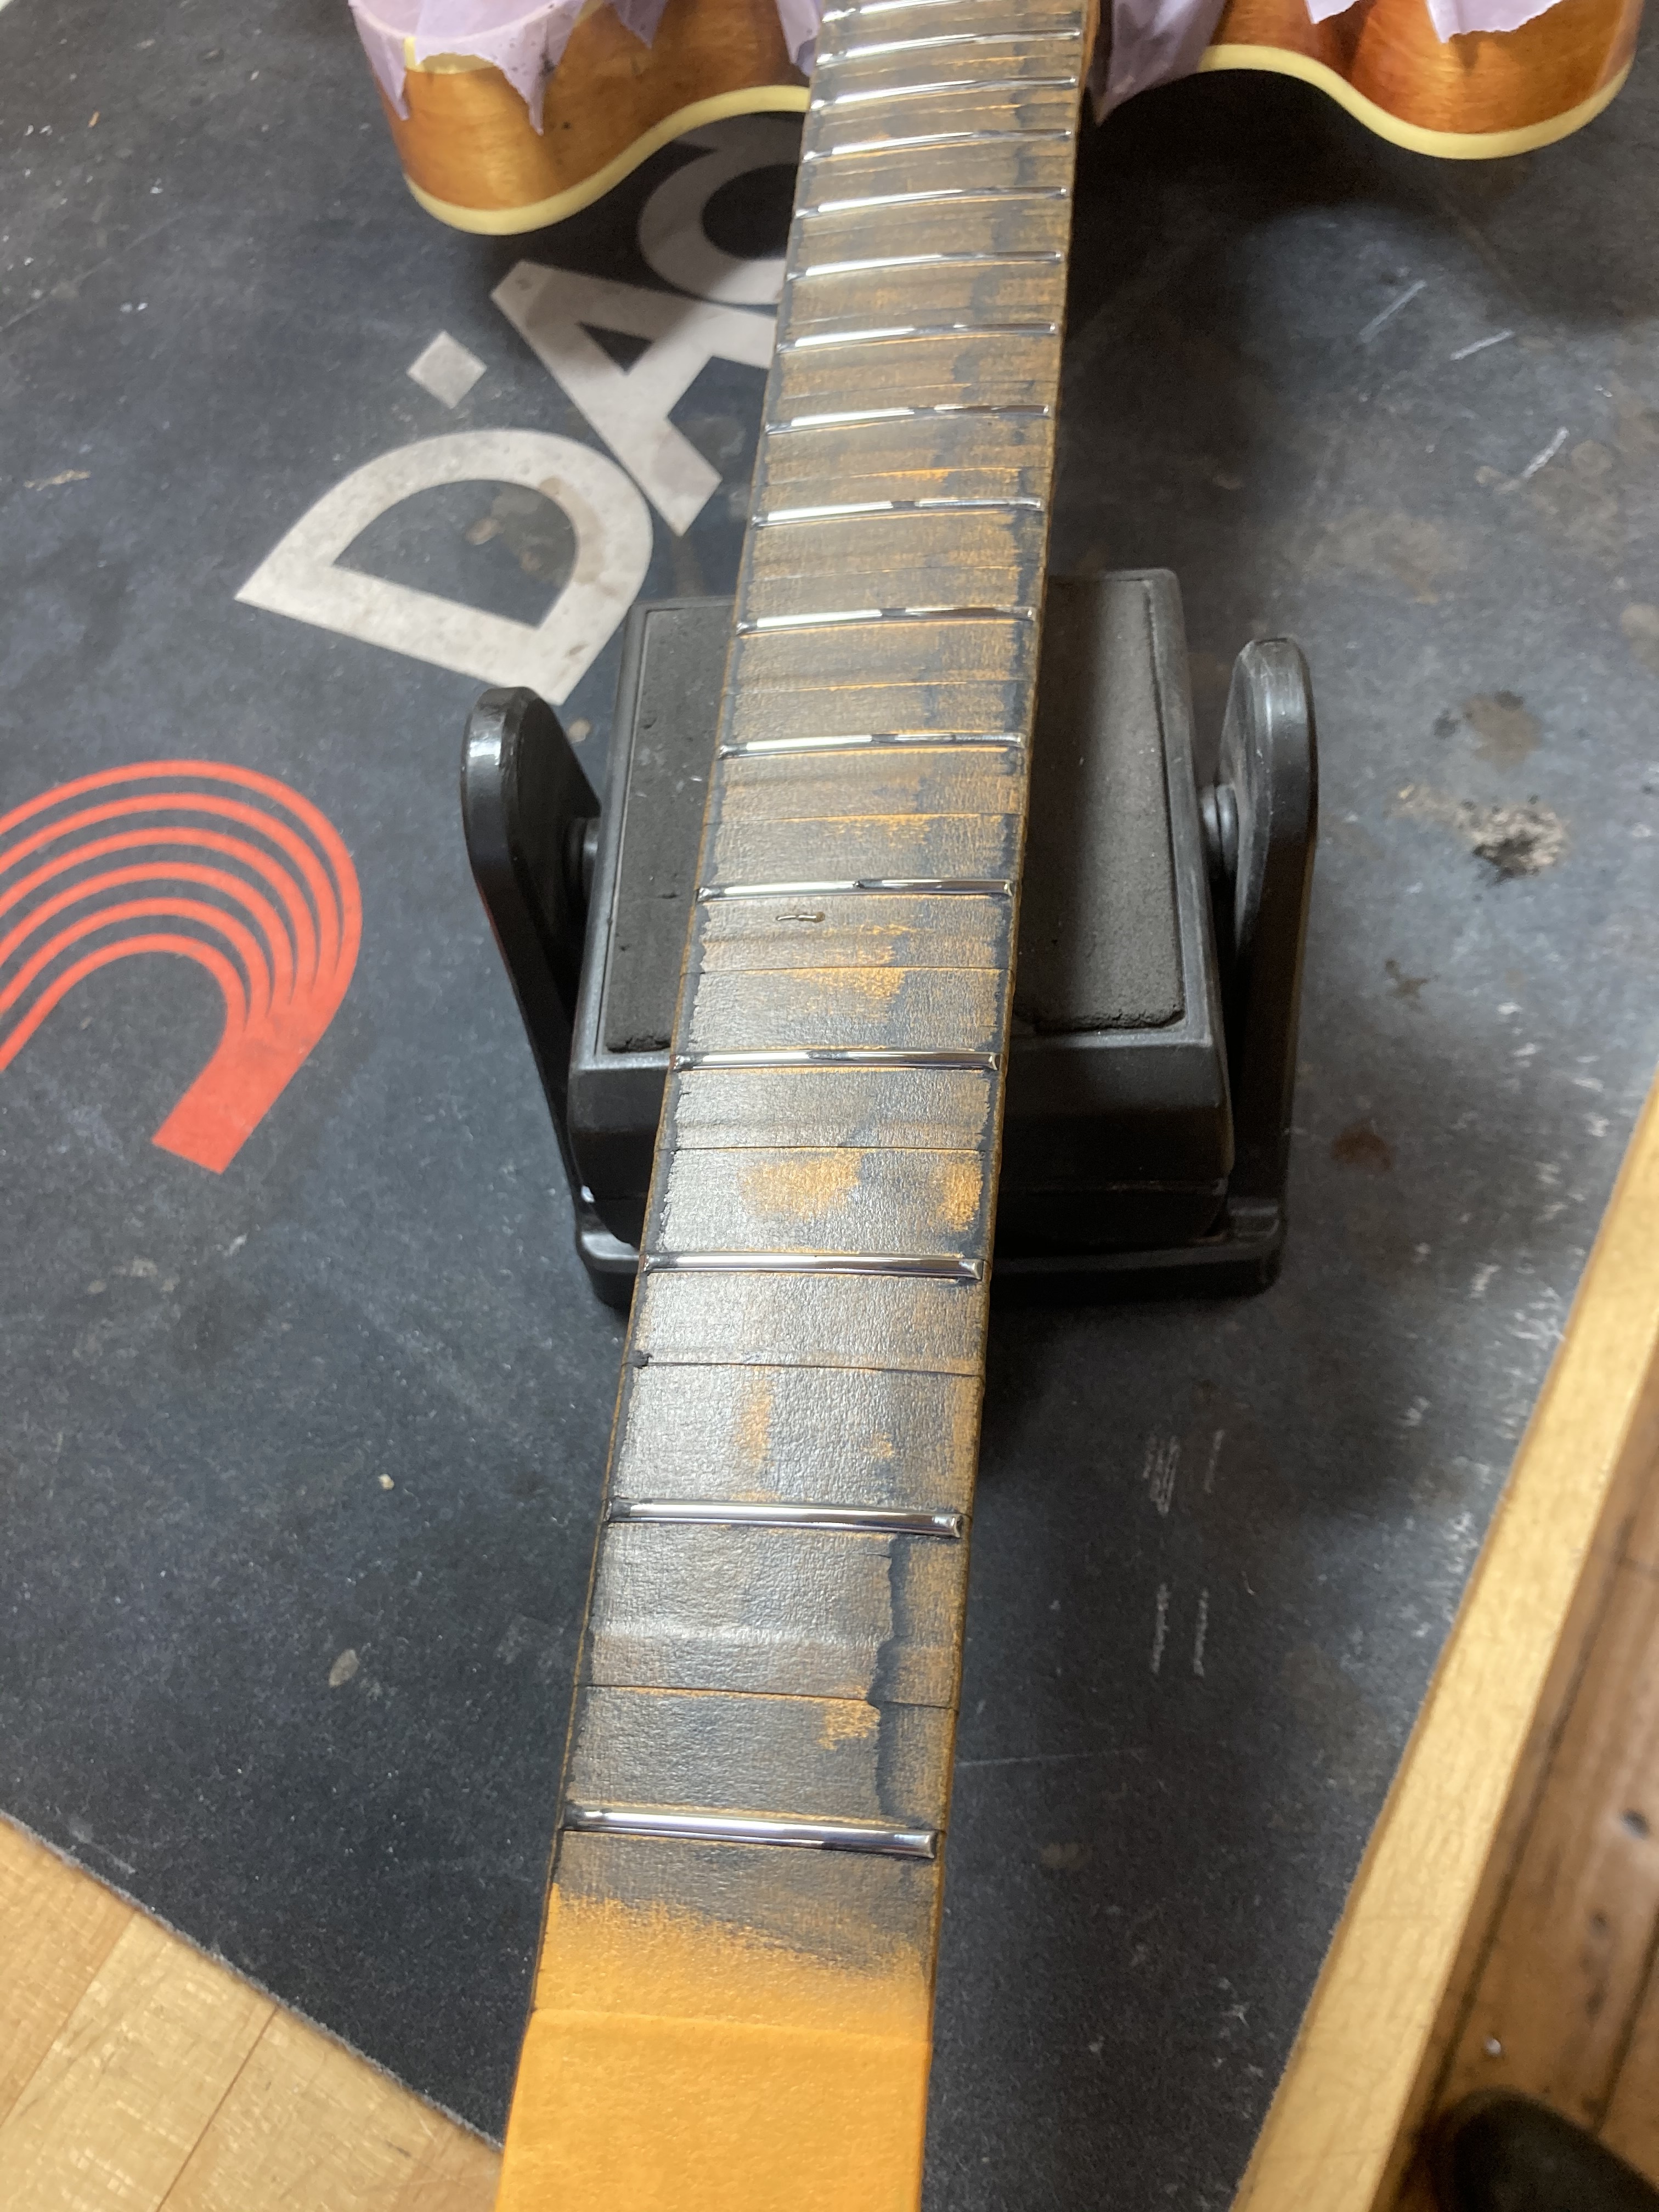
The whole neck is then taped off and the final polishing of the frets is completed.
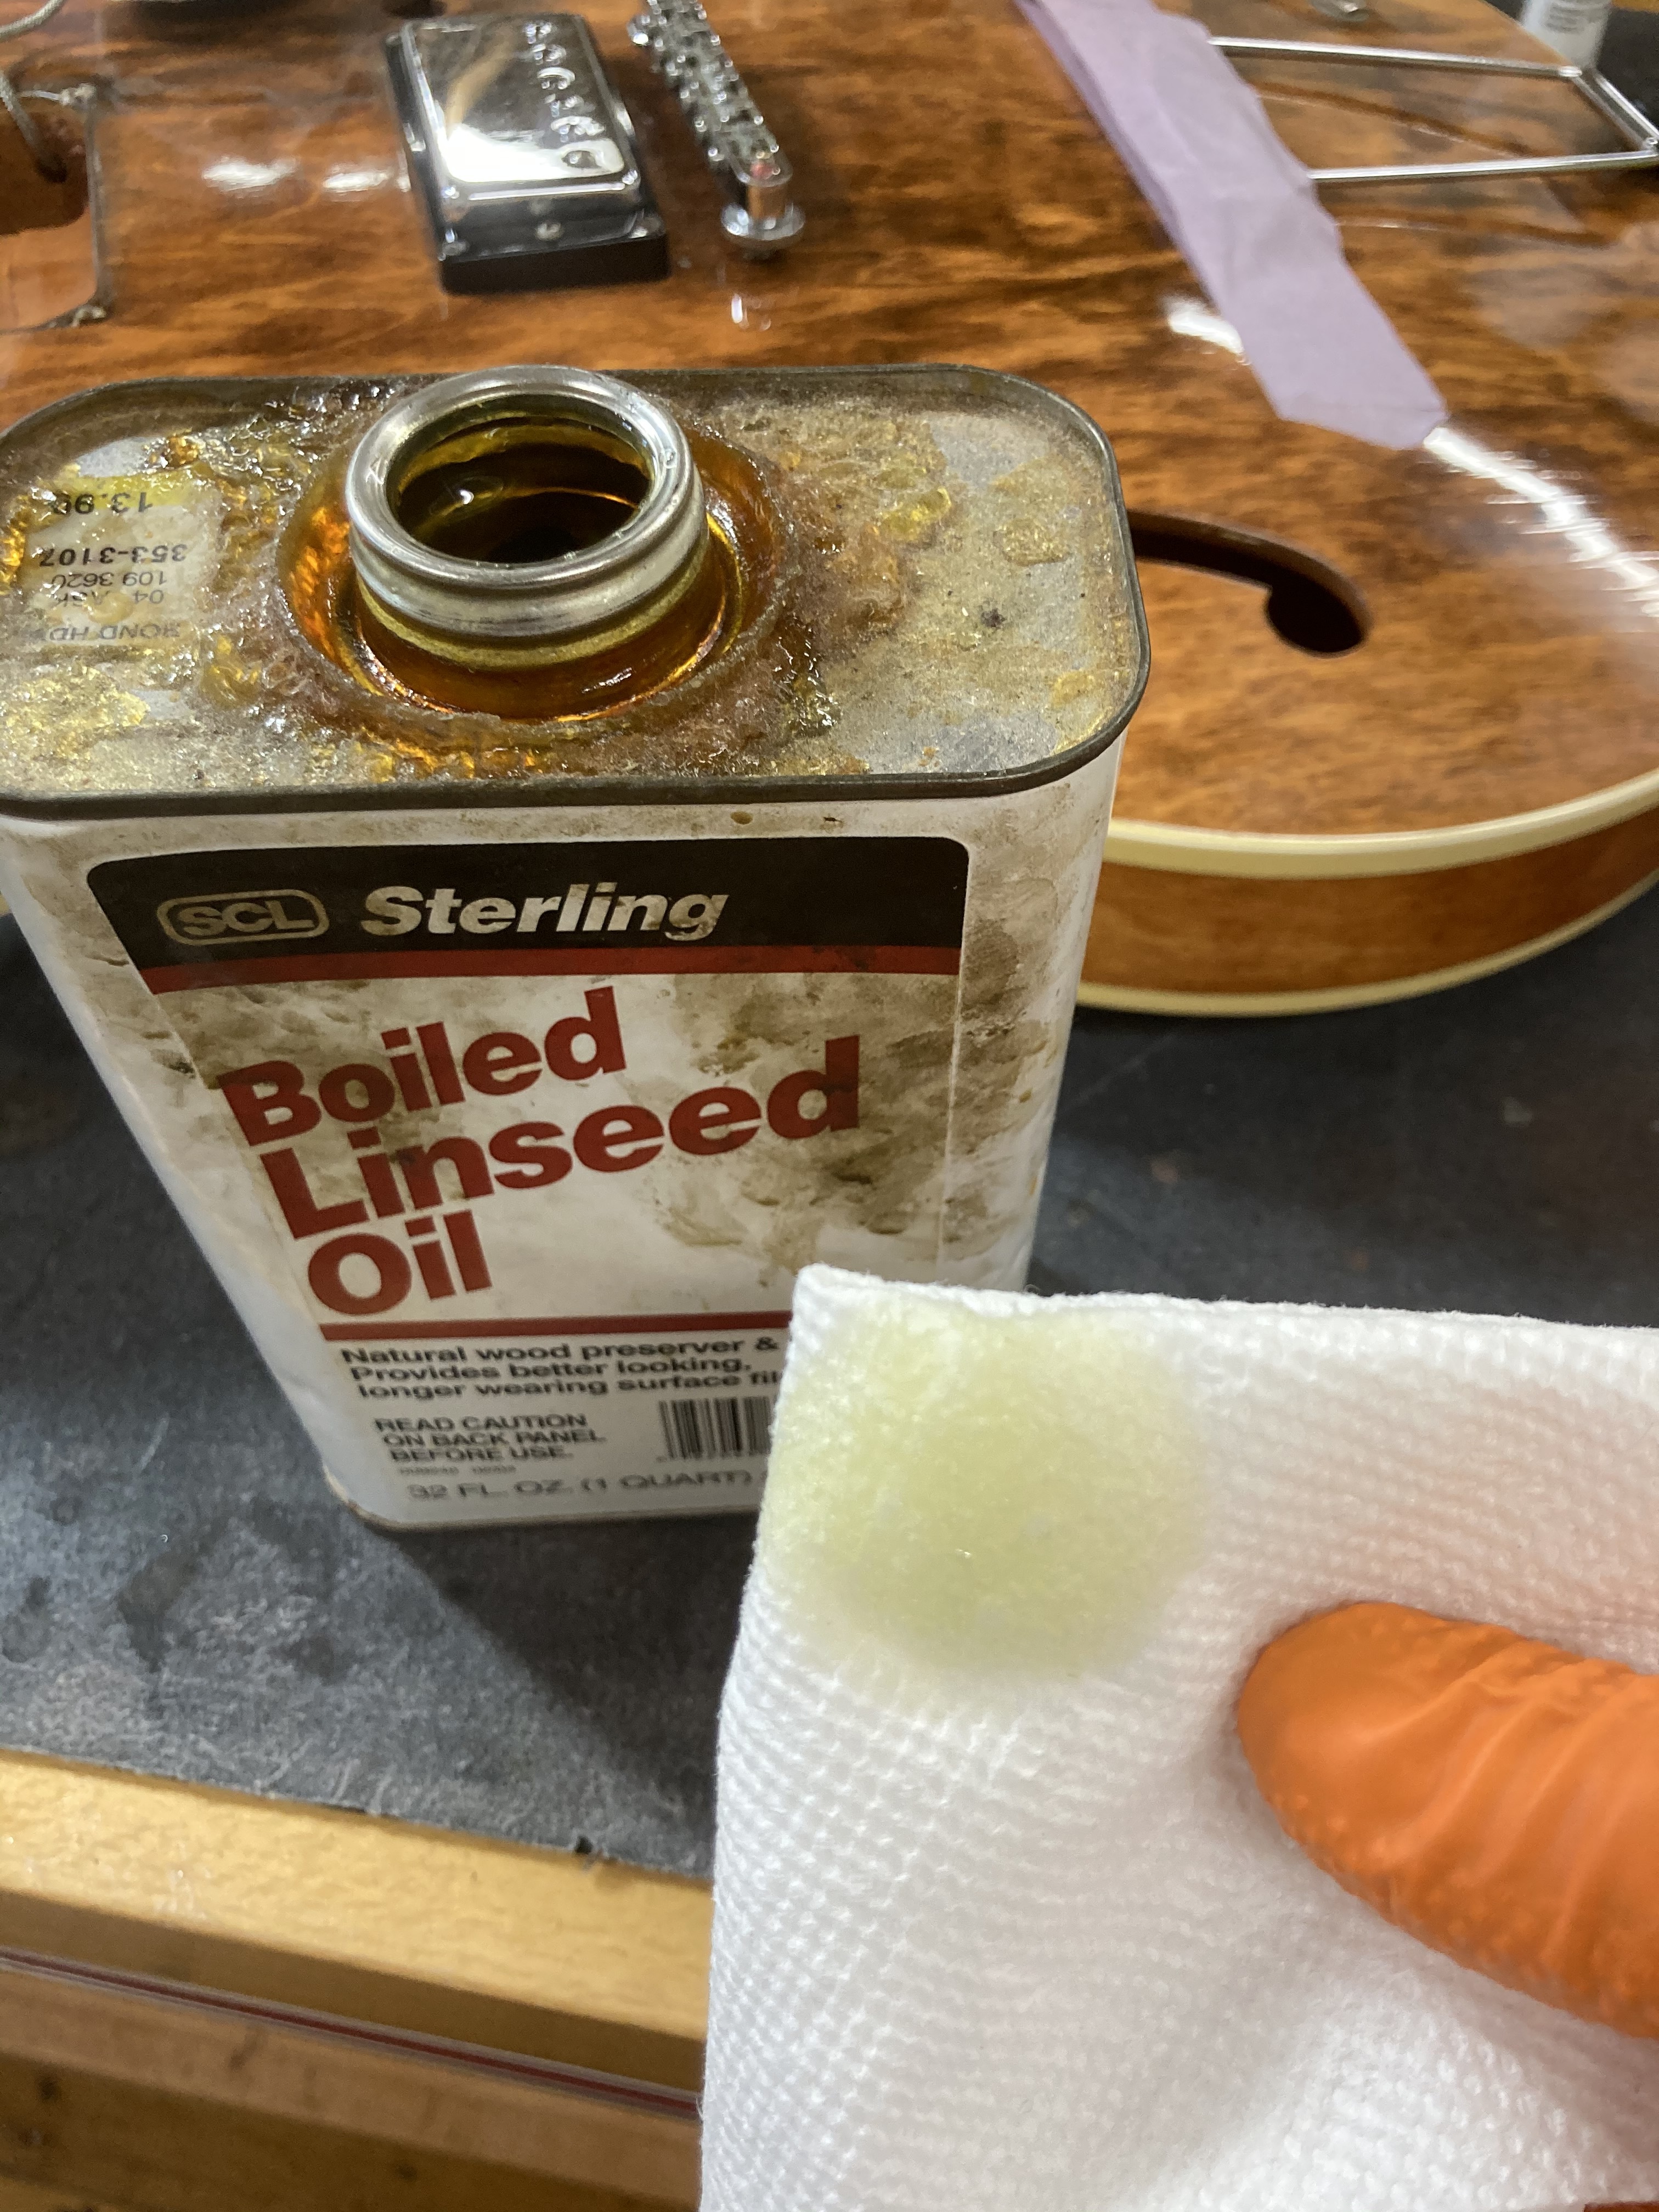
The fretboard itself is then rubbed down with boiled linseed oil to protect the wood.
We then move on to crafting a new nut. After getting the rough shape and thickness, we mark off the width of the nut using the nut slot itself, and then cut it down and shape it.
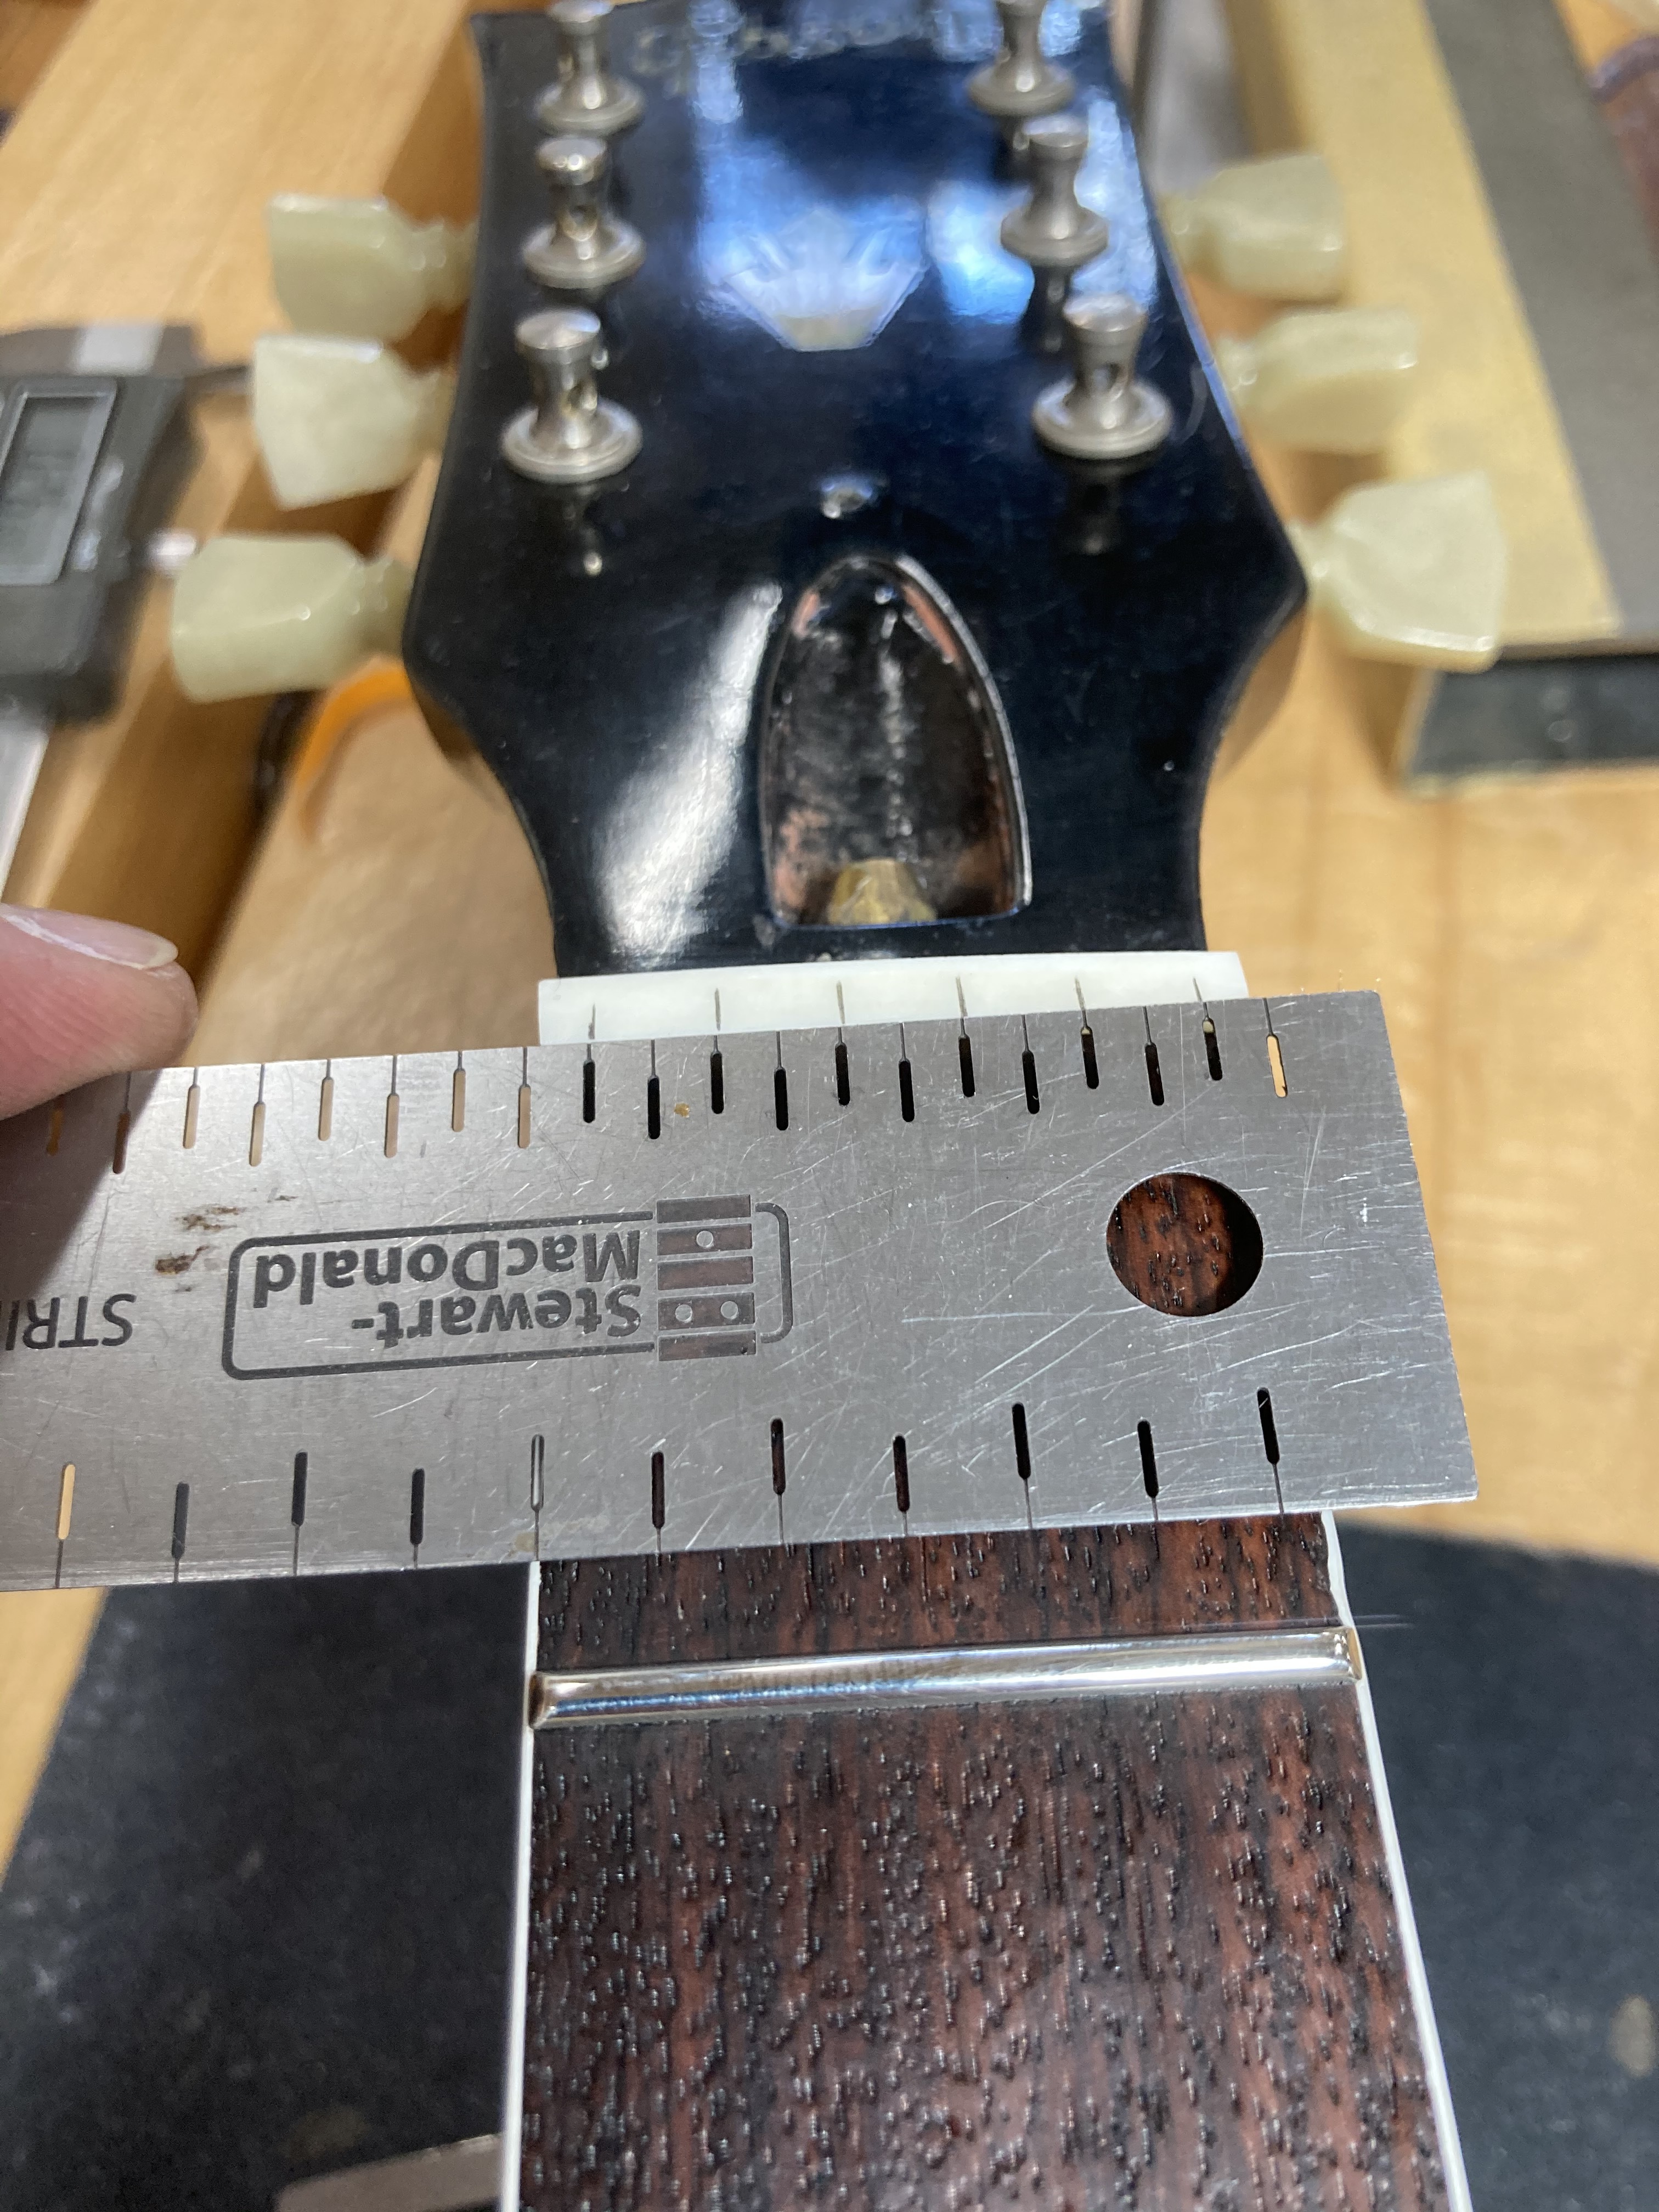
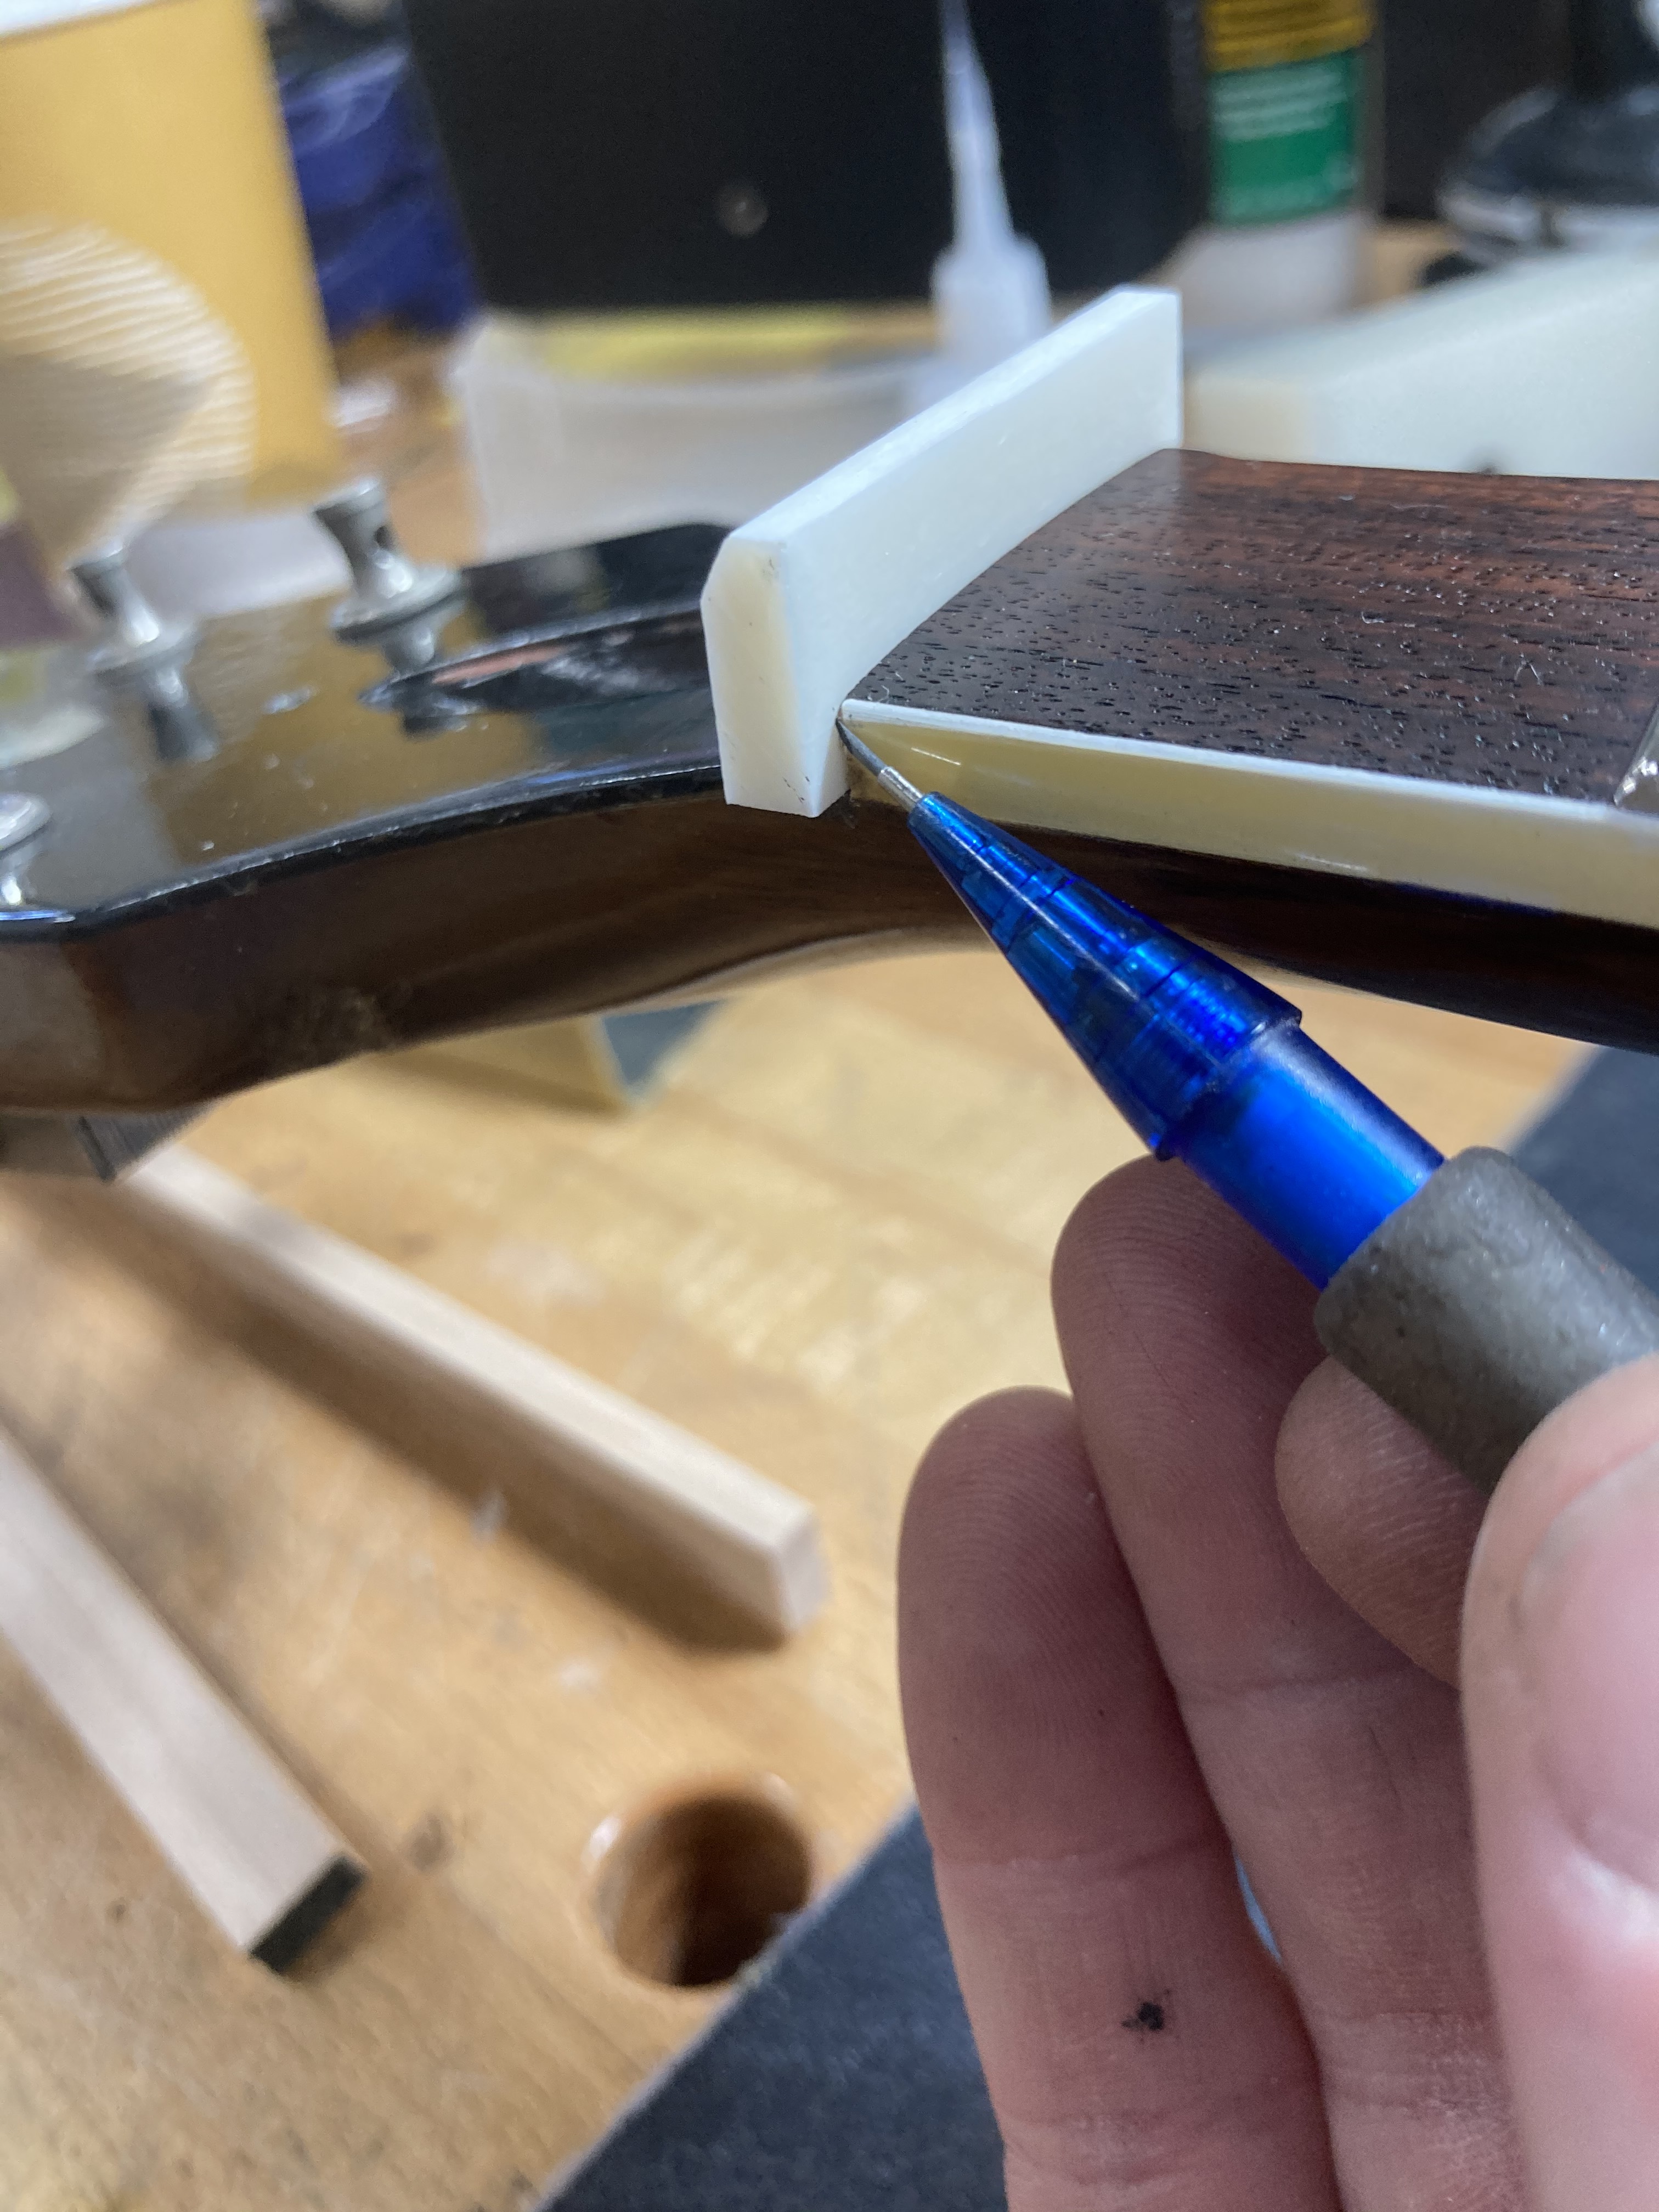
The slots for the strings are then marked with this special ruler, and cut.

Then we use files and sandpaper to get the final shaping done on the nut. A quick setup is done, and then we tested it out in the following video. We think it sounds great and we hope Andy loves it as well!