Gibson LG1 Bridge Replacement and Crack Repair

A customer brought this old Gibson LG1 to us with several repairs that were needed. The top of the guitar had developed a bit of a belly and also had two large cracks running from the sound hole to the bottom of the guitar.
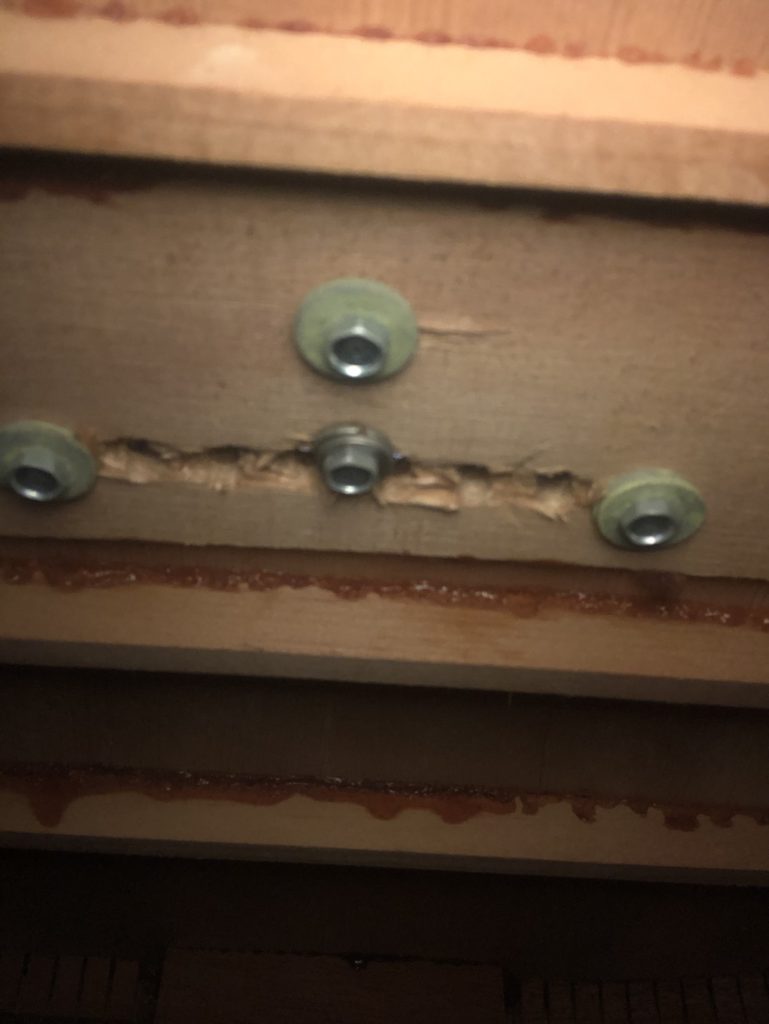
We first remove the original plastic bridge to address the issues with the top of the guitar. Here, you can see some of the bolts holding the bridge down inside the body.
Here, you can get a better look at the cracks in the body. We will be addressing the belly issue and these cracks first.

We have fed glue into the cracks and are using various clamps to try reducing the belly and stabilize the cracks. It is important to note that it was decided with the customer to make the cracks structurally stable but, not go through the process of refinishing the guitar to hide them.

Another part of this repair was to replace the plastic bridge with a rosewood one. Here, we have used the original as a template to shape the new one.
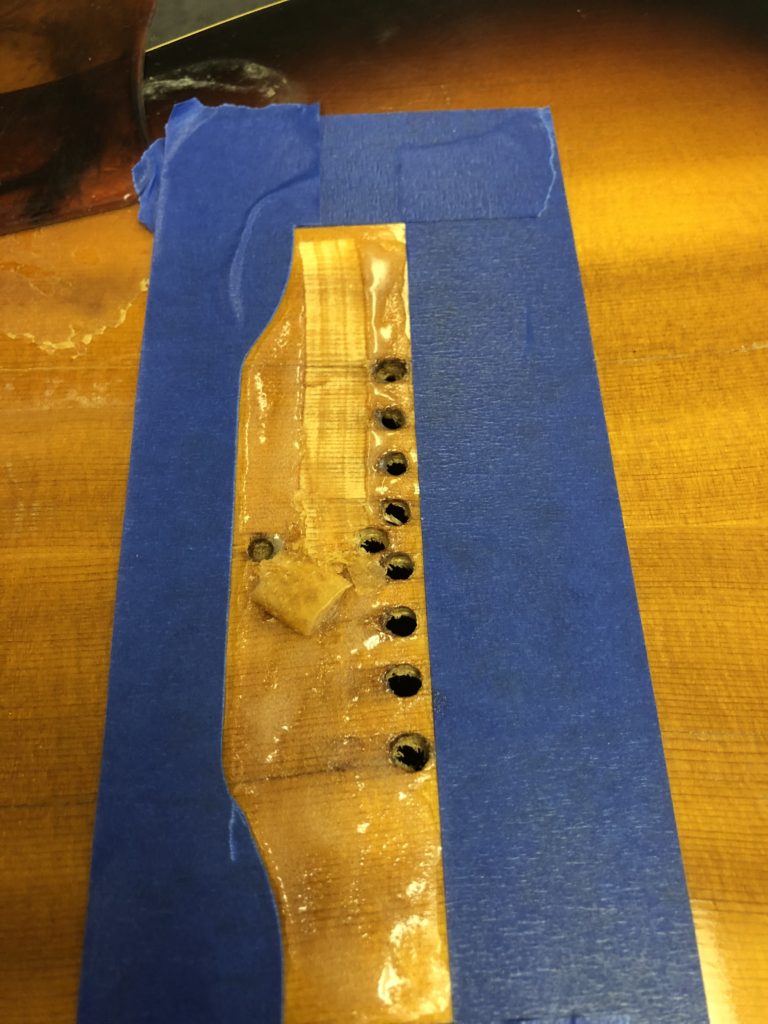
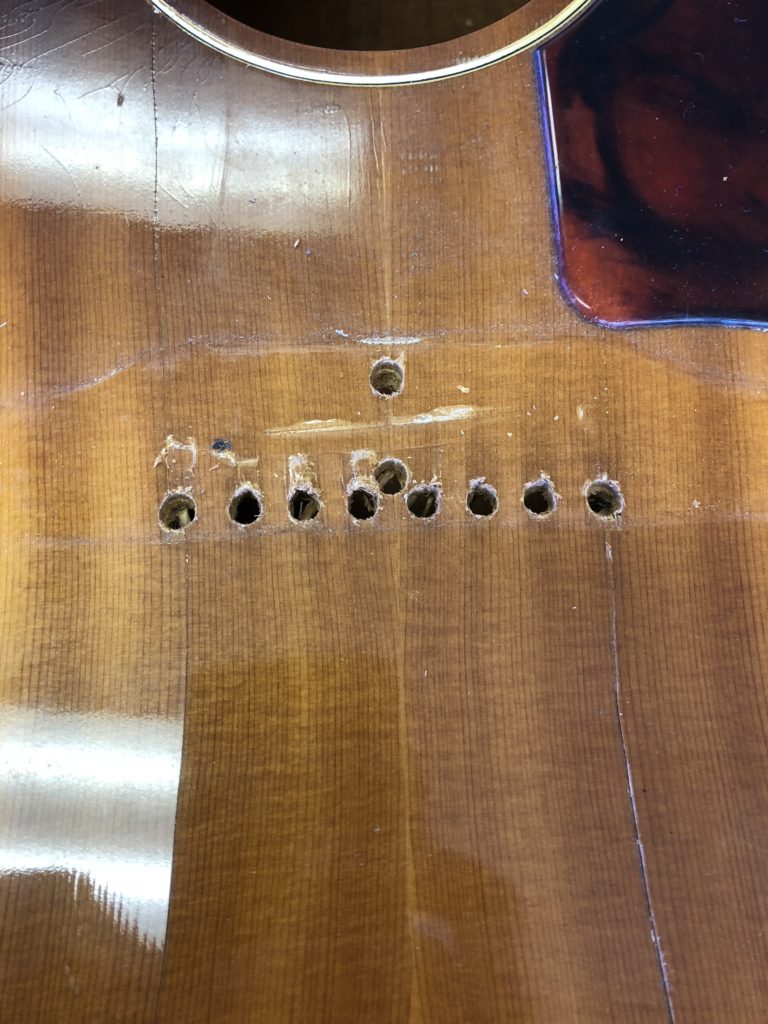
Something fairly uncommon about this guitar is that there was finish beneath the bridge, rather than having bare wood to contact. To achieve this, we tape of the area where the bridge will be and use stripping agents to remove the lacquer.

Once completed, the guitar now has a bare section of wood for where the new bridge will be glued down.

Unfortunately, the belly in this guitar was not wanting to flatten out so, the only way to ensure that the bridge would mate properly to the body was to slowly sand the curve in that area of the body into the bottom of the bridge. This is a very labor-intensive and long process but, results in a much better end result.

Here, we have pins in the bridge to help keep it in place while it is being glued down. These will eventually be replaced with bolts once the glue has dried.

Here, we are using a special clamp to apply pressure evenly across the bridge while the glue sets.

Once the bridge has been fully installed, we using this jig to assist us in routing a channel for the new bone saddle.

Here is the newly routed channel for the bone saddle. You can also see where the previously mentioned pins have been replaced with bolts and covered with plastic plugs.

Here is the inside of the body where those new bolts are as well as where the unused holes have been filled. You can also see in the background some of the wooden cleats we have added to support the cracks. There are 8 in total.

The last step in this repair is restringing and setting up this old beauty and now it is ready to go back to the owner, ready for many more years of use.
More posts in general
-
Saturday, April 22nd, 2017
Fender Custom Shop Strat Neck Re-Size -
Monday, April 9th, 2018
Making Improvements to an Exisiting Modification on a Washburn WI-66V -
Tuesday, December 4th, 2018
Robby Coffin’s #1 Tele – Truss Rod Nut Replacement -
Tuesday, December 11th, 2018
Gibson J-1000 Broken Headstock Repair -
Tuesday, June 11th, 2019
1960’s Hofner 500/1 -
Friday, February 14th, 2020
60’s-Era Gibson Southern Jumbo Bridge Replacement -
Wednesday, February 10th, 2021
Two Refinished Strats