Martin 00-25 Restoration
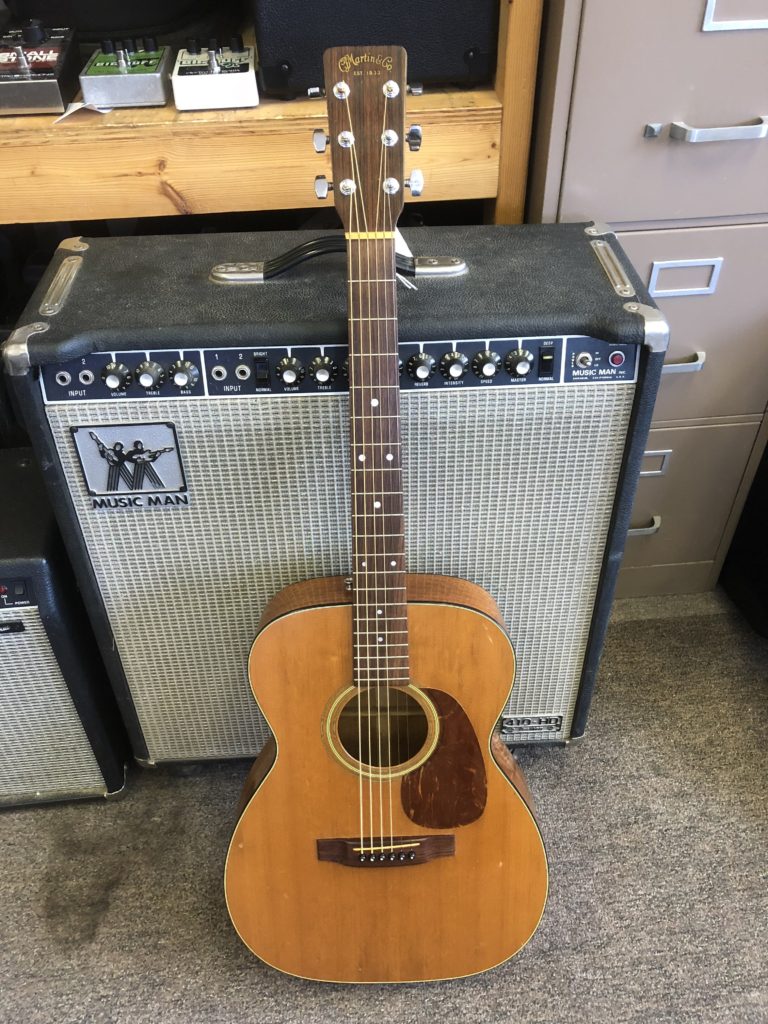
This Martin 00-25 came to us in need of a partial restoration. The owner was looking to have some repairs and maintenance done to keep the guitar in good working condition without addressing the purely cosmetic issues.
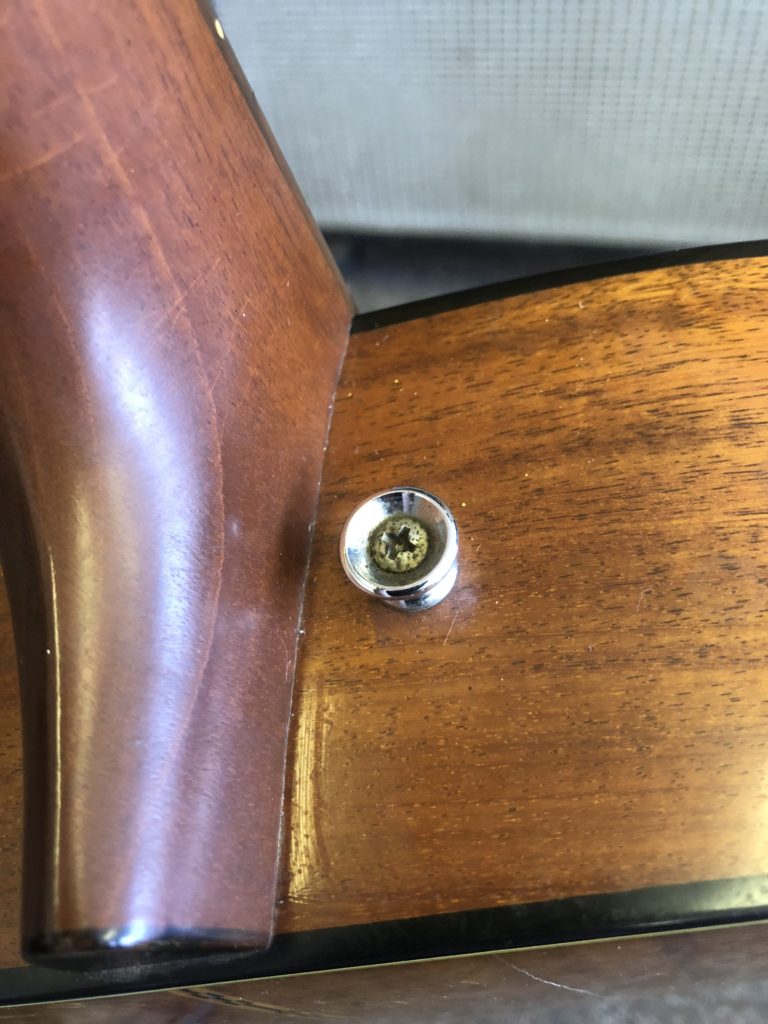
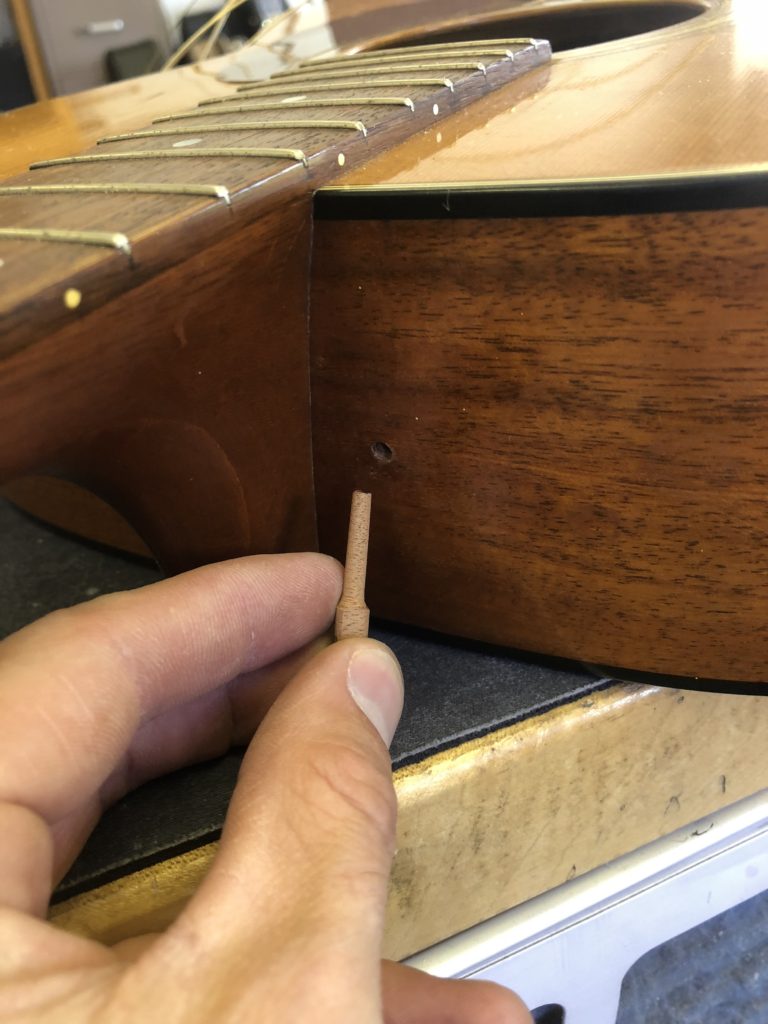
One of the repairs would be removing this strap pin and filling the hole. The location that the pin had been installed is not very thick and doesn't offer much support for the pin.
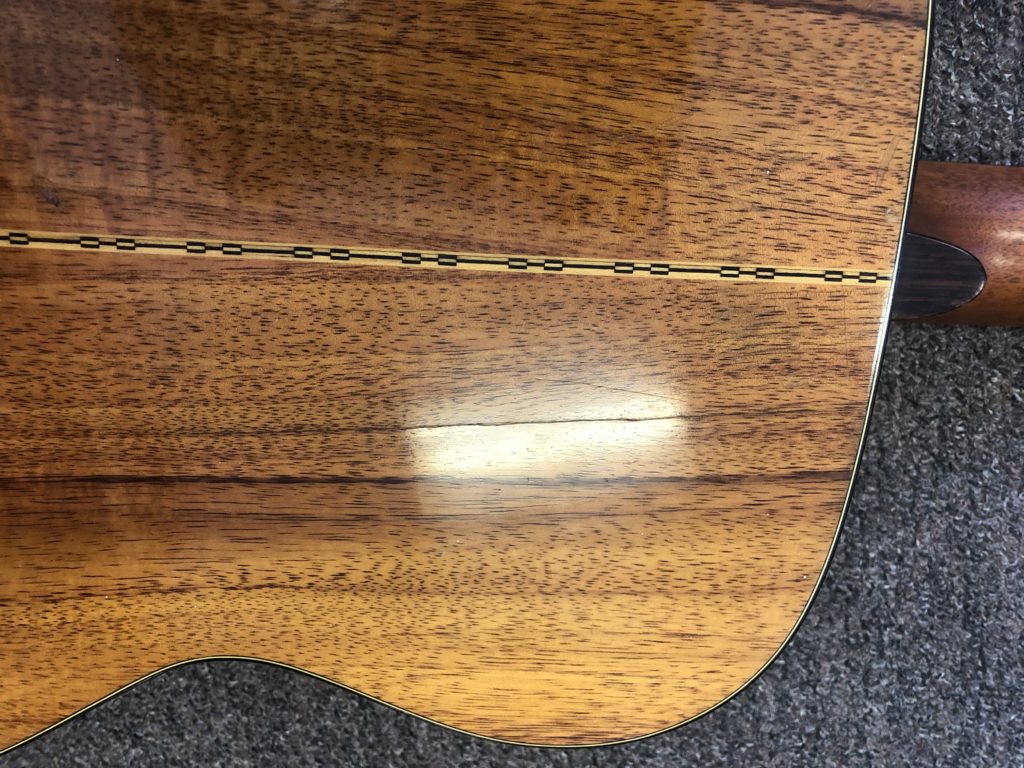
In this picture, the glare highlights a crack in the back of the guitar that needed to be repaired as well.
The bridge was also separating from the body, which can be seen here.
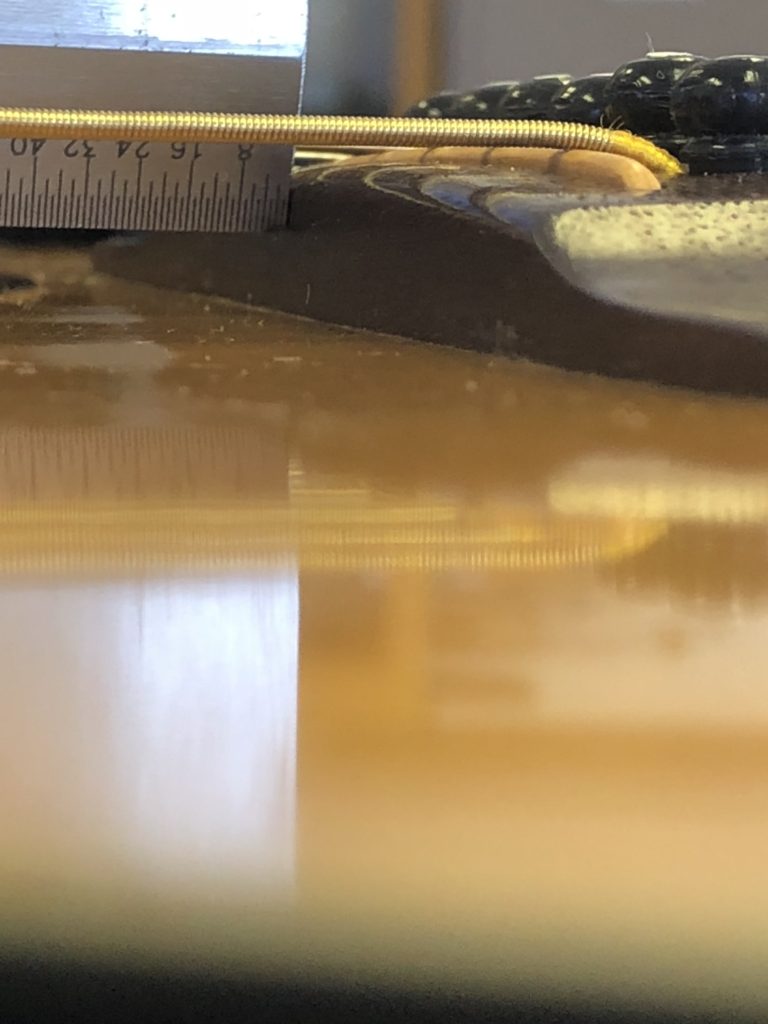
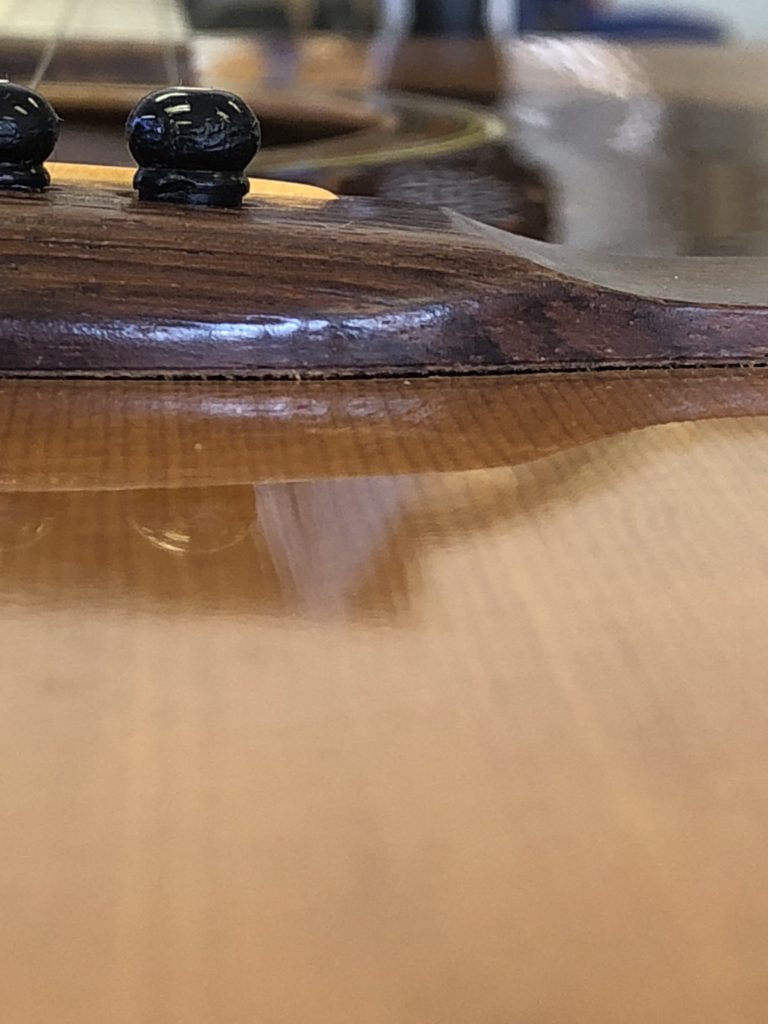
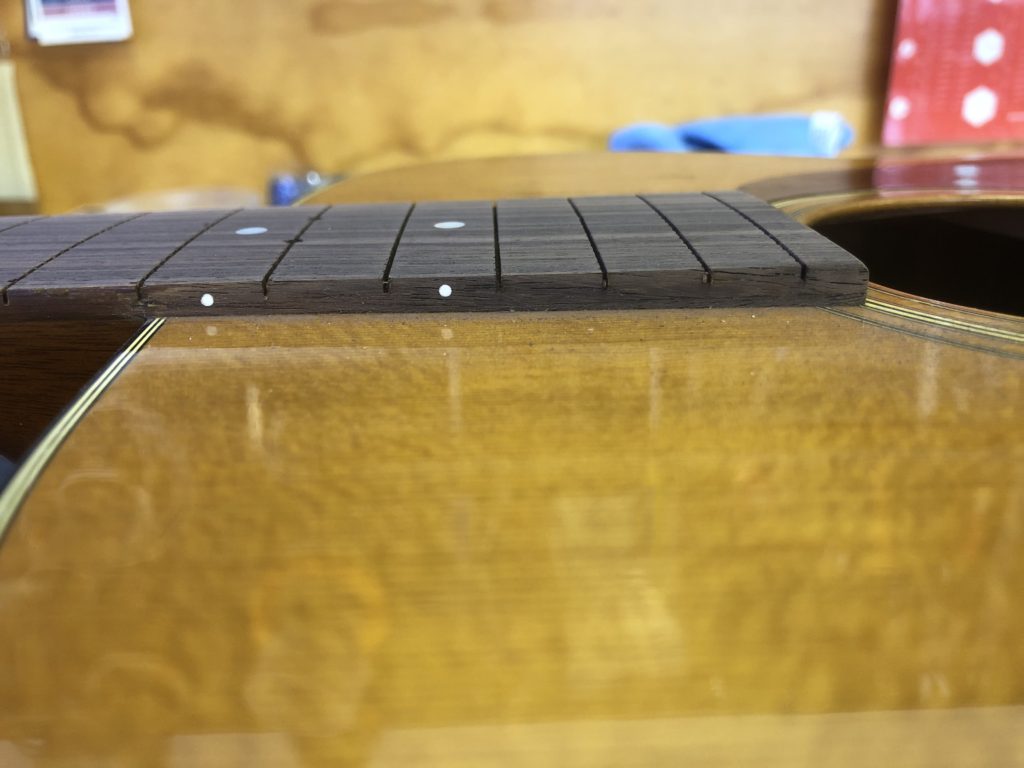
In addition to a refret, we would also need to do a neck reset. As mentioned on previous neck reset posts, when a straight edge is placed on the frets, the end of it should sit just above the bridge but, you can see here that it is much lower than that.
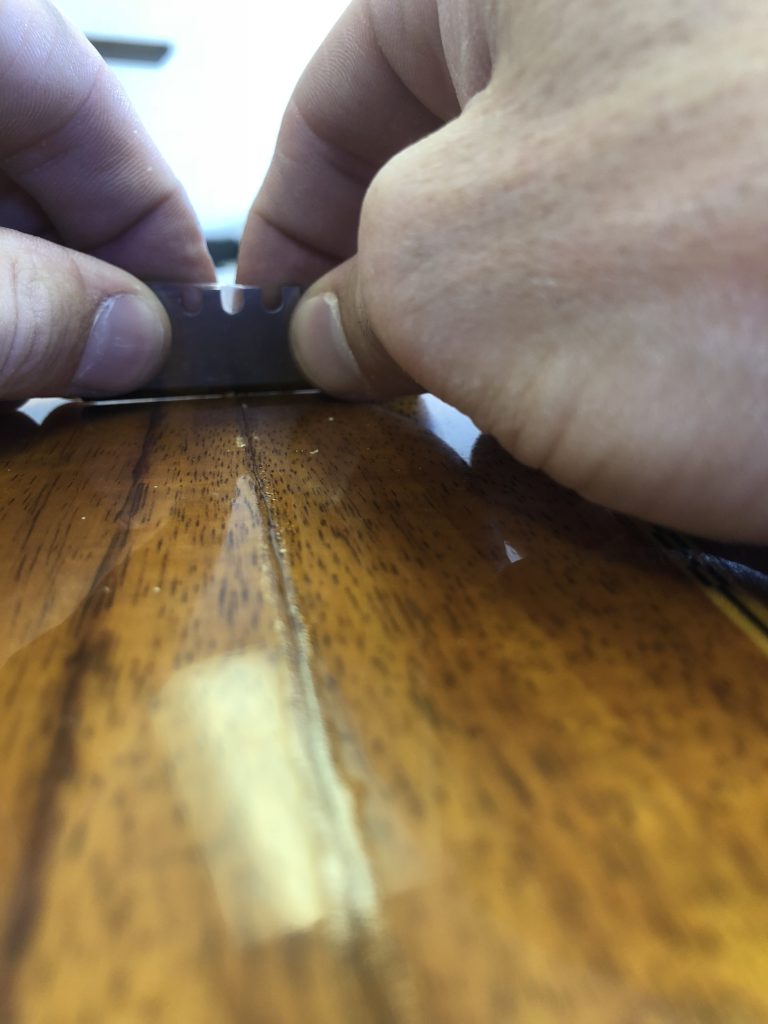
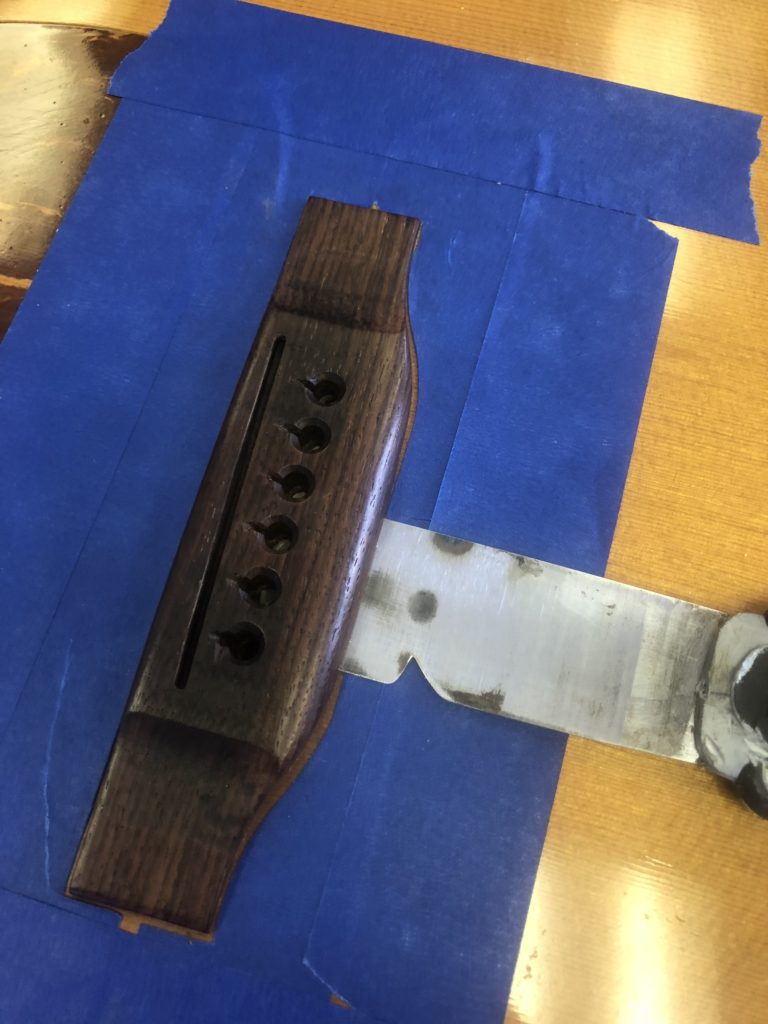
We addressed the crack in the back of the body first by feeding super glue into it. We use a razor blade with tape on the ends to keep it just off the body. This allows the blade to scrape away the excess glue without touching to the finish.

After gluing the joint, we then add bracing to the crack which is being held in place here by magnets while the glue dries.
Next, we use a small piece of mahogany to plug the hole where the strap pin had been. Once cut and glued in place, this plug will be sanded flush with the body and any blemishes will be addressed when we buff the body later on.
After removing the frets from the instrument, we use a sanding beam to level the neck. You can see how the middle of the fret board has not been touched yet after a few passes, which shows how the neck has bowed forward over time due to a lack of a truss rod.

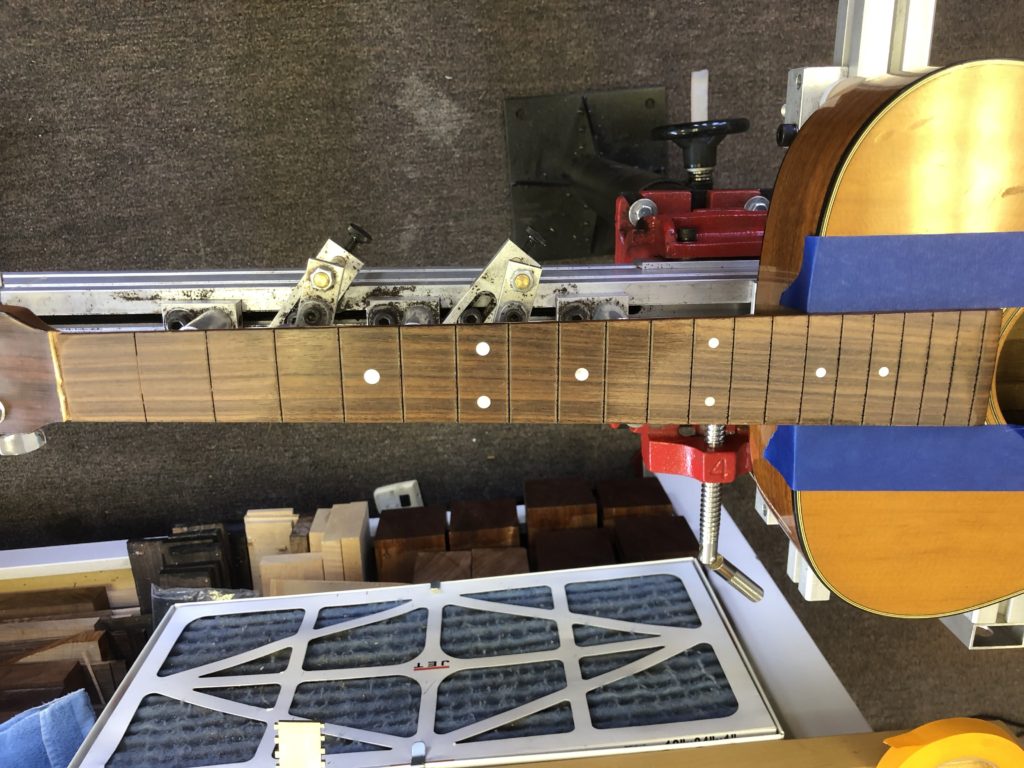
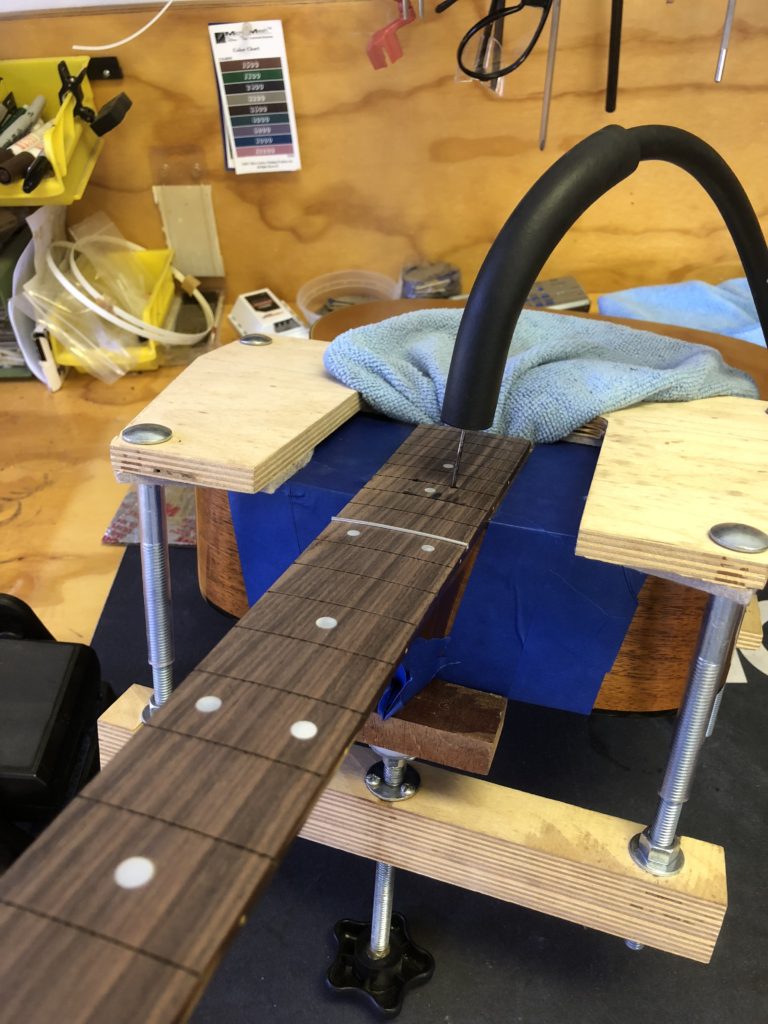
Now, before we remove the neck, we need to use a straight edge to measure the angle of the neck in reference to the bridge again. This will tell us how much adjustment needs to made. To ensure the most accurate measurement, we place two frets back into the playing surface for the straight edge to sit on. These will be removed before the refret is complete. The two holes at the fifteenth fret will be used to remove the neck.
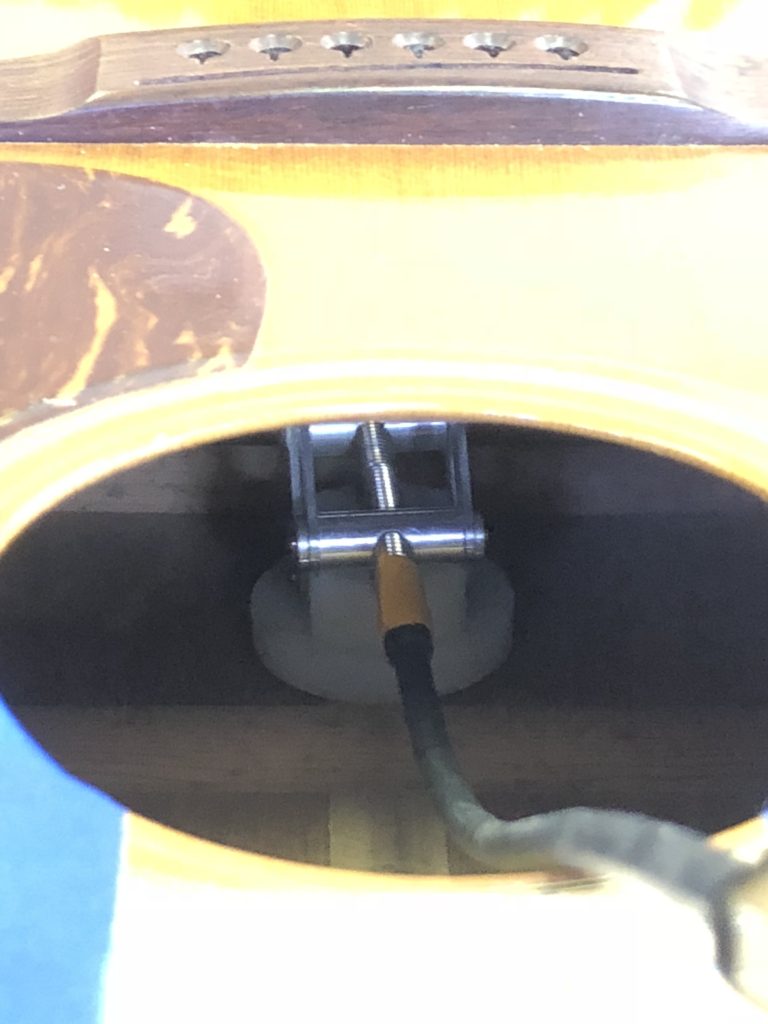
We also use a scissor jack inside the bod of the guitar. We do this to simulate the tension of strings on the top of the guitar.
Here, we are using the two previously mentioned holes at the fifteenth fret to pump steam into the neck joint. This will heat and loosen the glue. The jig around the body of the guitar then allows us to slowly apply pressure to the neck heel and separate the two pieces.
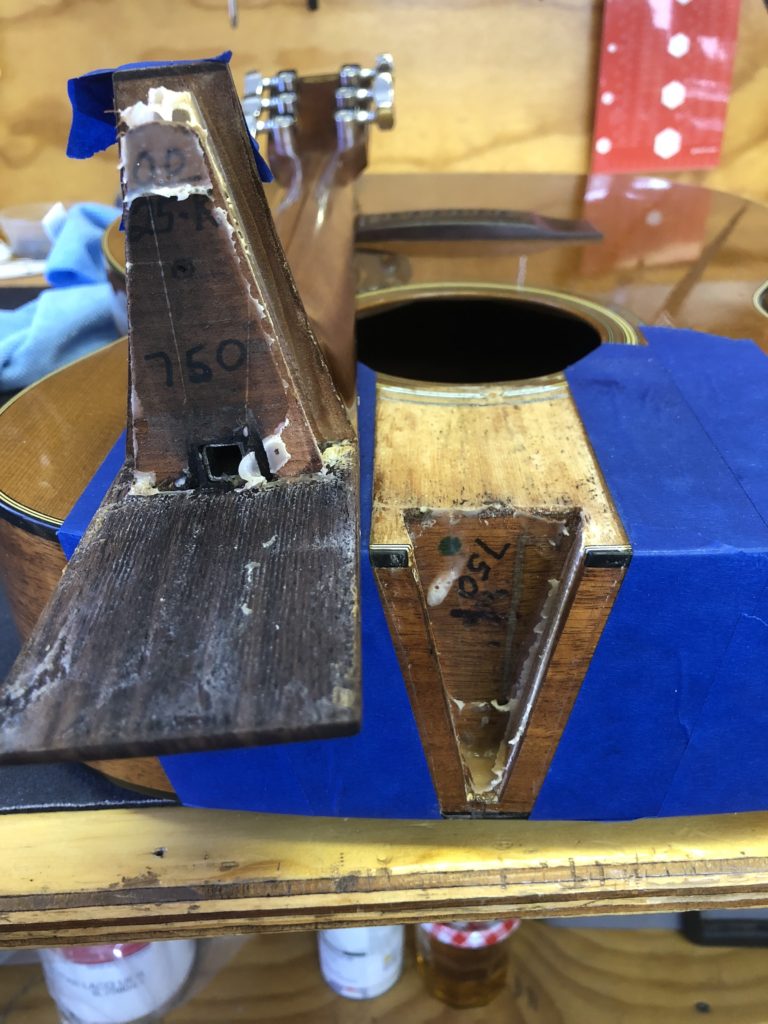
Now that the neck and body have been separated, we will have to remove all of this old glue and the original shims from the neck pocket.
While the neck is removed, we also work on removing the old bridge. Heat is also used for this process. In this instance, it looks as though the bridge had been either replaced or reattached at some point using epoxy so it proved quite difficult to remove!

Now that the debris has been removed from the old joint, we have added new shims to the neck pocket and a rosewood shim under the tongue extension of the neck. Glue is then applied to the joint before they are clamped together.
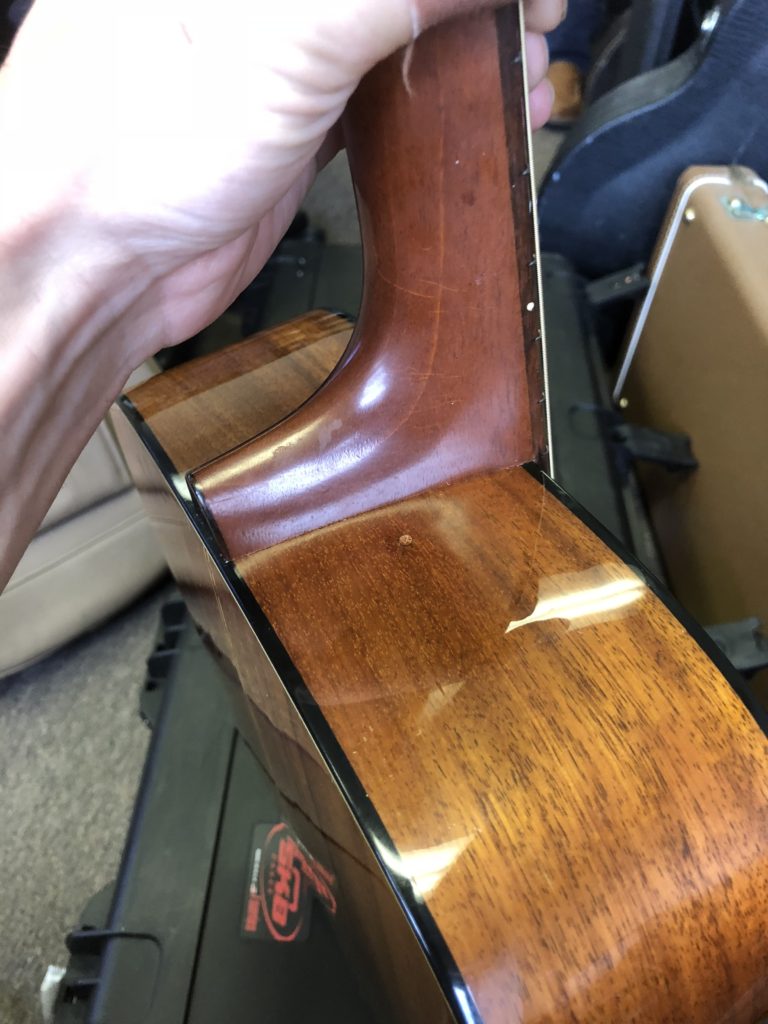
Here is the neck after the glue has dried. The rosewood shim we added allows the fret board to stay on the same plane for the entire length of the playing surface. Some repair technicians choose not to add this piece and force the fret board to the body, which pulls the frets away from the string and can cause further issues down the road. An example of this can be seen in the next picture.
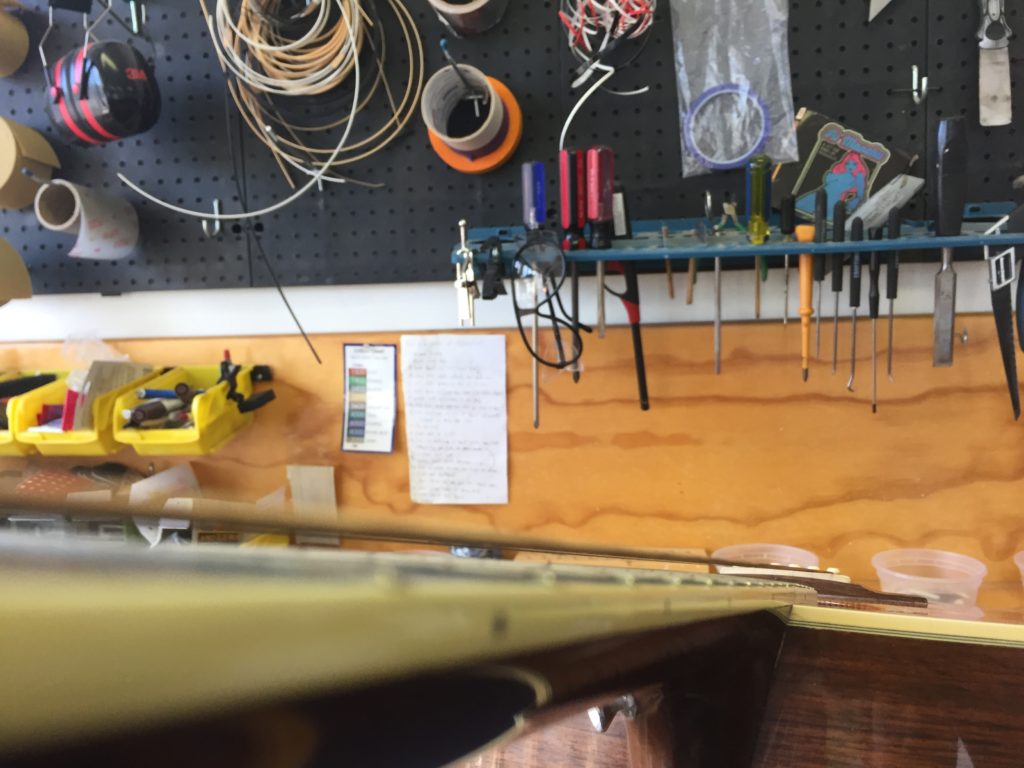
Here is a Martin M-36 that was brought to us in 2017. This picture was taken before the repair started and you can see that just where the fretboard meets the body, it angles downwards, as previously described. We always go the extra mile on this type of repair to ensure this does not happen.
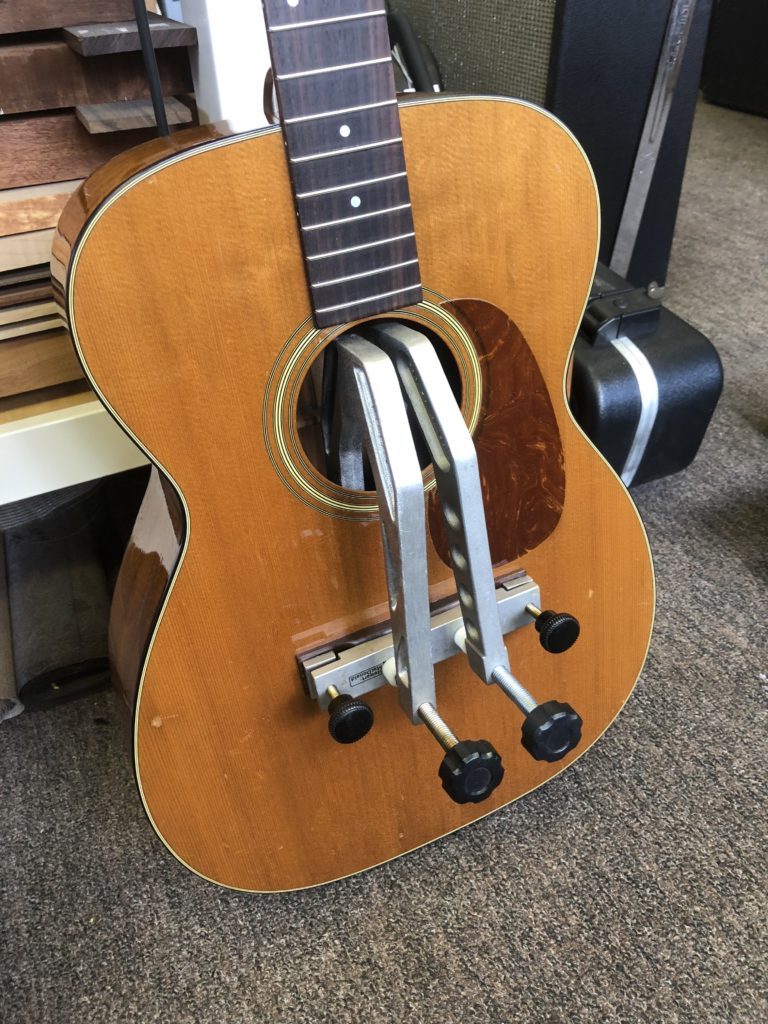
Next, we glue on the new bridge and clamp it is place. We will then rout a slot for the new bone saddle.
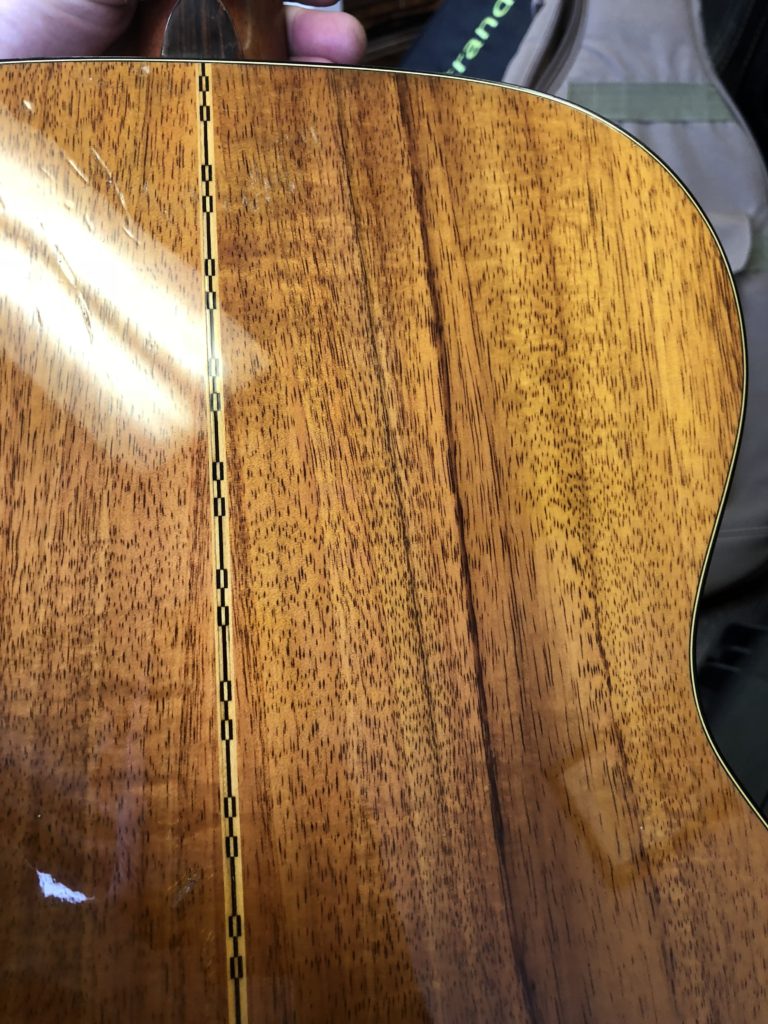
In this picture, you can see the back of the guitar with the completed crack repair. As mentioned previously, the purely cosmetic issues would be left alone so you can see the dents and dings from years of use but, this guitar is now structurally sound.
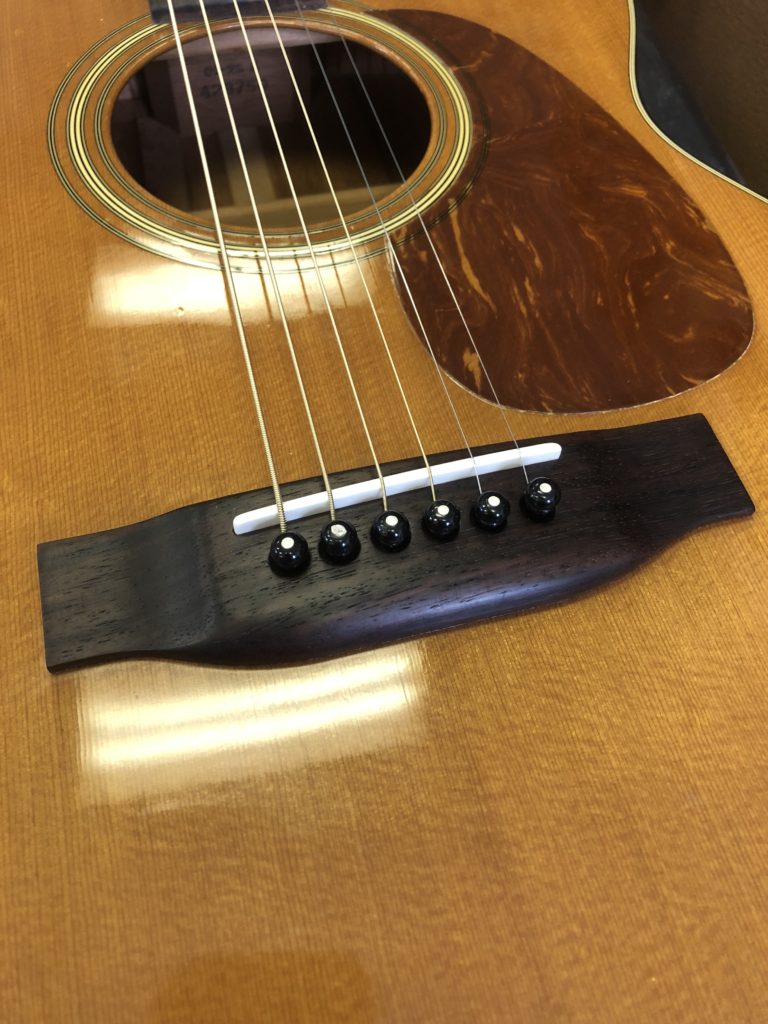
Here is the new bridge and saddle after the guitar has been setup. This is much better than when the guitar came in and should serve the owner well.
Here is the completed repair of the strap pin hole. While the plug is easily visible, the blemishes from sanding the area during installation have been cleared up nicely.
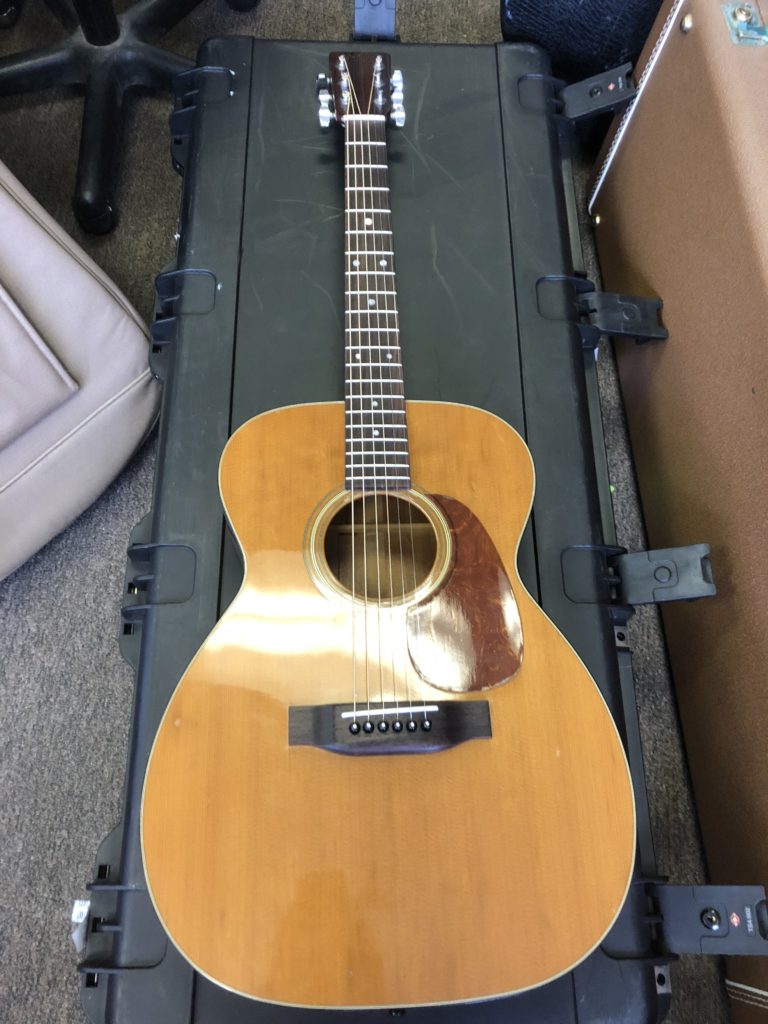
This guitar is now back in great playing condition and ready to go back to the owner for many more years of use.
More posts in instrument restoration
-
Monday, May 15th, 2017
Gibson J-50 Bridge Replacement and Refret -
Thursday, June 22nd, 2017
Guild M-75 Binding Repair and Electronics Upgrade -
Saturday, June 24th, 2017
Martin D-35 Fretboard and Bridge Replacement -
Friday, November 3rd, 2017
1971 Martin D-18 Neck Reset -
Wednesday, November 15th, 2017
Martin M-36 Neck Reset & Horror Story -
Friday, December 15th, 2017
WWII-Era Banjolele Restoration -
Tuesday, April 3rd, 2018
Bringing Life Back to a Rickenbacker Tuxedo Bass -
Tuesday, December 11th, 2018
1965 Gibson Country Western Restoration -
Thursday, January 24th, 2019
1957 Gibson L-5 Restoration -
Tuesday, June 18th, 2019
1960’s Gibson ES-330 Restoration